Detection Rules
Detection rules are used to detect user activities and system events. Detection rules let you raise alerts, fire notifications or tag activities.
You can create detection rules using any field or condition. You create rules using if-then logic with Boolean operators.
Rules can be created from scratch, using conditions (see Conditions) or using items from the Threat Library. (See Using the Threat Library.)
Rules are assigned a severity level (low, medium, high, critical) according to your organization's needs.
For example, you can create rules that detect accidental or malicious activities such as downloading, uploading, deleting, and more.
Examples of detection rules for triggering alerts include:
- triggering a low alert whenever a file is copied to a USB
- triggering a medium alert whenever a file is exfiltrated to Dropbox or Google Drive
- triggering a high alert when users logs in to unauthorized servers
- triggering a critical alert when sensitive files or folders are copied during irregular hours
- triggering an alert for when a specific detector is scanned, such as credit card numbers
Detection of file exfiltration to USB is supported for exfiltration via Windows/File Explorer only. File exfiltration from other applications, such as Outlook is not supported.
Rule Sets
You can assign a rule to specific Agent Realms. The rule is included in the Rule Set you previously define. This provides more granular control so this rule only fires according when the activity occurs in the Agent Realm specified in the selected Rule Set. (See Rule Sets.)
Rule sets take priority over the selected Source Defaults. The Source Default will not apply if a Rule Set is selected.
Detection Rule Flow
The new rule flow simplifies the steps required to create a rule. It is currently available on request only. Contact your Proofpoint representative.
-
From Proofpoint Data Security & Posture, select the Administration app. Select Policies > Rules.
-
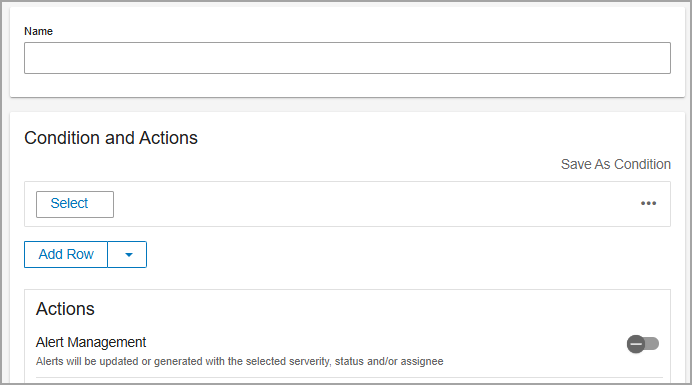
Click New Rule and the New Rule page opens. This new format allows you to create the rule from a single screen, without the tabs in the previous flow.
-
Provide a Name for the rule.
-
In the Conditions and Actions area:
-
Click Select and choose one of the following:
-
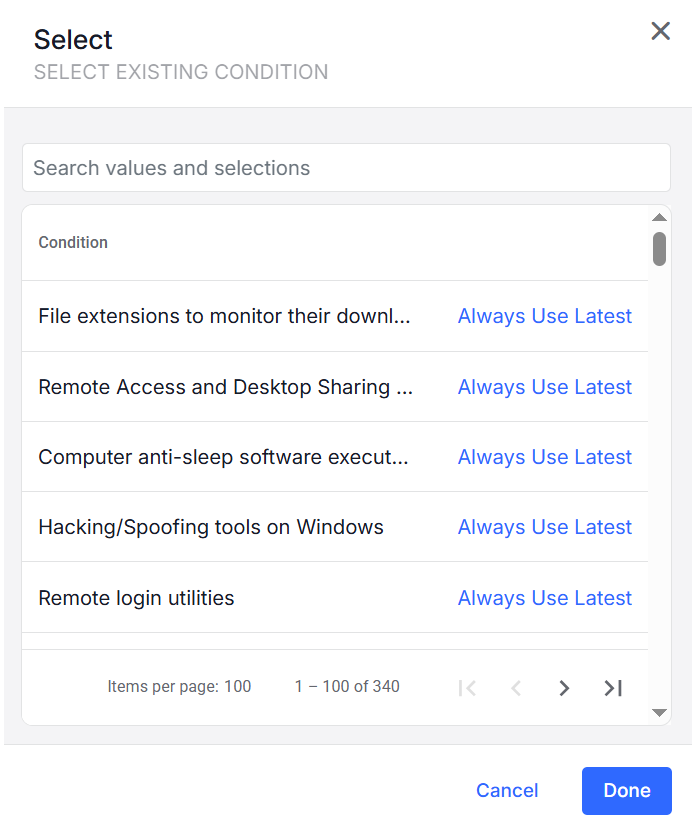
Select Existing Condition : Select an existing condition from the list. (See Conditions.)
-
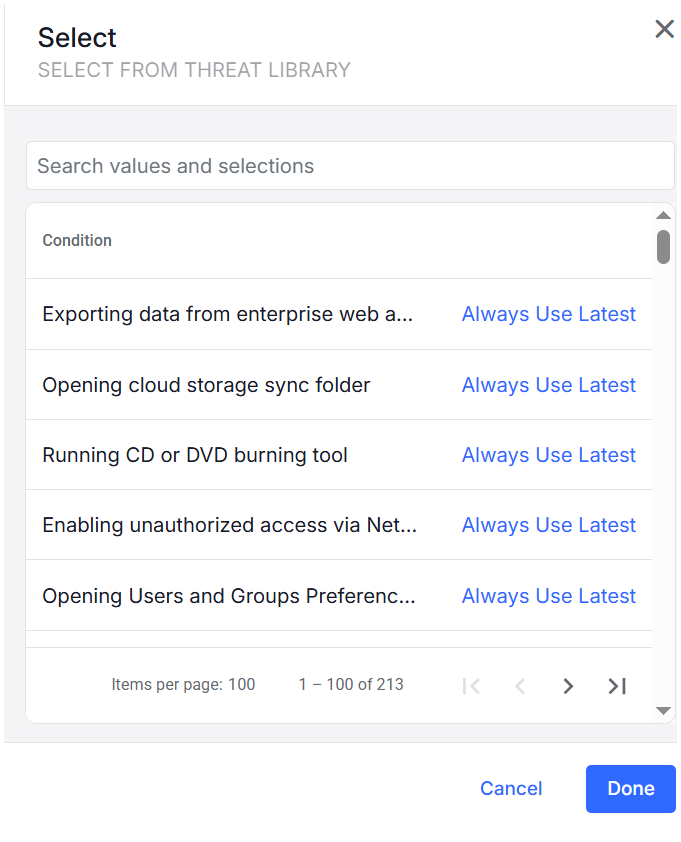
Select From Threat Library: Select from the Threat Library list. (See Threat Library.)
-
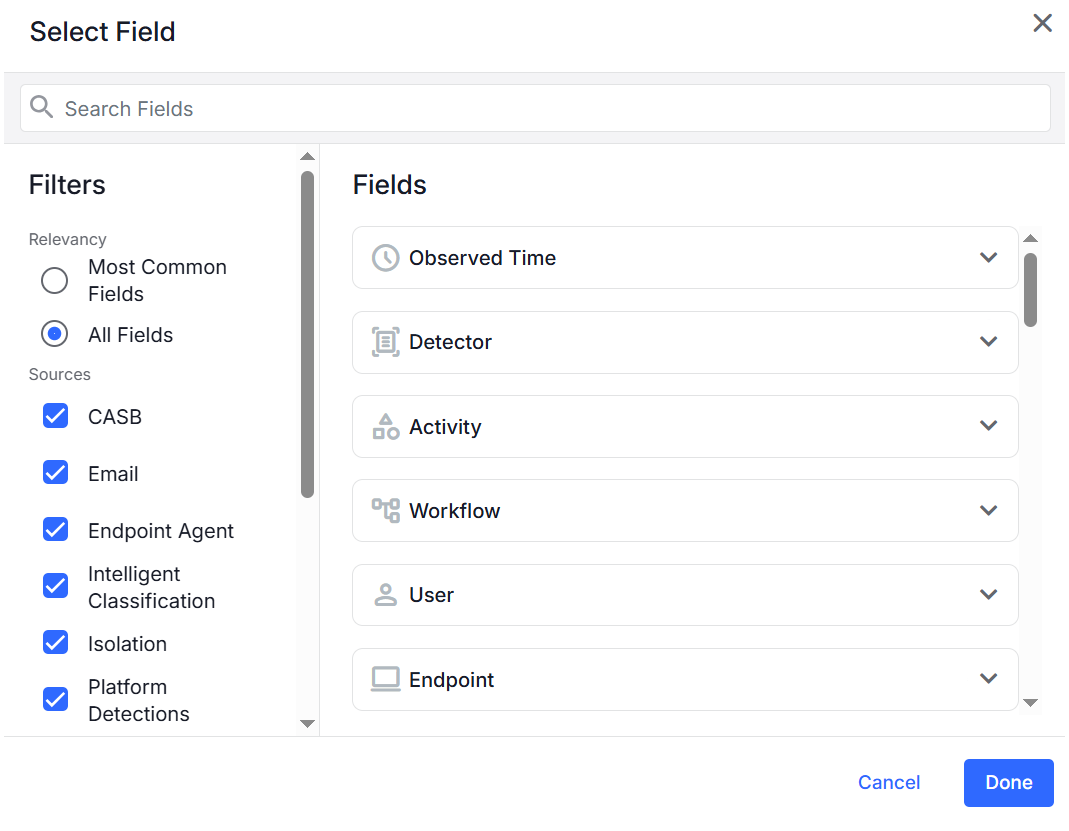
Select Field: Select the Field and the Source
-
In this section you define the Filters:
-
Relevancy of the fields: Most Common Fields or All Fields
-
Sources: Assign a detection rule to activity data sources you want.
-
-
-
-
Complete the relevant Actions. (See Detection Rule Actions.)
-
Click Done.
Clicking Done, saves the Fields. The Filters are not saved.
-
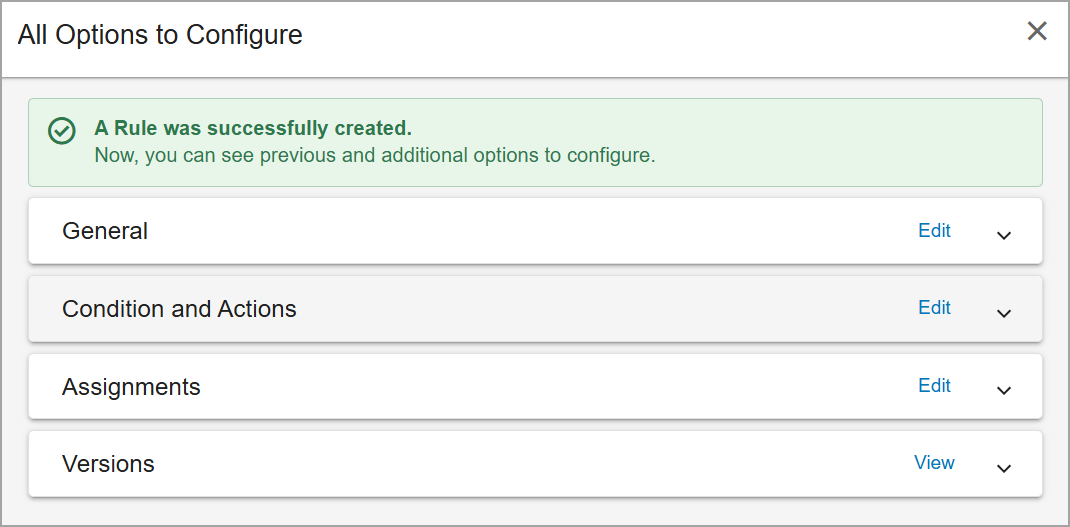
You can review the rule and the options.
Detection Rule Actions
When creating alerts from detection rules, you determine what the rule will apply to. You may want the rule to apply to all endpoint agents across the Realm or apply the rule across other products as well. You can apply more granular control and assign the rules to specific Realms.

Some features are available on request. Contact your Proofpoint representative.
Alert Management
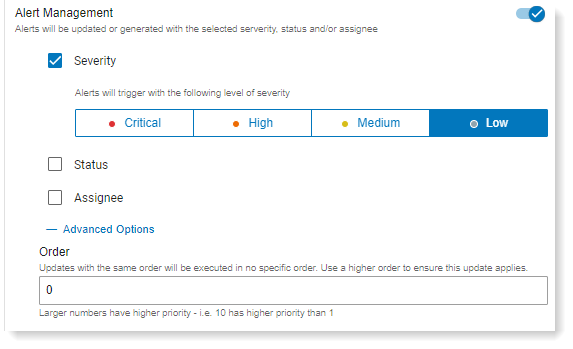
Alert Management lets you update the alert severity, its status and assignee.
-
Severity: Select Critical, High, Medium severity level.
-
Status: Select from the status from the dropdown. Statuses are workflow statuses that you can customize in Alerts Workflow (Admin> Definitions > Alerts Workflow). See Alerts Workflow.
-
Assignee: Select from the list, which users will receive the alert.
In the Advanced Options area, you can define the order when multiple alerts have the same status and/or assignee. The alert with the highest order is assigned the status and/or assignee.
Order
You can assign the order that rules will trigger. The larger the number, the higherer priority, so a rule with 10 will trigger before a rule with order 5. (You can assign up to 1000, although this is not recommended.)
Notification Policies
Notification Policies let you select the notifications that you assign to an ITM / Endpoint DLP rule.
You can set up Notification Policy that sends an SMS, email or webhook message when an activity is detected. notifications to users so they are informed when an alert is triggered.
(See Creating a Notification Policy for a Rule.)
You can create, modify and review notifications from Integrations > Notifications in the Administration app.
In the Then area, you select which notifications you want to add to the rule clicking Add Notification Policy and then selection the notification you want from the list.

Tag Matching Activities
Tag matching activities let you assign tags in the Then section of the rule. These tags will be added to all activities that match this rule.
To display the tags in the Alerts view, edit the columns to include rule tags by clicking Edit Columns and selecting Alert > Rule Tags from the fields. (See Alerts.)
Tags
Some feature may be available on request. Contact your Proofpoint representative.
Tags are tags associated with a rule that help you identify, filter and categorize rules. You can assign multiple tags to a rule.
This feature is useful when you have many rules and may want to filter them by the tags you have assigned, such as all rules with the Data Exfiltration tag.
Tags are created in Tag Management. (See Tag Management .)
Drop Matching Activity
Turn on Drop Matching Activity if you want to drop any activity that matches the rule. When this option is turned on, matching activity is not ingested or displayed in the Rule Versions
Rule Versions
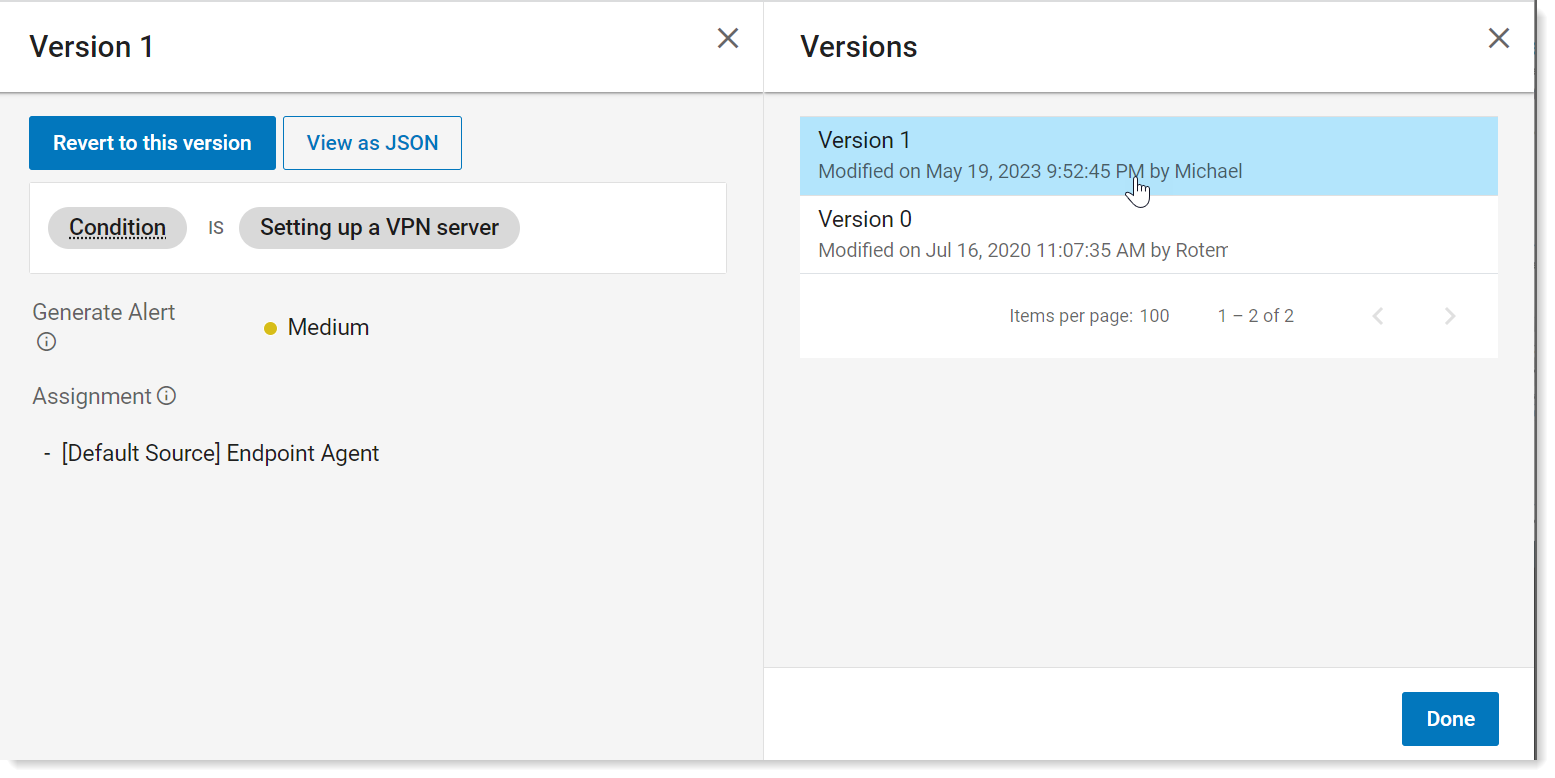
As you modify your rules you can always view and previous versions. This is useful to keep track of changes and if you want revert to a previous version.
-
To see the versions, from the list of rules, click the rule you want.
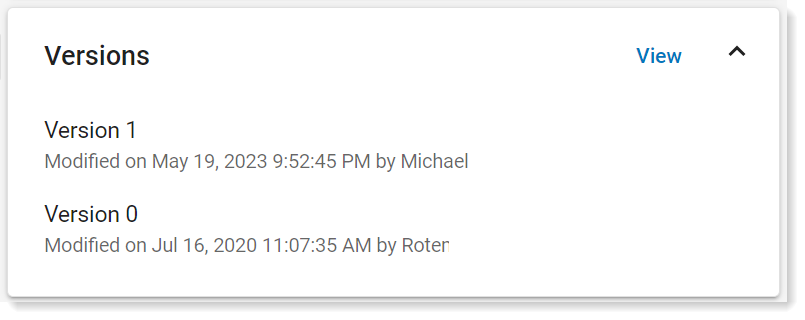
The versions display in the Versions area of the details.
-
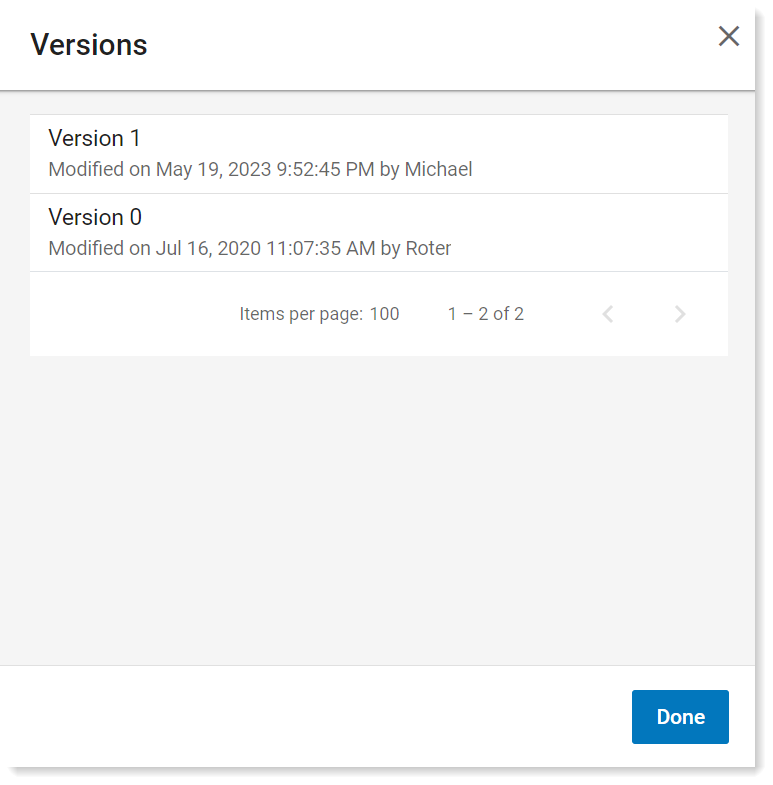
To view the versions, click View.
-
For more details. click the version you want.
To revert to a version, select the version you want, and click Revert to this version.
To view as a JSON, click View as JSON.
-
Click Done.
Related Topics: