Using the Threat Library
You can use the pre-configured items in the Threat Library to create detection or prevention rules rules.
You save a Threat Library item as a detection/prevention rule so you can continue to use and modify it.
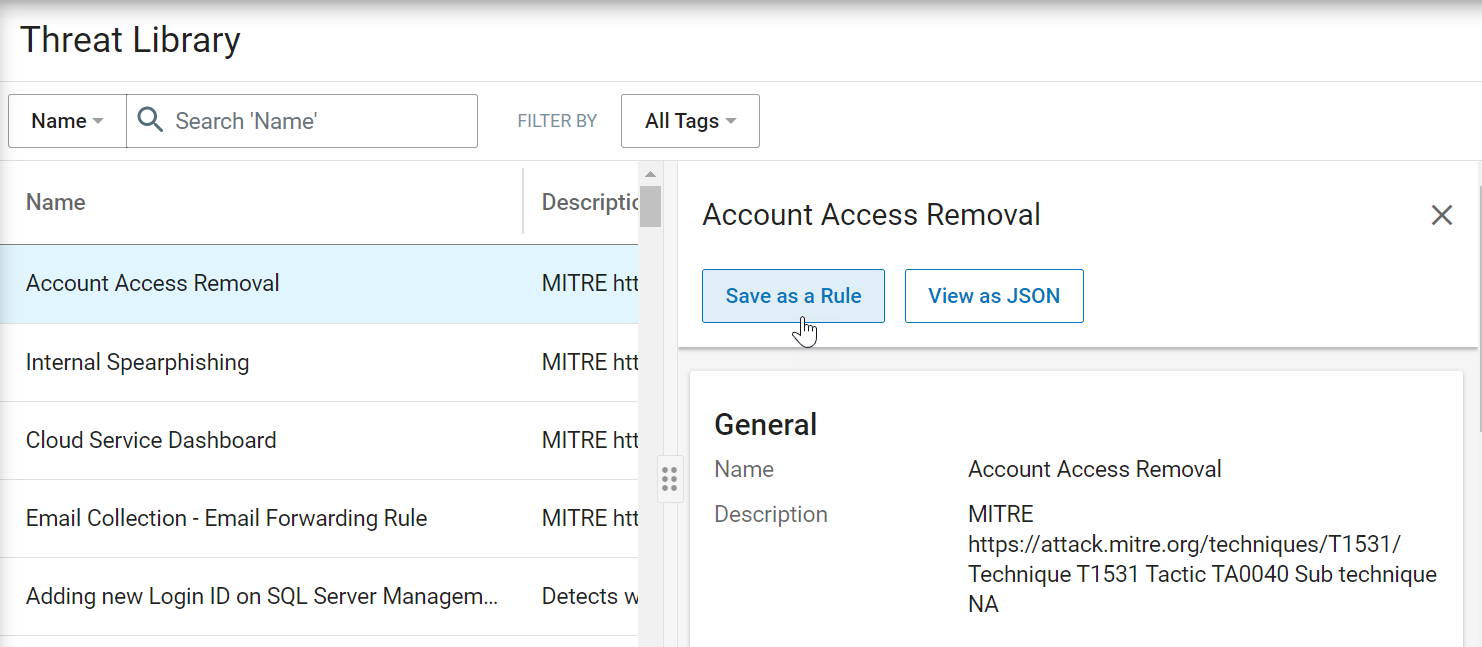
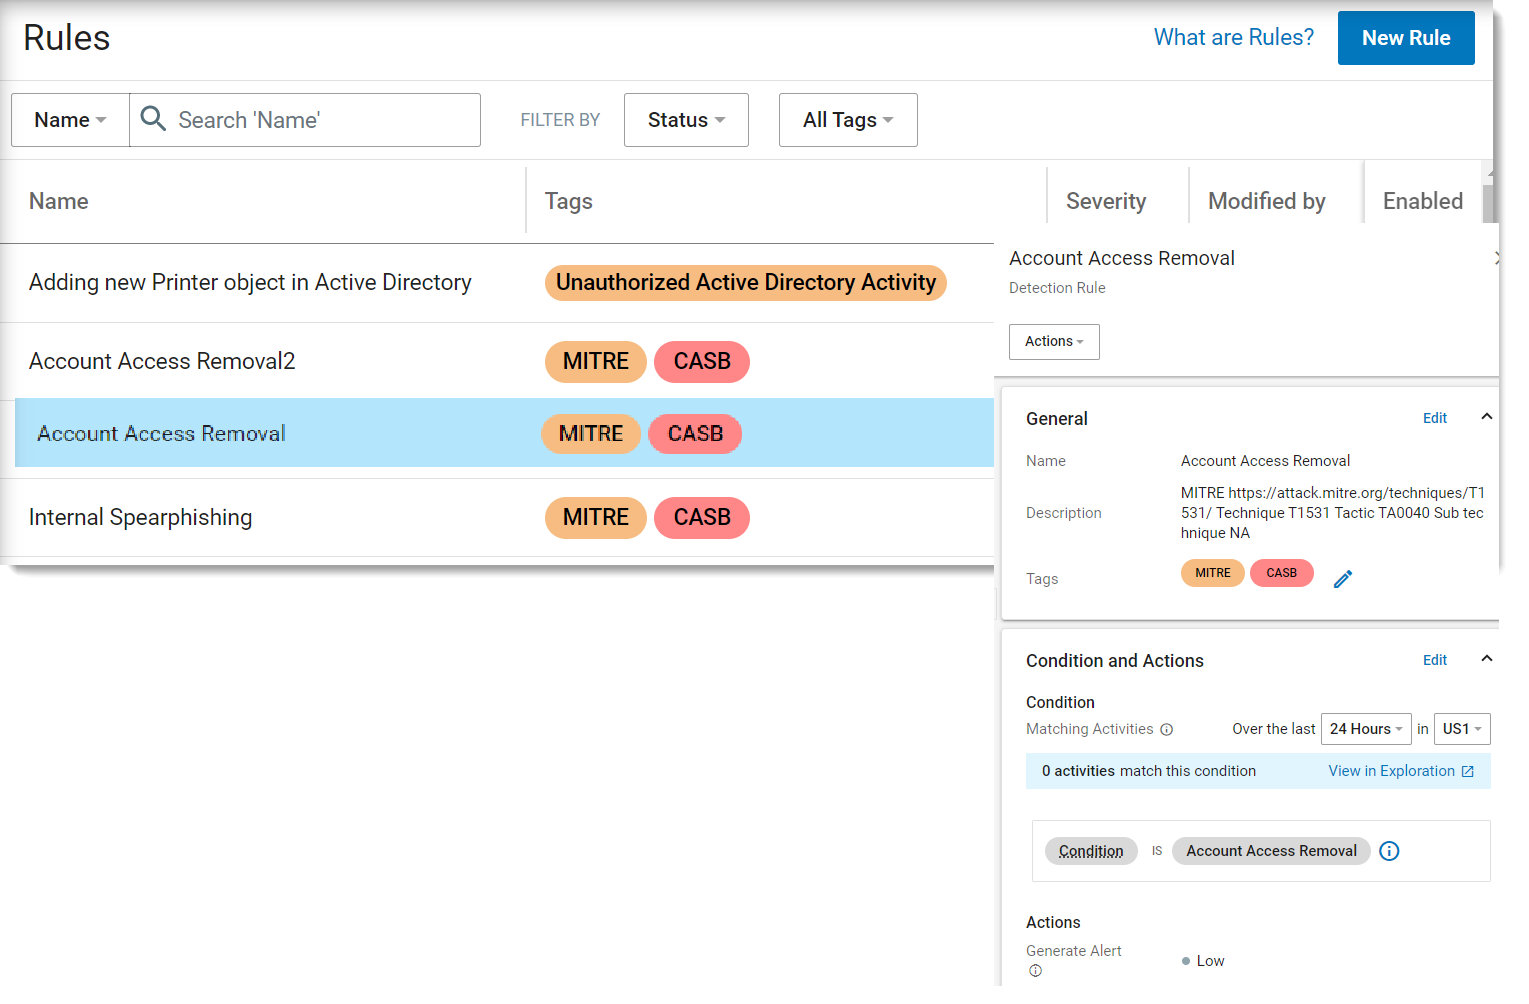
When you save a Threat Library item as a rule, you are technically saving a reference/or pointer to that library item which is why you see the name of Threat Library as the condition of the new rule you created. For example, if you saved the Threat Library item Account Access Removal, as a rule, you would see the condition Condition is Access Account Removal.
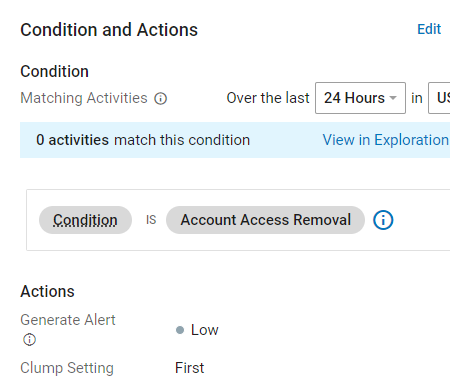
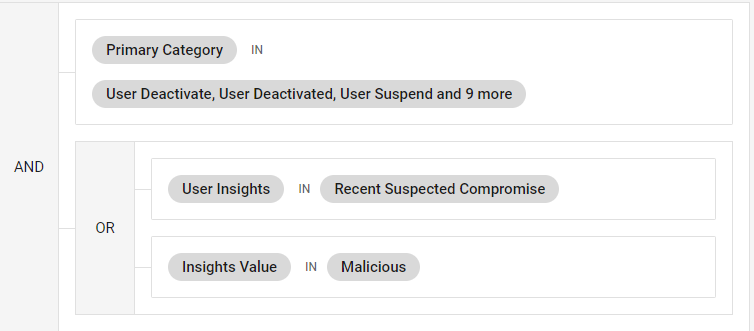
If you look at the contents of that condition, it contains the fields from the Threat Library item.
Saving the reference to the Threat Library item ensures that if the initial item updates, the condition of the rule you created will reflect those changes, since it points to that initial library item.
To sever that connection, click Edit in the Condition and Actions area. Then in the If area, next to the condition, click ....
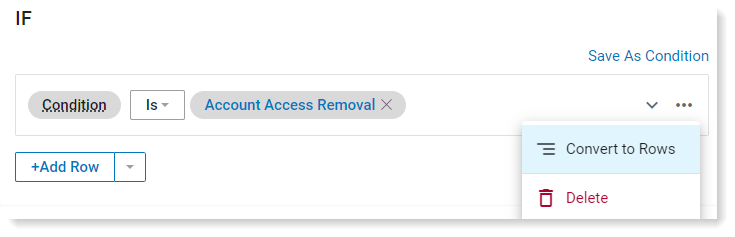
Click Convert to Rows to save the fields directly to your new rule instead of a referencing to the Threat Library item.
For more information, see Threat Library.
Saving as a Rule
You can choose any items in the Threat Library and save it as a rule.
-
From the Proofpoint Data Security, select the Administration app. Select Policies > Threat Library.
-
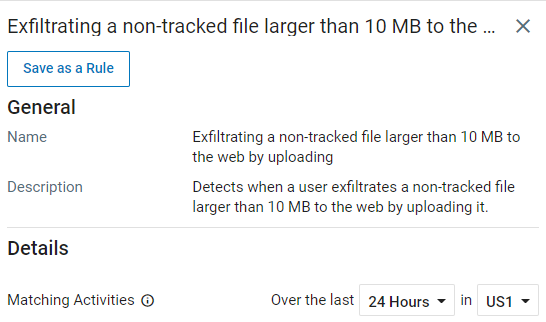
Click the item you want from the Threat Library and the details area opens.
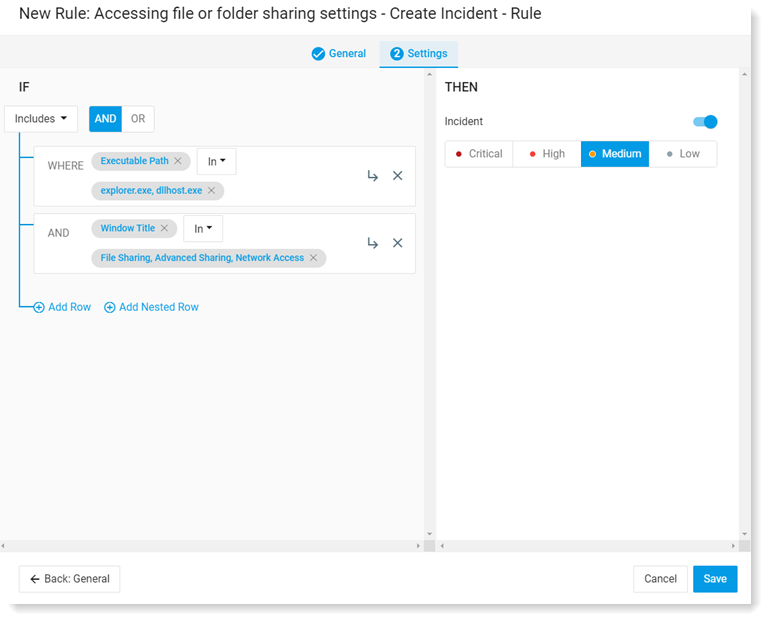
In the example, you can see the details area for Accessing file or folder sharing settings.
-
Click Save as a Rule. The New Rule screen opens.
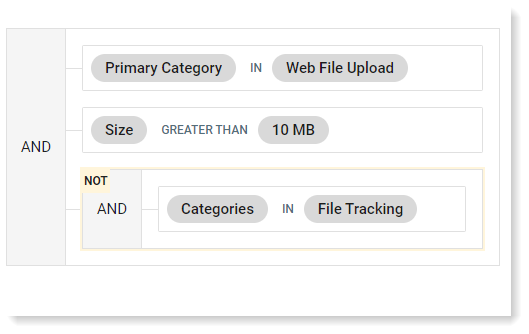
You can see how the rule was defined.
-
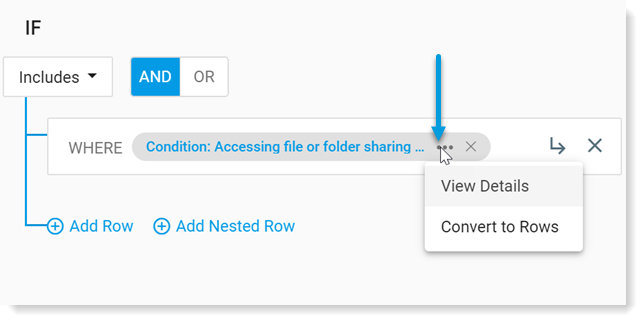
To see more about the rule or modify it, in the If area, click ... next to the rule.
-
Select one of the following:
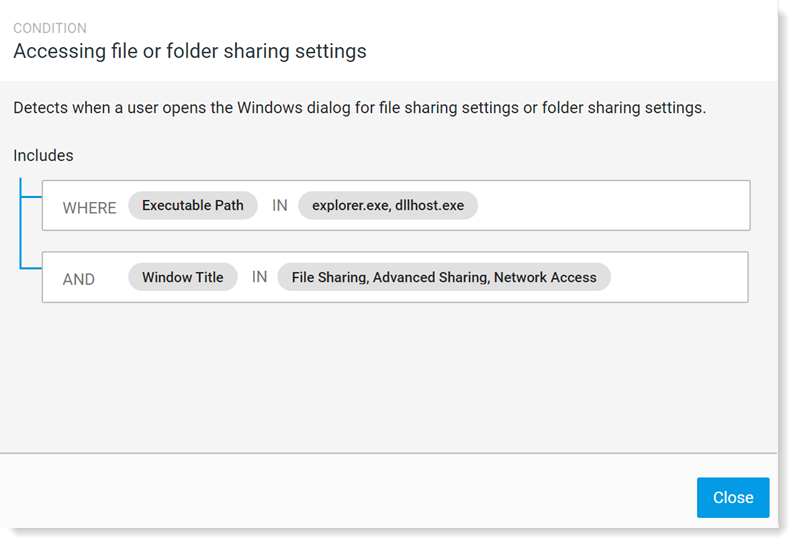
- View Details: Use this option if you want to see details about how the rule was defined.
- Convert to rows: Use this option if you want to modify the rule.
-
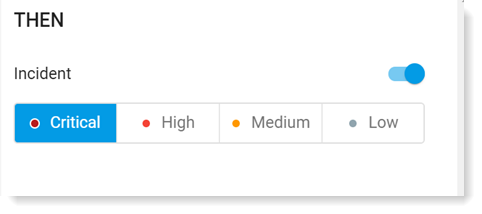
In the Then area, you change the alert level.
A message indicates that you created the rule successfully.
-
Click Save. The rule is saved and available if you want to use it again.
If a rule exists with the same name, you are prompted and must provide a new name and details about the rule. (For more information about rules, see ITM / Endpoint DLP Rules.)
Accessing/Modifying the Rule
Once you create a rule from a Threat Library Item, you can use it again or modify if you want.
-
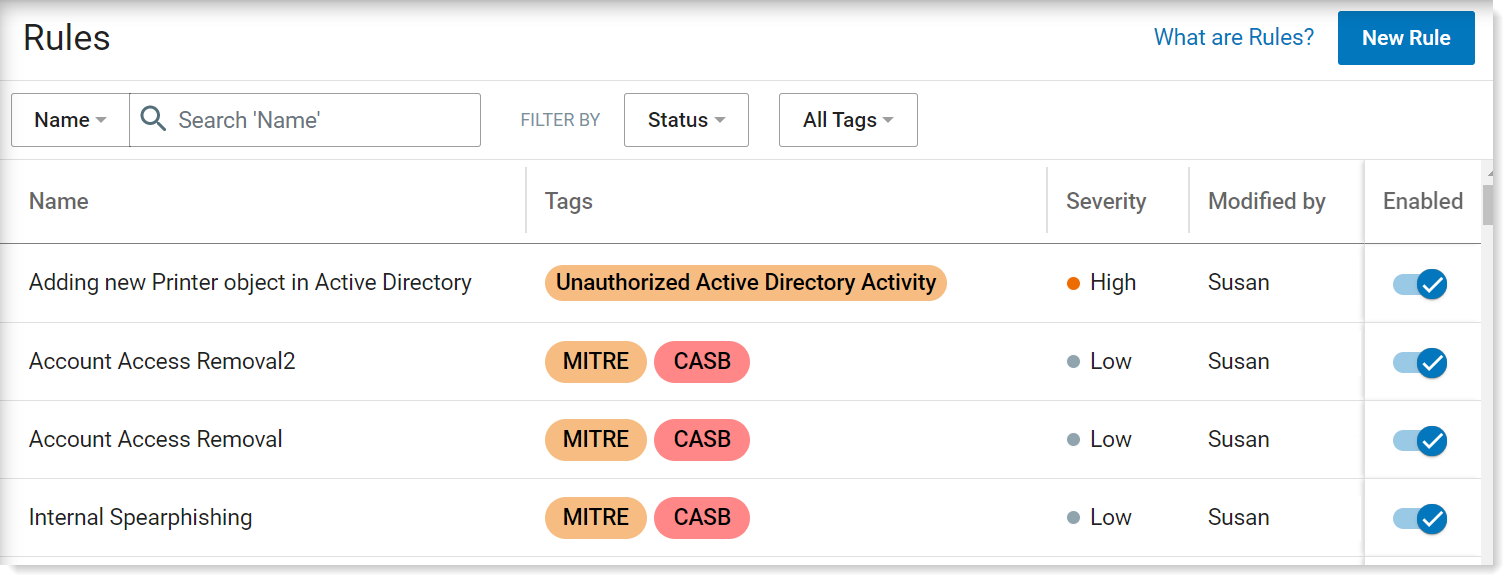
If you to access the rule, go to Administration> Policies > Rules.
-
To modify the rule, click on it and the details area displays.
Example - Creating a Rule
This is an example of how the Threat Library saves you time and effort when building rules.
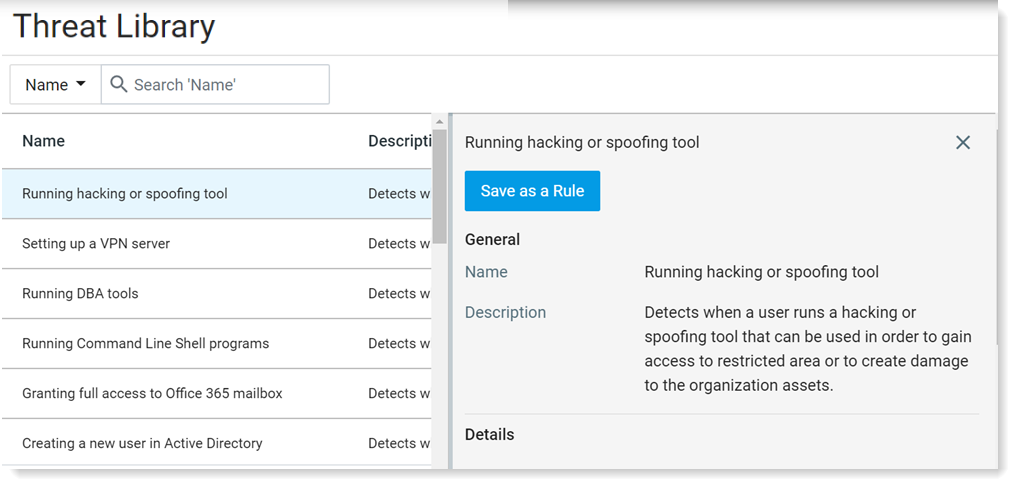
Your company wants to watch for users who are using malicious software. After reviewing the list, you see that the Running hacking or spoofing tool does that.
You can learn more about Running hacking or spoofing tool by selecting it and looking at the details.
-
In the Threat Library, start by selecting Running hacking or spoofing tool from the list.
-
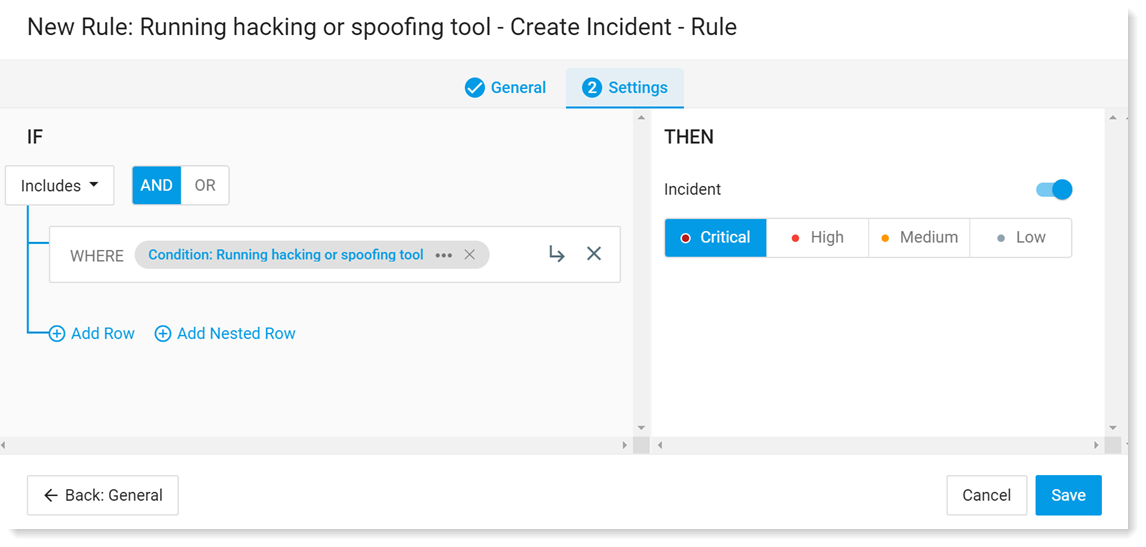
Click Save as a Rule.
The rule opens and you can see that it is based on a preconfigured condition.
-
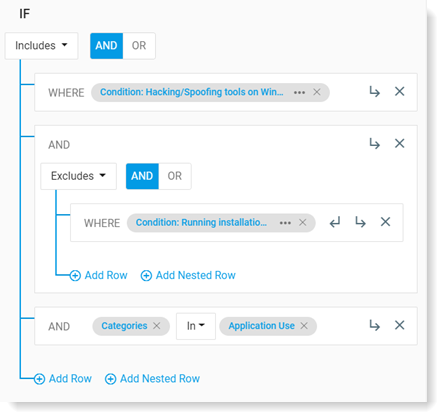
To see more details, click ... next to rule definition. Select Convert to Rows so you can see and if you want, modify the rule definition or sever the connection to the Threat Library item.
-
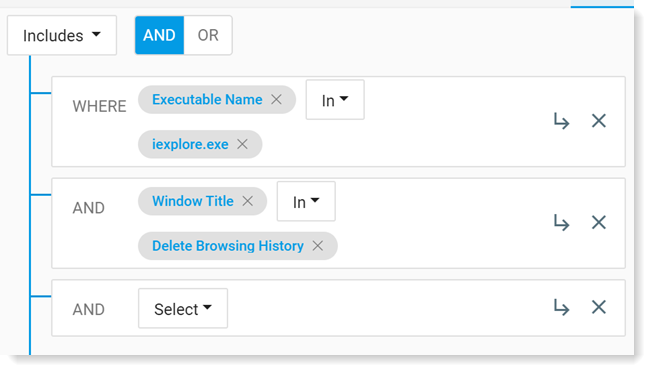
If you want, you can check which applications are included and excluded. You may want to change this list.
For example, click ... to see applications included and modify the list if you want.
-
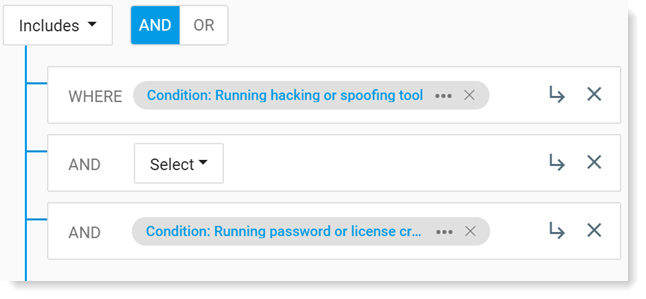
Click Add Row to add another field, condition or Threat Library item. In the example, add Running password or license cracking tool.
-
In the Then area, set the alert severity . You can also turn the rule on/off by with the toggle.
-
Give this rule a new name, by selecting the General tab.
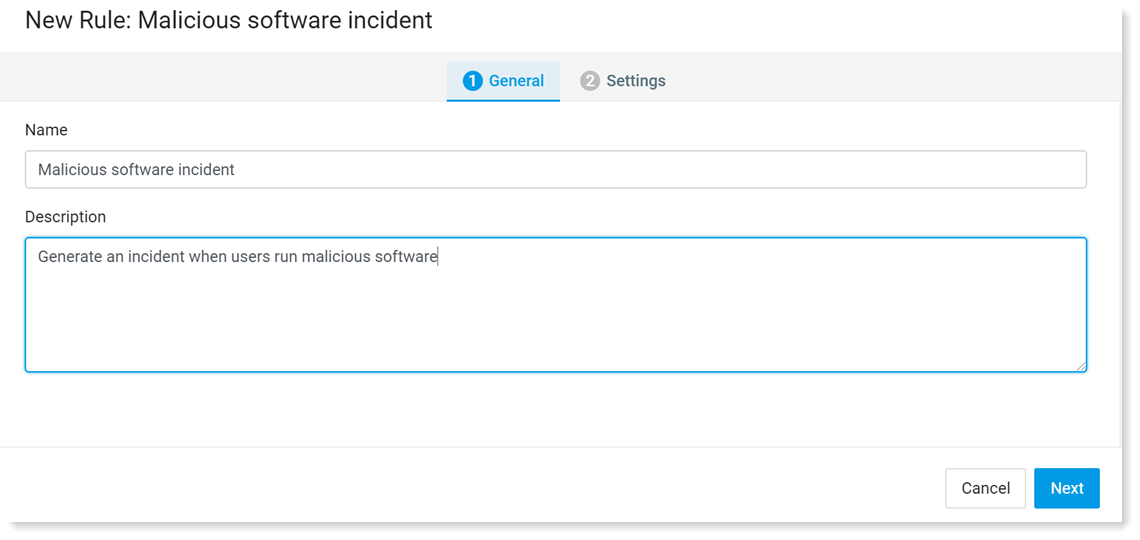
- When you are done, go to the Settings tab and click Save
Related Topics: