In the Details area, you define to which endpoint(s) and activities the Agent Policy applies.
You configure an Agent Policy using if/then logic.
Prevention rules must be associated with an Agent Policy. When you set up an Agent Policy you can associate a prevention rule.
To define the details, from the Agent Policies view, select Add Policy for a new policy or select Edit from the menu next to the relevant Agent Policy. (To open the menu click ... by the Agent Policy.)
For more information about setting up an Agent Policy, see Setting up Agent Policies.
-
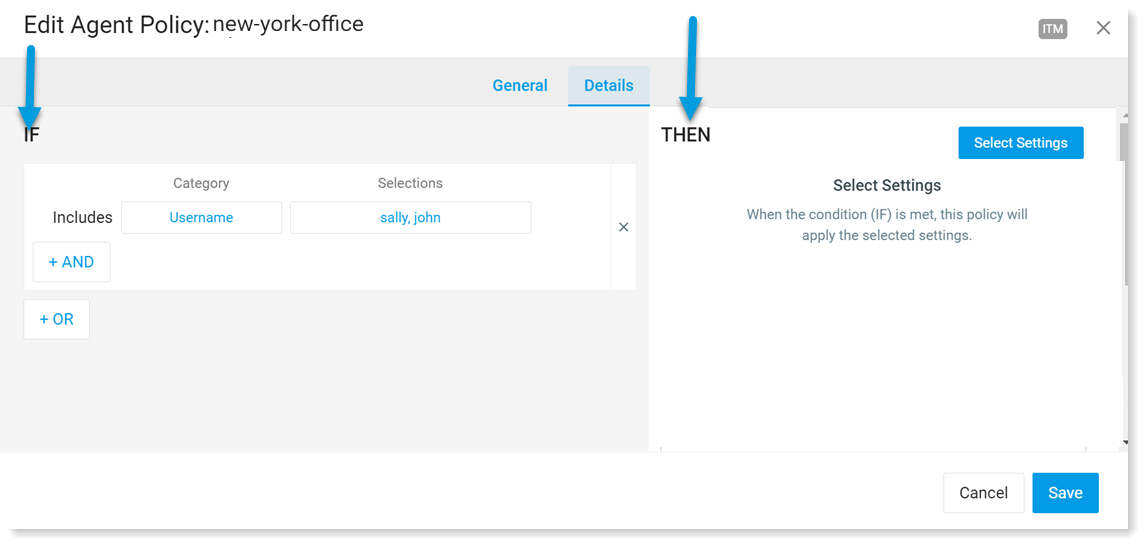
From the New/Edit Agent Policy view, select Details.
The Details area displays showing the If/Then conditions.
-
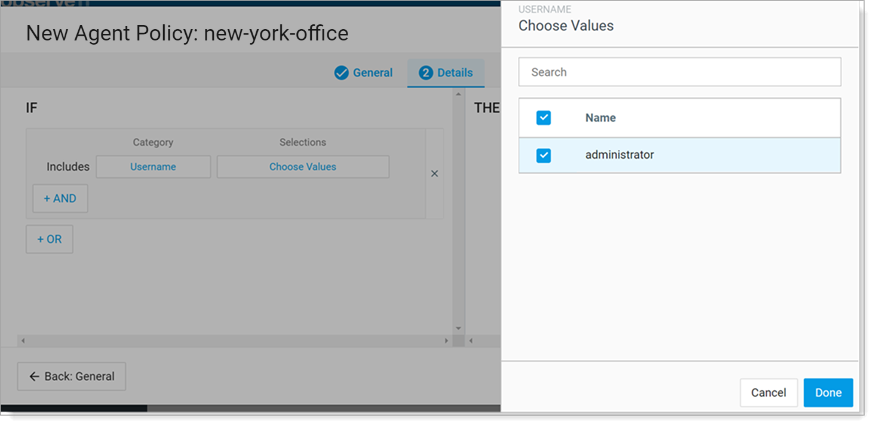
From the If section on the left-side of the screen, select the categories and values for the Agent Policy. For example, include for all users with the username = administrator.
The available categories display.
-
Select the Category you want, and the relevant Values for that category display. So in the example below, Username was selected. The administrator value was chosen.
-
You can continue adding categories to your Agent Policy using the And/Or options.
-
On the right-side of the screen in the Then area, select the settings that will apply when the If condition is met. Click Select Settings to choose the settings.
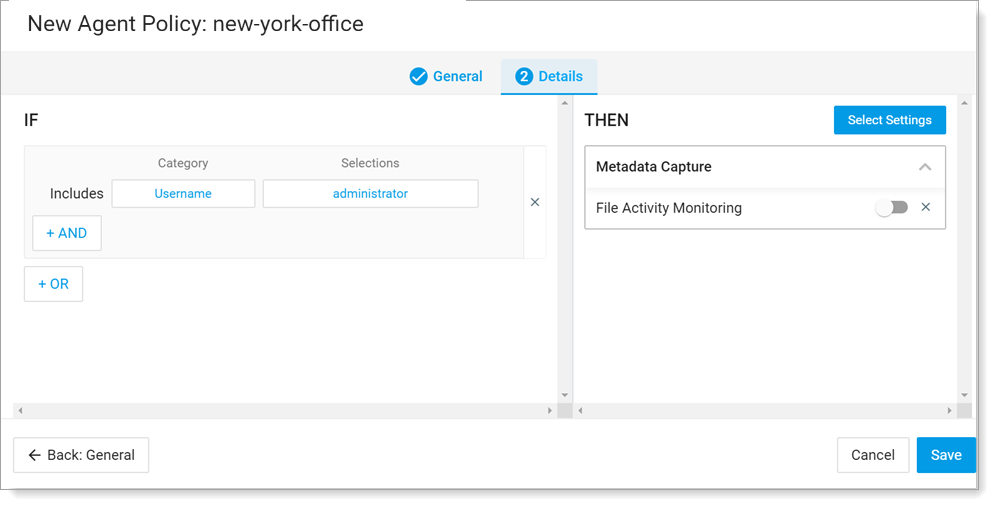
The available settings display. Select the relevant settings. For example, enable File Activity Monitoring. So file activity monitoring is enabled for all users with username administrator.

-
You can continue to define the settings using the And/Or options.
-
Click Done. The summary of the Agent Policy displays.
-
Turn on the selected settings and then click Save.
For more information, see Agent Policy Priorities.
Related Topics: