For ITM/Endpoint DLP prevention rules, you can define notifications for end users, including block action notifications and justification action prompts. These notification appear as a pop-up message about activities disallowed by prevention rules.
Notifications for endpoint activities can be set up at the Agent Realm level and at the Prevention Rule level. You must enable End User Notifications in the Advanced Settings of the Agent Realm.
Agent Realm Level Notifications
The default notification is set up at the Agent Realm level. Unless a notification policy is assigned to a prevention rule, this notification displays when an activity is not allowed.
-
From Proofpoint Data Security, select the Administration app. Select Endpoints > Agent Realms.
-
Select the Agent Realm you want.
-
In the Advanced Settings tab, turn on End User Notifications and the customization options are shown.
Rule Level Notifications and Notification Policies
You can define notifications at the rule level. By creating a notification policy and assigning it to specific prevention rules, you can override the default notification set at the Agent Realm level. (If you do not set up notifications at the rule level, the Agent Realm notifications are used as the default.)
Setting Up End User Notification at the Rule Level
You can set up a notification that is used for a specific rule. Notifications at the rule level are defined in Notification Policies. You can assign a notification policy to one or more rules.
-
From Proofpoint Data Security, select the Administration app. Select Integrations > Notification Policies. ( See Notification Policies.)
-
In the prevention rule, Assign End User Notification and select the notification from the list. (See Prevention Rules Supported Actions)
There are also processing notifications and block notifications that are had coded.
Notification for Endpoint Activities
Localization of Notifications
This feature is available from Windows 4.2.0.
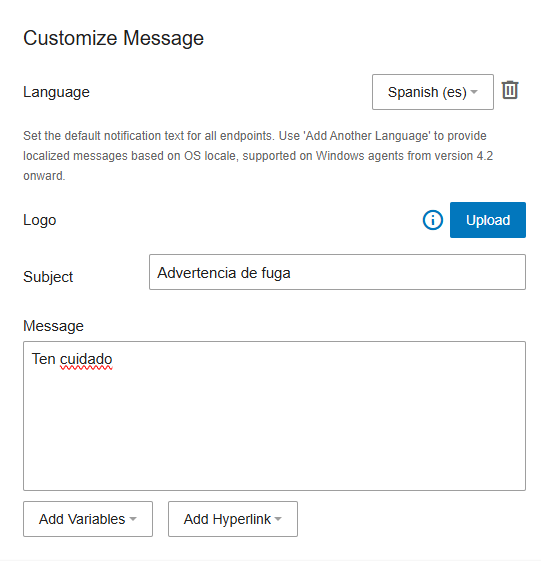
Customized End User Notifications can displayed according to the locale set in the operating system. The Windows Agent currently supports localized versions, with English, Japanese, French, Spanish, Korean, Italian, Polish and German.
You can compose notifications in a default language and additional variants in languages as needed. Notifications are then displayed in the relevant operating system’s language.
Localization is available for the realm level default End User Notification as well as the one defined in Prevention Rules.
-
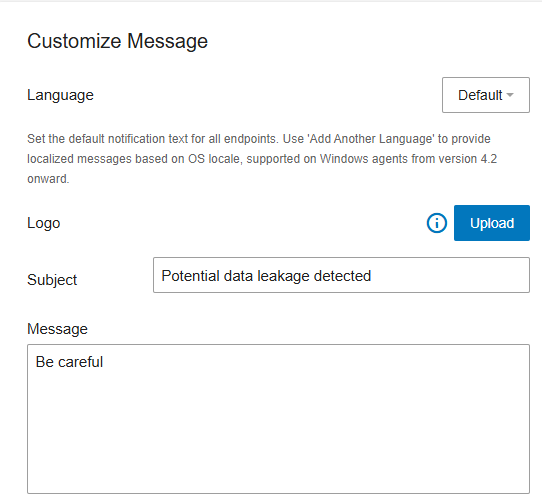
Default Language: You must define a default notification in the language you want as the fallback. For instance, if your company’s primary language is English, the default notification would be composed in English, with the Language option set to Default.
-
Localized Notifications: Localized message can be set based on the operating system language, for supported languages. For example, if your company has an office in Spain, you can add a Spanish message to display for users with Spanish-language operating systems.
You can add more than one language to a notification. For example, your company may want to add notifications in French and German. You add these languages and then compose the notification text.
-
Notification Display: If an End User Notification is configured with a variant for the locale of the endpoint where it is to be displayed, that variant will be shown. If no such variant is configured, the default notification will be displayed.
The default notification does not consider the operating system's language; it is used for any operating system that does not have a corresponding localized notification.
Certain text elements displayed in notifications cannot be customized via the Console, as they are embedded within the agent and include predefined translations for all supported languages. When an endpoint is configured to a supported language, the corresponding translated text is presented, which may result in a mix of languages within a single notification. If monitored users operate their OS in a supported localized language, it is recommended to configure dedicated language variants within the customized notifications to ensure consistency.
Customize Message
This lets you define a message to let the user know why an activity was blocked.
HTML and Markdown are not supported in the body of endpoint notifications. If such formatting is used, the agent will fall back to the realm's default endpoint notification.
When you turn on end user notifications at the Agent Realm level, you are prompted to define:
-
Logo: You can customize the notification with a logo, such as your organization's logo. This lets users know who is sending the message.
Image must be at least 24 pixels in height (48 pixels recommended), in JPG, JPEG, PNG, or GIF format (SVG not supported), and no larger than 56KB.
-
Subject: This appears at the top of your message. It lets the user know the purpose of this message.
-
Message: Enter a message in the Message area.
-
Variables:
- File name(s)
- Target path(s)
- Protocol
- Rule Name
- Application (process name)
- Username
- IP
- Hostname
- Time
- Printer Name
- Printer Type
Hyperlinks
- Insert Link: Link that will be useful to the user. For example, you might link to your organization's policy.
- Insert Email: Email address link.
Multiple email addresses are not supported in this field.
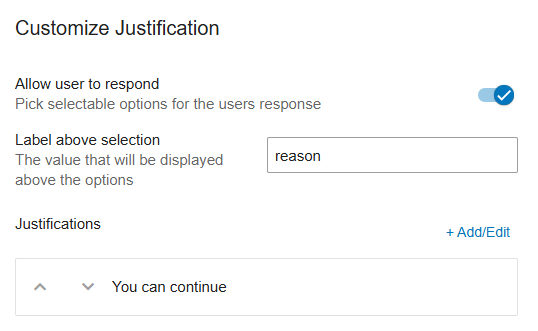
Customize Justification
Notifications can be set up as justifications. Justifications offer the user the option of continuing a prevented action by selecting a response.
The user receives a message when content is blocked indicating that the operation was paused. The user can either select one of the listed justification options and continue or cancel to block the action.
Allow user to respond lets you select options for the users response. When this is turned on you define:
-
Label above selection: The text that displays above the options.
-
Justifications:
-
Click Add New Justification and select from one or more of the justifications, (see Justifications).
-
Select Allow user to enter freeform text reply
-
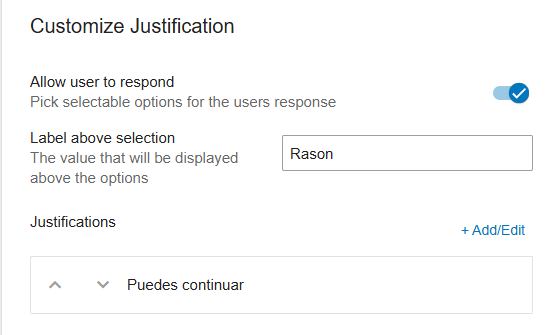
Localization for Justifications
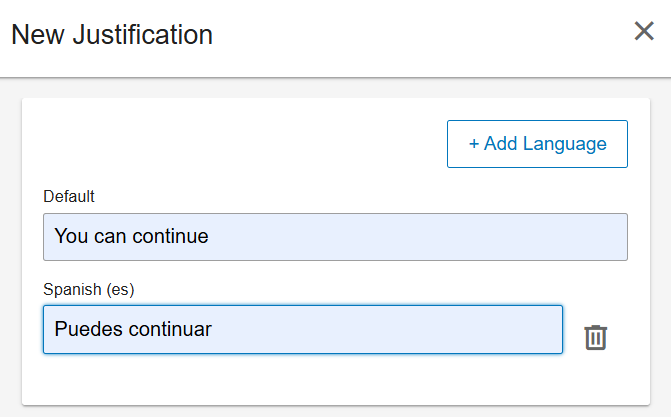
When composing a notification, you can also customize justifications. Similar to default notifications, you compose default justifications as well as justifications for other language templates (e.g., Default and Spanish).
Add justifications in multiple languages:
-
To add a default justification: From Justifications (Admin > Definitions > Justifications > New Justification), add a default justification. (See Justifications.)
-
To add other languages: Click Add Language, to add a justification in another language. Select the language you want and the text.
Apply Justifications to End User Notifications:
-
For the default language notification, select the justification you want from the Observed Values.
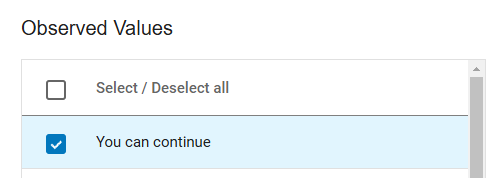
The Default language justification displays.
-
For the other language (such as Spanish), when you create the notification, select the justification from the Observed Value. The text you added in the selected language will be displayed.
If the justification was not composed in the template language, a warning will appear, indicating that the justification does not include a local language variant.
End User Notification and User Experience
End User Notifications on Windows Endpoints
Here is an example of a message you might see on a Windows endpoint. This message appears when a prevention rule applies.
In the example the message includes an uploaded Proofpoint logo, text you want in the Subject and Body areas. The variable for file name was also added so that the name of the file that was blocked is shown, info.pdf.
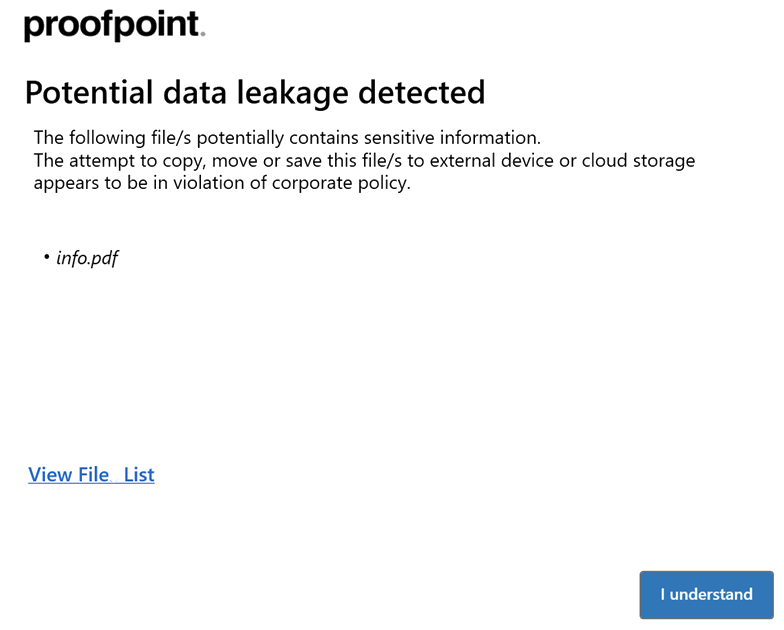
If you use the file name variable, by default 5 files will display in the message. If more than 5 files are you can click on Show File List to see the other file names.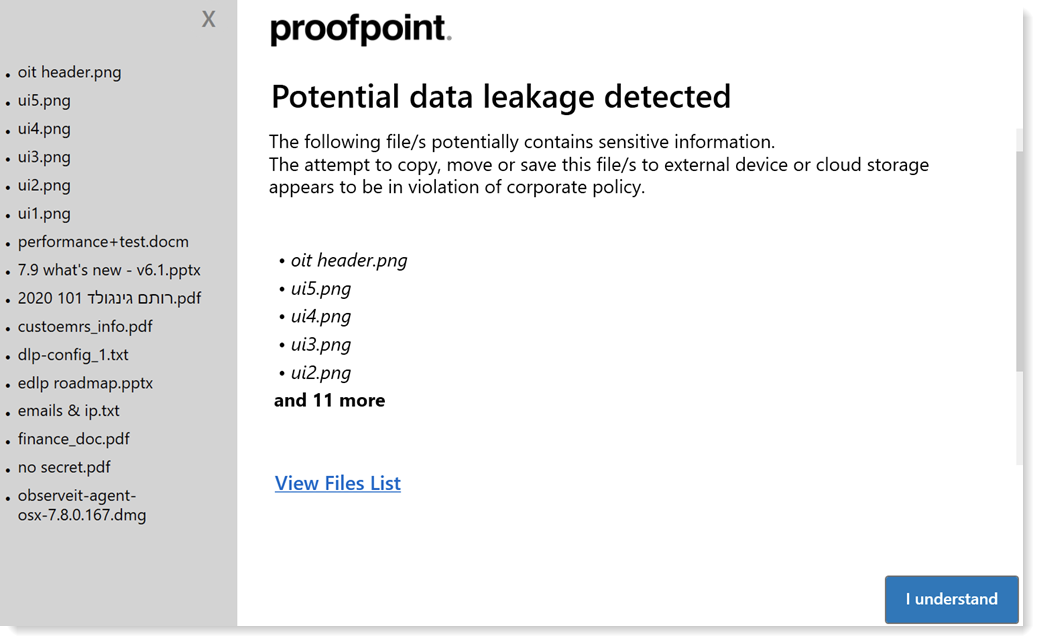
End User Notifications on Mac Endpoints
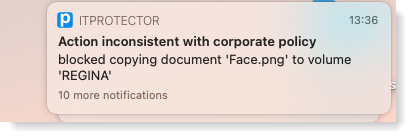
When a prevention rule is applied, notifications display as standard local notifications with the header ITPROTECTOR.
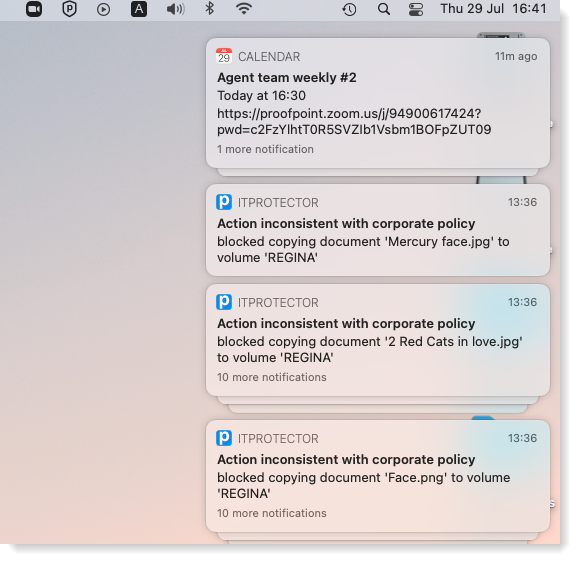
The notifications are grouped by a single user action.
To close these notifications, click to dismiss.
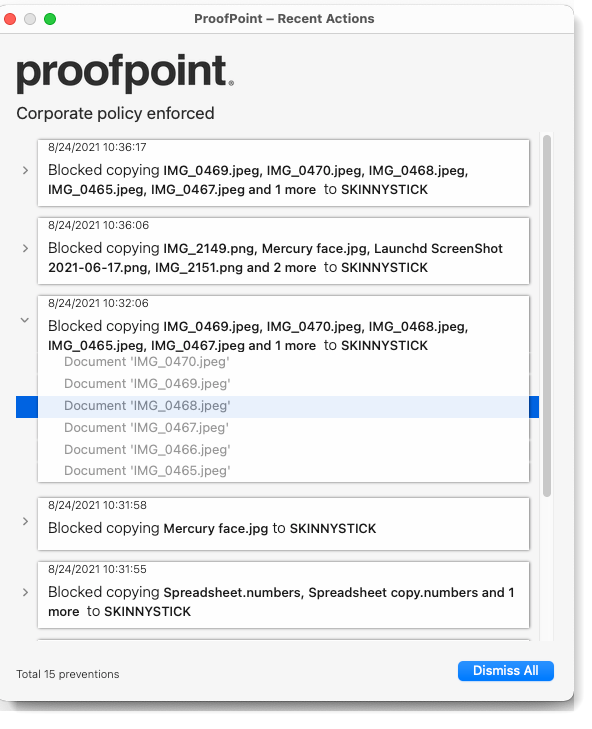
To see the list of all the actions, you can click on a notification or on the ![]() icon at the top of the screen in the status item menu bar.
icon at the top of the screen in the status item menu bar.
This notification includes the text and logo you customized when setting up the Agent Realm. From here, you can scroll through the notifications.
End User Notifications Display Options
By default, notifications are displayed as banners and are displayed in the center of the Window.
When enabled, notifications display at a minimal size, displayed in the bottom-right of the Window. The minimal display is less intrusive, making it easier for the user to continue working.
This option is supported for Files only.
Related Topic: