This topic describes how to deploy Mac agents using JAMF, so you can remotely deploy agents to multiple endpoints.
Use this topic as a guide for mass (MDM) installation. Depending on the version of JAMF you are using, the images may change.
Prerequisites
Before you begin, do the following:
-
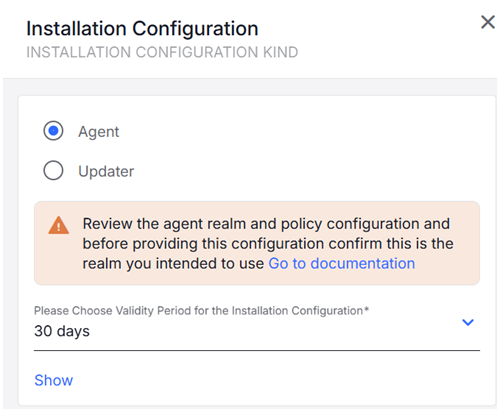
Preinstall Shell Script: From Agent Realms, download the Shell Script for the Agent Realm. (Administration app > Endpoints >Agent Realms). Make sure you select Agent.

-
Configuration Profile: From Endpoints > Downloads, download latest Management Tools with the Configuration Profile (observeit-OSX-management tools-OSX-X.X.X.tar.gz).

See Management Tools.
-
Bundle Package: From Endpoints > Downloads, download and open the latest macOS Agent release (observeit-cloudagent-OSX- bundle-x.x.x.x.tar.gz).


Make sure you download the bundle - not the Agent.
If you want to make changes to the Configuration Profile, use the version that is not signed. After making changes you must sign the configuration profile before deploying it.
For information about how to sign an unsigned configuration profile, see this JAMF article.
Configuration Profiles
For Mac Agent:
-
IT Viewer macOS 11.signed.mobileconfig: Configuration Profile signed by Proofpoint
-
IT Viewer macOS 11.mobileconfig: Unsigned Configuration Profile, to be signed by customer
Uninstalling the Agent when Updater is Installed
If you are uninstalling the Agent and the Updater is installed, you must uninstall the Updater first:
-
Uninstall the Updater
-
Uninstall the Agent
-
Remove the Configuration Profile
JAMF Deployment for the Bundle
Do the following:
Upload the Configuration Profile
Upload the Configuration Profile included in the Management Tools you downloaded.
-
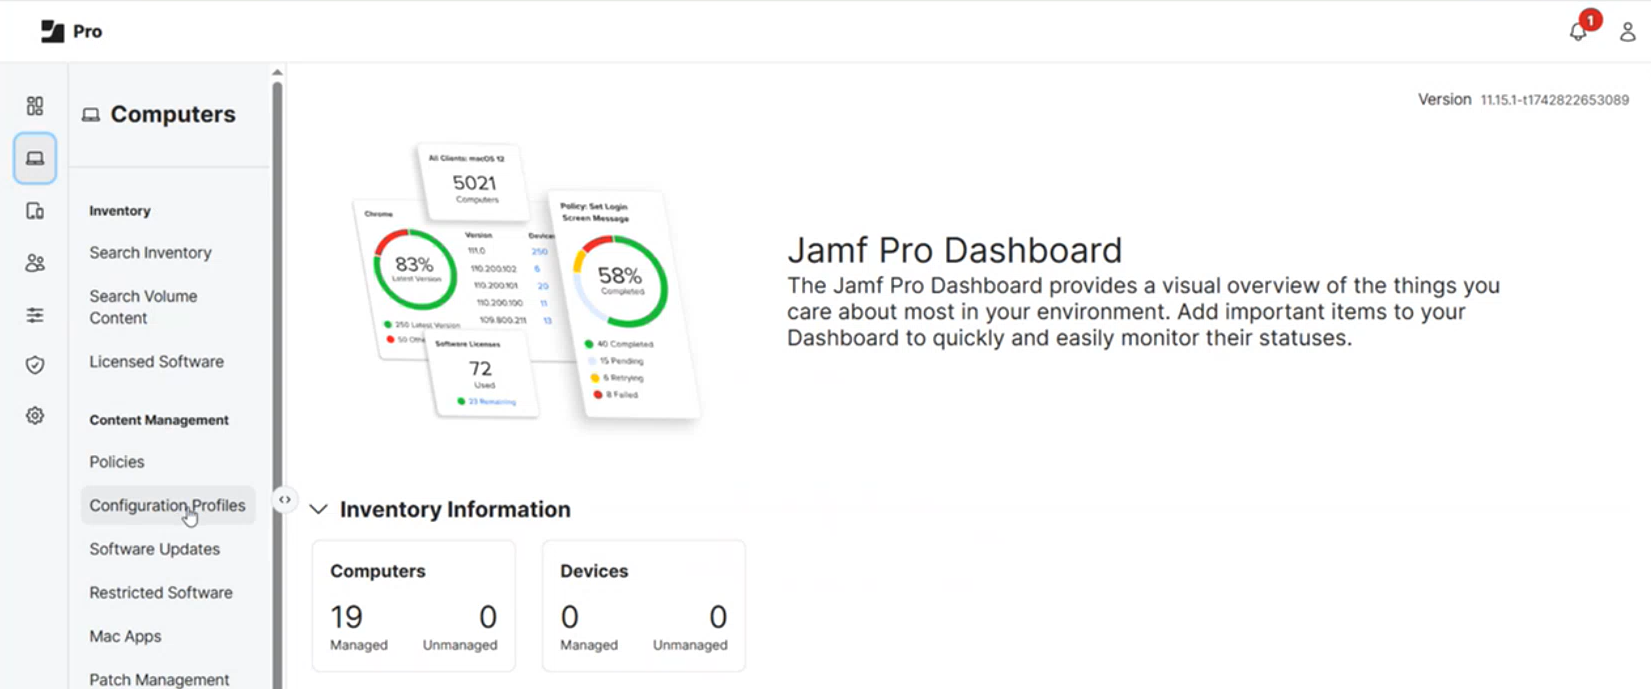
In JAMF, from the menu on the left-side, in Computers, select Configuration Profiles.
-
In the Configuration Profiles screen, from the list of configuration profiles, select the Configuration Profile you downloaded with the latest Management Tools.
Upload the Package
Upload the package you want to deploy.
observeit-cloudagent-OSX-bundle-x.x.x.x.pkg package was downloaded with observeit-cloudagent-OSX-bundle-x.x.x.x.tar.
-
In JAMF, from the left-side menu, in Computers, select Policies.
-
Click New.
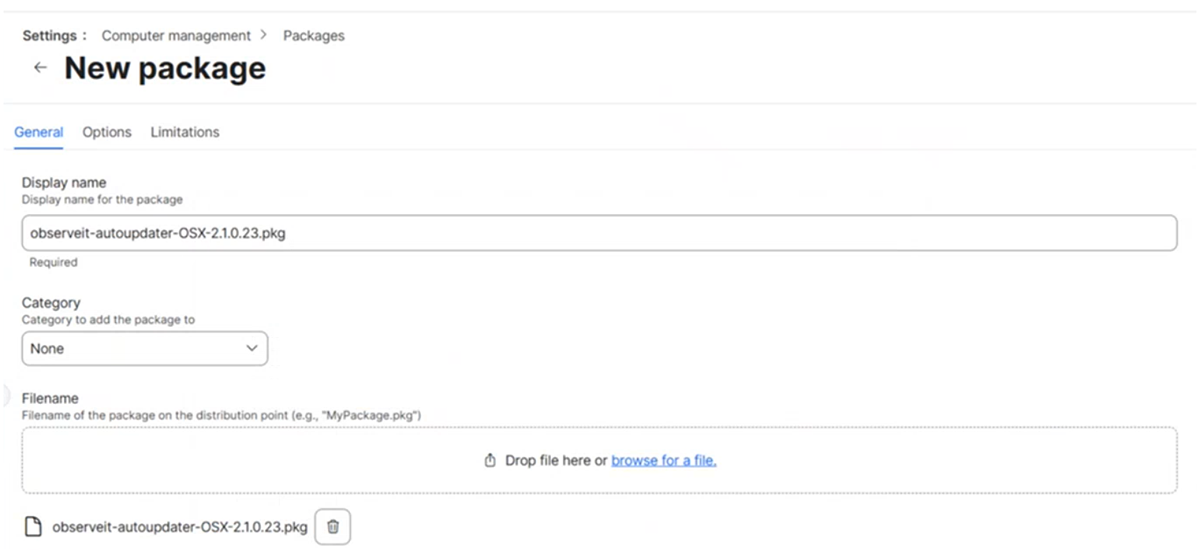
The New Package page opens.
-
In the Filename area, browse to the observeit-cloudagent-OSX-bundle-x.x.x.x.pkg package package file.
-
In the Display Name field, you see the name of the package you selected.
-
Click Save and the package is added.

Upload the Shell Script
Upload the relevant Shell script you downloaded from the Agent Realm.
-
Using a text editor, open the downloaded Shell script so you can modify the relevant parameters. These parameters will be applied when the install is run.
-
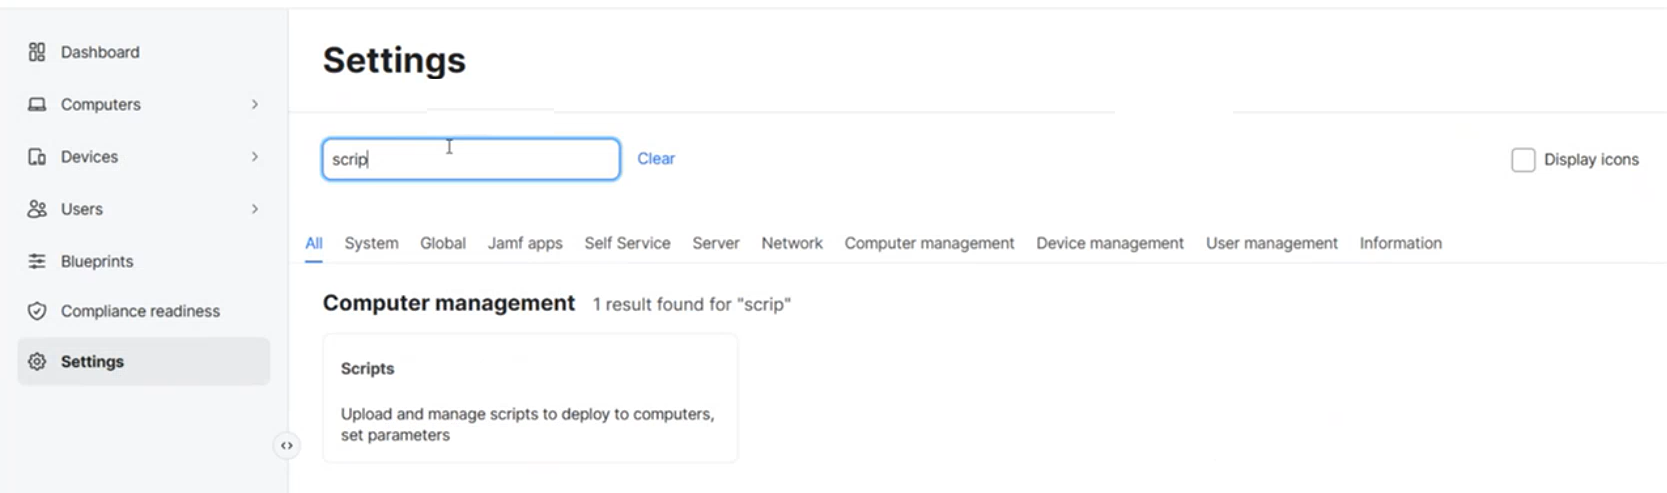
From menu on the left-side, select Settings and from the options, select Scripts.
-
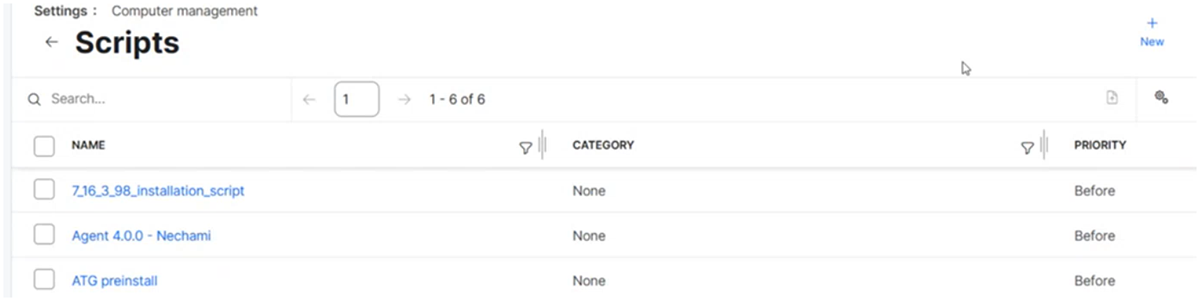
Select Scripts and the Scripts page opens.

-
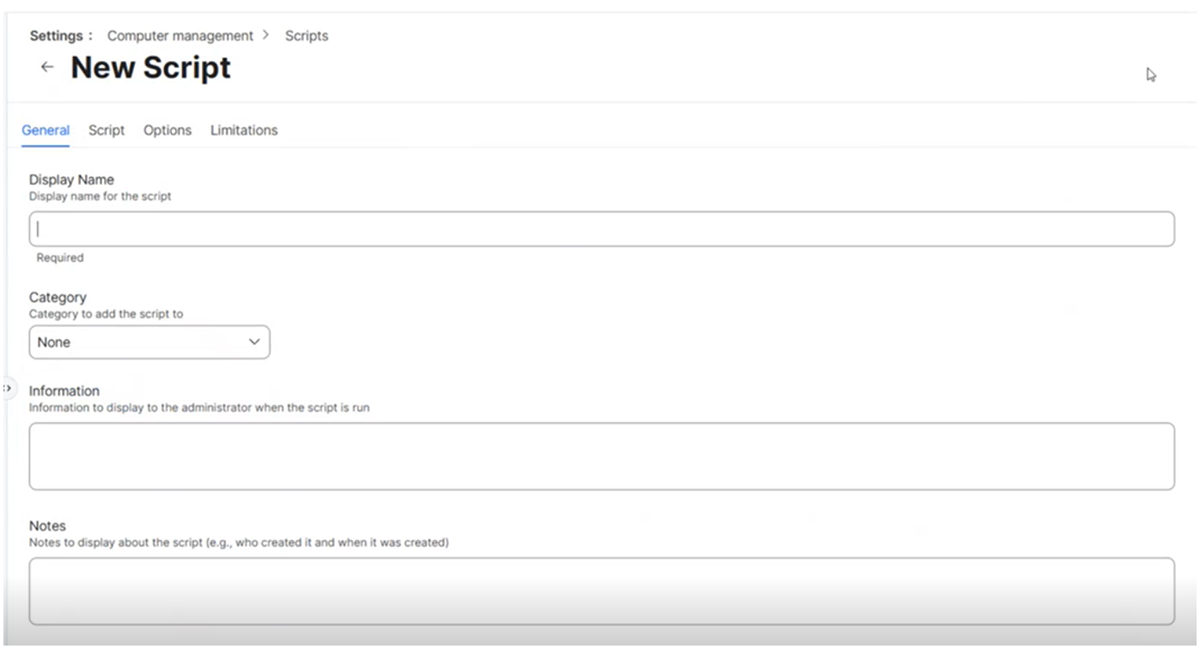
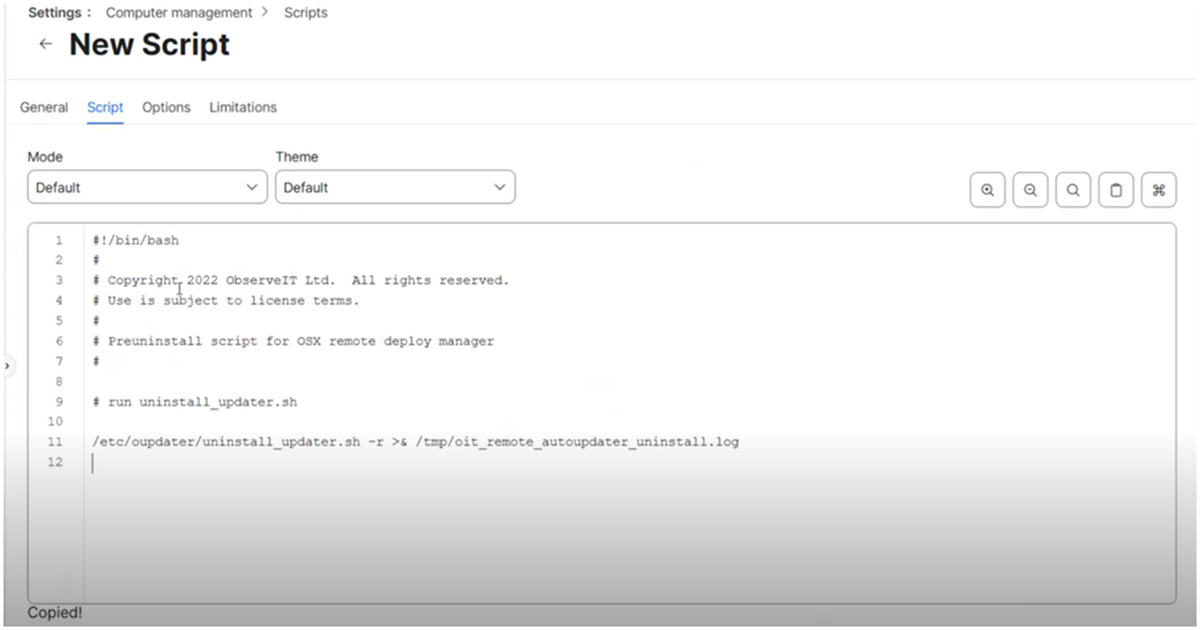
Click New and the New Script page displays.

-
From the General tab, provide a Display Name.
-
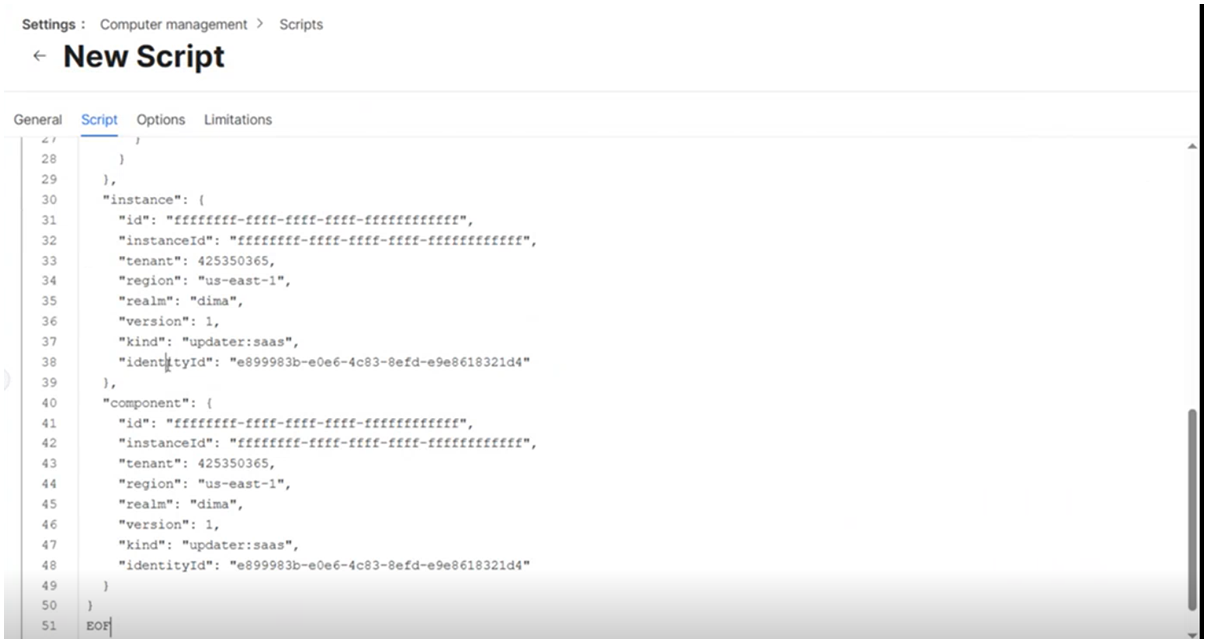
In the Scripts tab, copy the Shell script file and paste it.

-
Review and save.
-
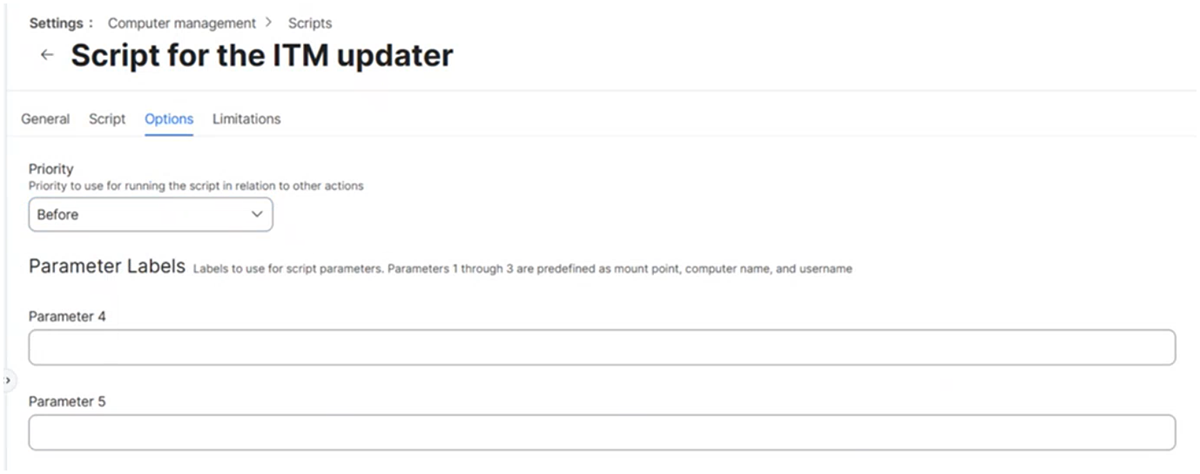
From the Options tab, set the Priority to Before so the script runs before the package.
-
Click Save.
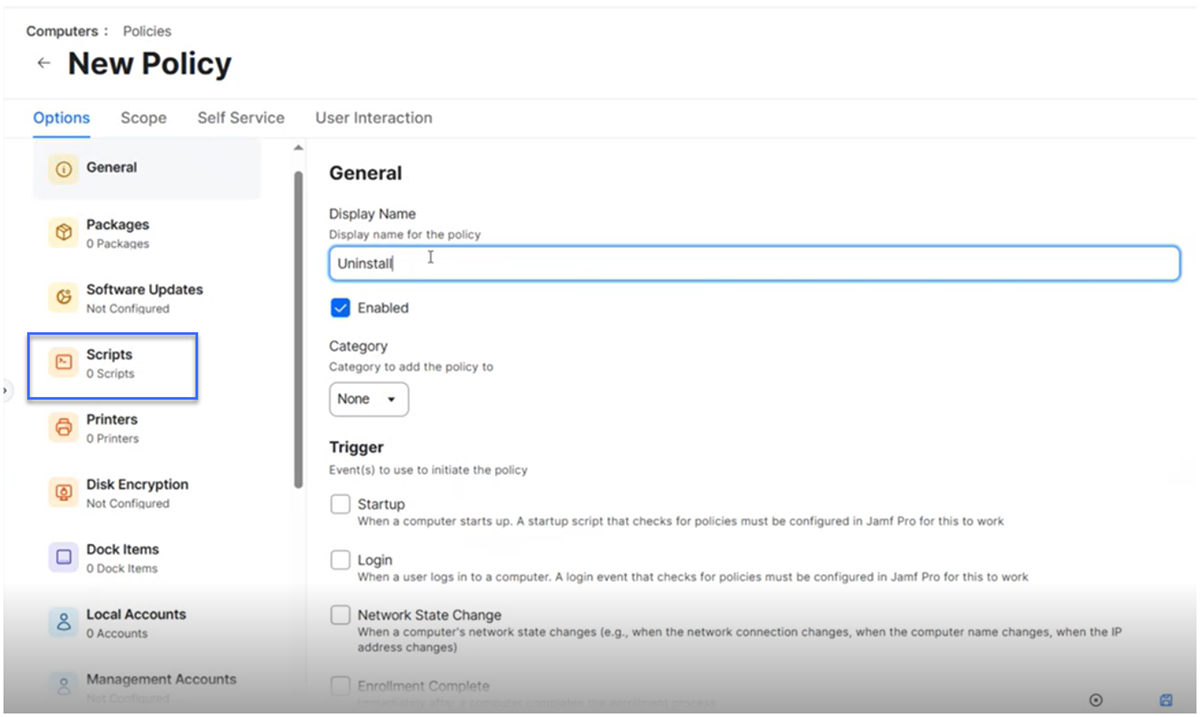
Create the Policy
Add a new policy for the Updater.
-
From Computers, select Policies from menu on the left-side.
-
In the Options tab, select General from the menu on the left side and provide a Display Name for the policy you are adding.
Make sure that the Enabled check box is selected, so that you can run the policy.
-
From menu on the left, select Packages and Configure the package. From the list of package, select the package.
-
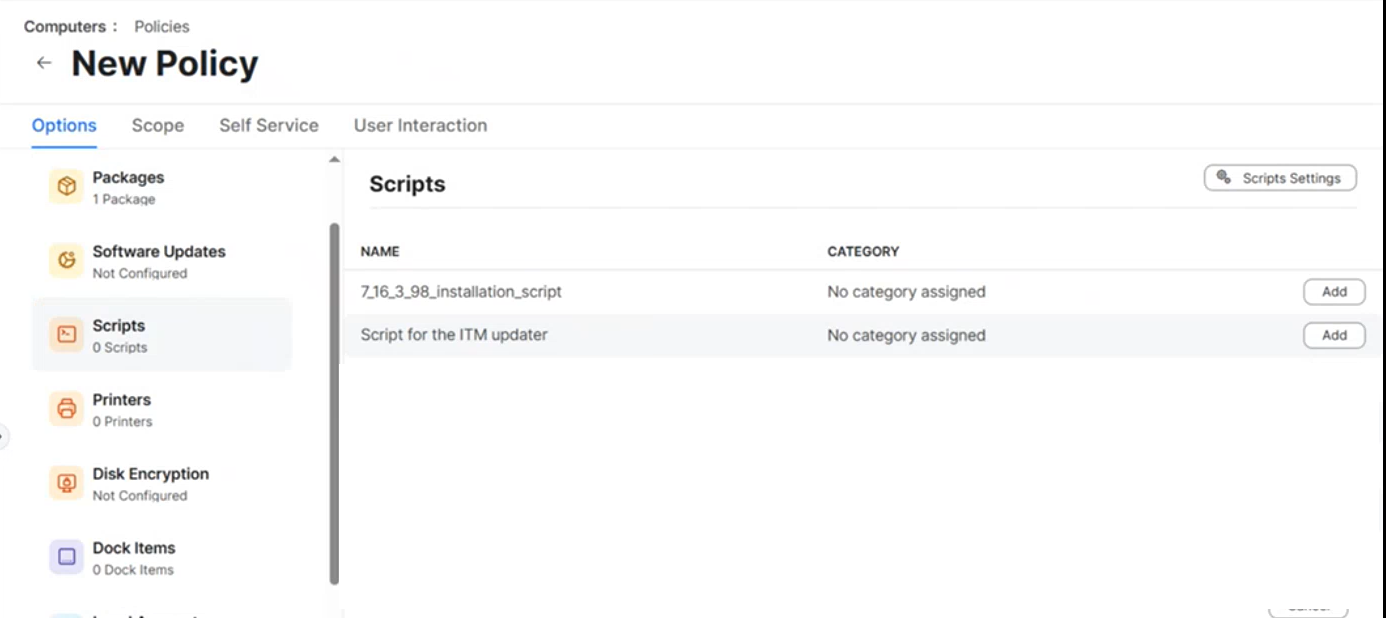
From menu on the left, select Scripts and select the script from the list.
-
Save.
Configure the Policy Scope
Configure the Package in the Policy
-
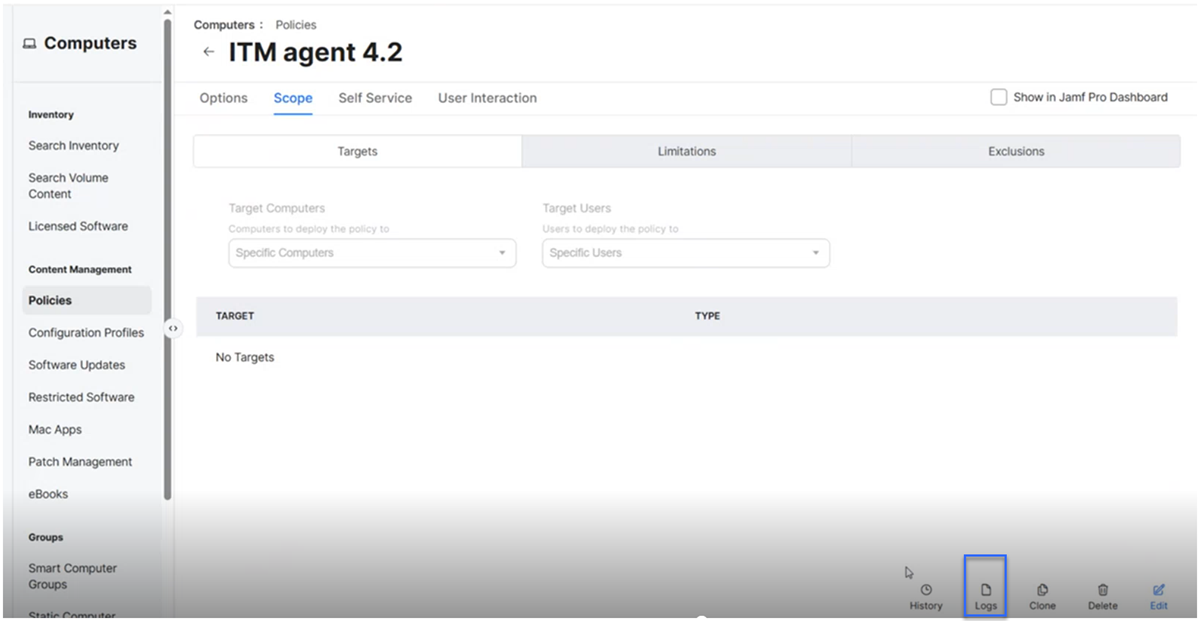
From Computers, select Policies click Logs.
Check the Status
-
From Computers, select Policies and click Logs.

-
From the Logs screen you can see the status of your Bundle.

The Mac agents listed as available deployment targets must have the JAMF agent installed.
If you want to run the package yourself, under the Self Service tab, enable Make the policy available in the Self Service check box.
Removing the process controller configuration profile
-
From the JAMF Web console dashboard, click the Computer button and select Configuration Profiles from the menu on the left-side. The Configuration Profiles screen displays.
-
Select the Scope tab and click the Edit button at the bottom of the screen.
-
From the list of configuration profiles, select the one you want to remove. Click Remove and Save.
You are prompted to select the redistribution option after the configuration profile is removed.
-
Click Save.
Uninstall the Mac Agent for MDM deployment (JAMF)
You can remotely uninstall multiple agents to multiple Mac OS endpoints via JAMF.
Do the following:
Create the Uninstall Script
-
From the folder in the .pkg file, open the
PreUninstallscript example located in observeit-cloudagent-OSX-bundle-x.x.x.x.dmg\remote\ and copy its contents. -
Open the JAMF Web Console dashboard main screen.
-
From menu on the left-side, select Settings and from the options, select Scripts.
-
Select Scripts and the Scripts page opens.
-
Click New and the New Script page displays.
-
Click New button to add the
PreUninstallscript. -
From the General tab. Provide the Display Name for the script
-
From the Script tab, paste the
PreUninstallscript that you copied.
-
If you configured a security key, modify to include it in the script using "". (See Uninstall Key.)
-
From the Options tab, from the Priority dropdown, select Before.
-
Save the script.
Create the Uninstall Policy
-
In the JAMF Web Console dashboard, select the Computers > Policies from the left menu.
-
Click New to create a policy.
-
From the Options tab, under General:
-
Specify a Display Name for the policy.
-
Select the Enabled check box so that you can run the policy.
-
Under Trigger, select Recurring Check-in, so that the policy will be applied to all the relevant computers.
-
-
From the menu on the left, select Scripts.

-
From the list of scripts, select the script you want.
-
Save.
Add and Configure the Script in the Policy
-
From the Policies > Options tab, click Scripts.
-
Select Configure, and then from the list of scripts, click the Add button alongside the uninstall script you created.
-
From the Scope tab in Computers > Policies, select the Mac agents on which to deploy the uninstall script. Click the Add button alongside each target agent. Then click Done.
-
Click Save when you have finished configuring the uninstall script for the policy.
Deploy the Uninstall policy to the Bundle
After creating a policy with the uninstall script, the JAMF agent on the local computer deploys the policy next time it checks in with the JAMF server (by default every 15 minutes).
You can monitor the progress of the uninstall policy, using the JAMF Dashboard. To check the uninstallation logs, click the Logs button for the selected policy.
Related Topics:
Mac Agent and Apple Privacy Controls
MDM Configuration Profile Settings List