To view the new Policies page, click your profile icon. In the New UI section, turn on the Policies (Risk Signatures) toggle.
Policies were previously called “Risk Signatures”. Risks were previously called “Risk Items”.
What is a Policy?
A policy defines patterns, indicators, or characteristics that are used to identify potential security risks, vulnerabilities, or threats. For example, a policy could instruct DSPM to look for servers that have open SSH access with full sync access to an S3 bucket containing PII data.
If the scenario defined by a policy is discovered, DSPM will identify the risks posed by the scenario.
Use the Policy page to manage policy configuration, data exposure, and compliance coverage across all your organization’s data.
To view the Policy page, select Scan Config > Policies.
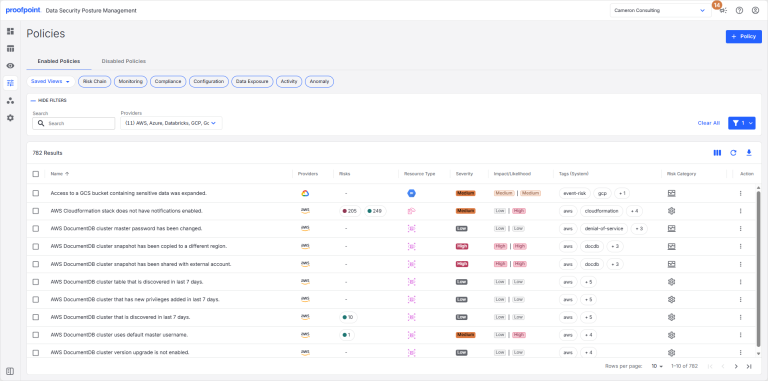
Your policies are shown on the Enabled Policies and Disabled Policies tabs. Key information is listed for each policy, including:
- Name Policy name.
- Providers Cloud providers the policy applies to.
- Risks Number of open and closed risks for the policy. Click the risk number to view details for the open or closed risks.
- Resource Type Types of resources the policy applies to (database tables, data sets, repositories, user accounts, etc.).
- Severity Severity of the potential security breach. You can change the severity on the policy details page. Use this information to help prioritize the policies you need to deal with first.
- Impact/Likelihood Possibility the risk could lead to a security breach. Use this information to help prioritize the policies you need to deal with first.
- Tags (System) Tags that can be used to filter the policies on this page. These tags are defined by DSPM.
- Tags (Custom) Tags that can be used to filter the policies on this page. These are custom tags defined by your organization.
- Risk Category Category for the risk identified by the policy.
Add Custom Tags
You can create custom tags and add them to policies.
- Click an open space in the policy row. A side panel opens.
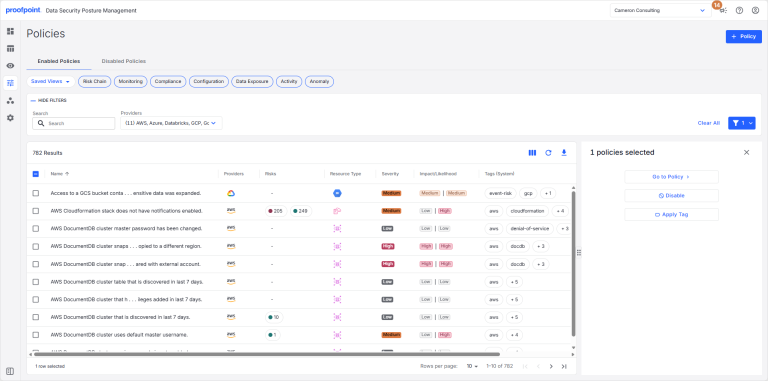
- In the side panel, click Apply Tag.
- Enter a new tag or select an existing tag.
- Click Apply.
Enable/Disable a Policy
To enable or disable a policy:
- In the Action column, select
 beside a policy. Select Enable or Disable.
Delete a Policy
To permanently delete a policy:
- In the Action column, select beside a policy. Select Delete.
Policy Details
Select the policy name to view the policy details.
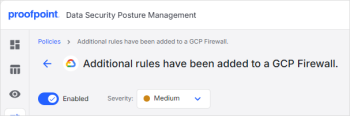
- Use the Enabled slider to enable or disable the policy.
- Use the Severity list to change the policy’s severity.
Overview
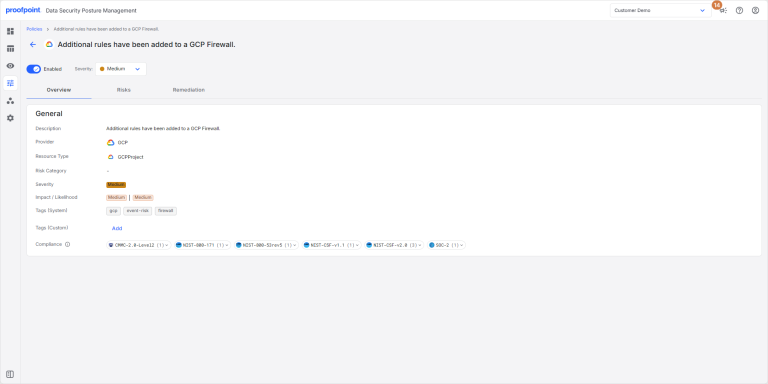
Summarizes the policy details. You can:
- Hover over the impact/likelihood scores to view details.
- Add custom tags to the policy.
- Select a compliance tag to copy it to the clipboard.
Risks
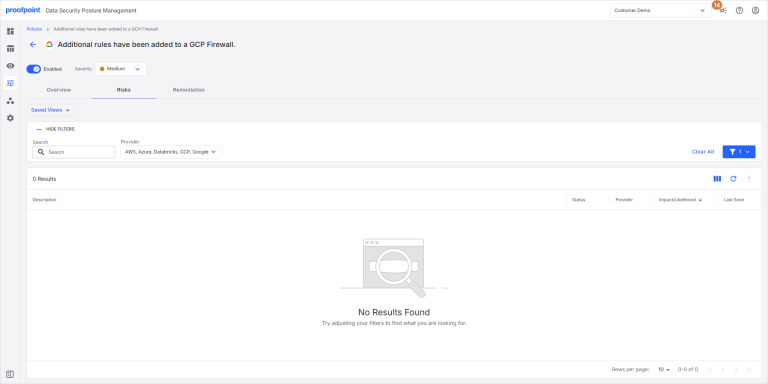
Details for the risks associated with the policy.
Remediation
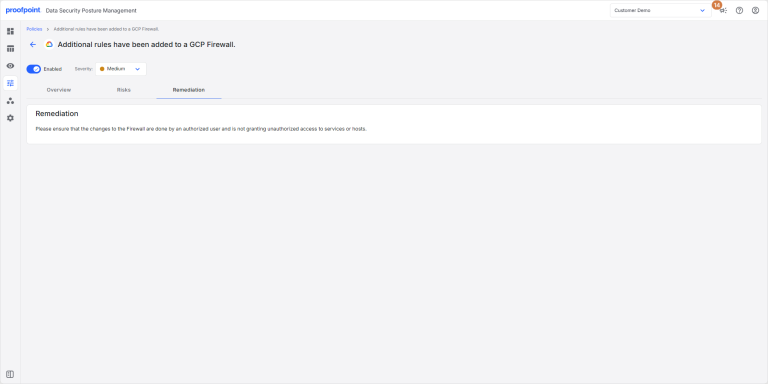
Remediation required to address the risks discovered by the policy.