This topic describes MDM deployment and Agent uninstall Microsoft Intune for Proofpoint Mac Agent and Mac Updater.
Prerequisites
-
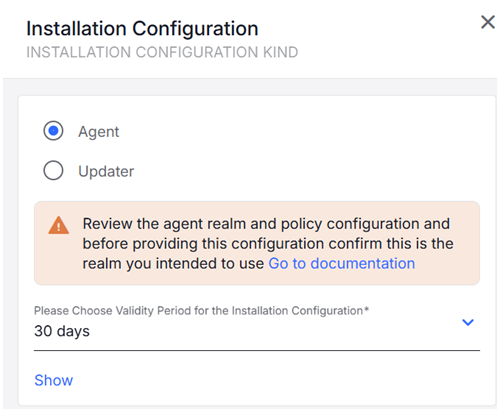
Preinstall Shell Script: From Agent Realms, download the Shell Script for the Agent Realm. (Administration app > Endpoints >Agent Realms). Select Agent or Updater.
-
Configuration Profile: From Endpoints > Downloads, download latest Management Tools with the Configuration Profile (observeit-OSX-management tools-OSX-X.X.X.tar.gz).

See Management Tools.
-
Bundle Package: From Endpoints > Downloads, download and open the latest macOS Agent release (observeit-cloudagent-OSX- bundle-x.x.x.x.tar.gz).
-
Updater Package: From Endpoints > Downloads, download and open the latest macOS Agent release (observeit-autoupdater-OSX-x.x.x.x.tar.gz).
Intune Deployment
Do the following:
-
Upload the Configuration Profile
-
Upload the Package
-
Upload the Preinstall Script
-
Create the Policy
-
Configure the Policy Scope
Upload the Configuration Profile
Intune requires using the unsigned configuration profile. When the configuration profile is uploaded, Intune signs it.
IT Viewer macOS 11.mobileconfig: Unsigned Configuration Profile, to be signed by customer
-
Login to the Intune Admin Center.
-
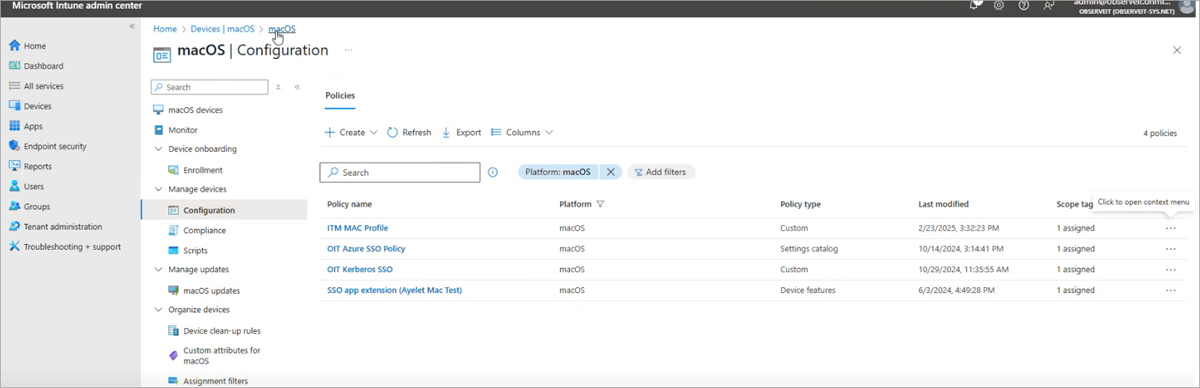
Access the Configuration page, from Intune Admin Center Home > Devices. Select MacOS.
-
From Device onboarding > Manage devices > Configurations.
-
From the options at the top of the macOS | Configuration page, select Create > New Policy.
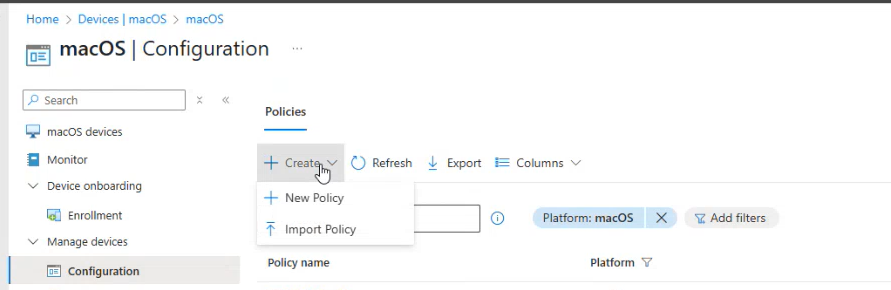
-
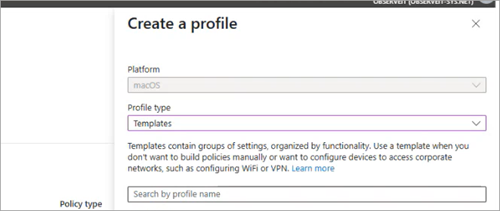
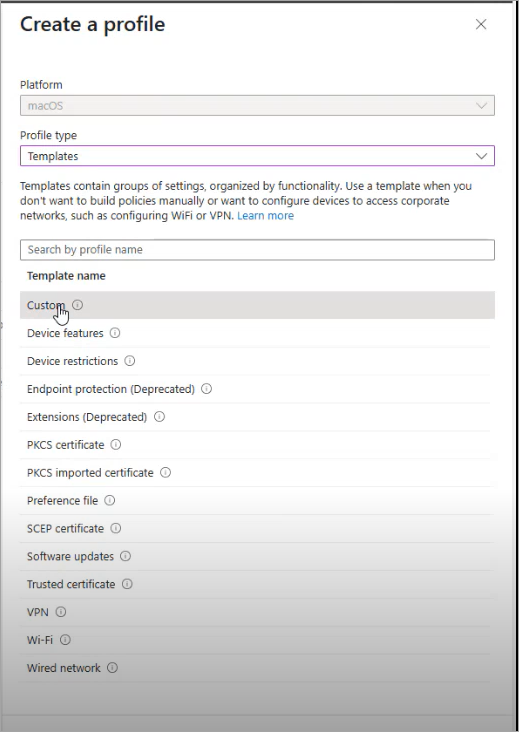
In Create a profile area, Platform is macOS and Profile type is Templates.
-
From Search by profile name, select Custom from list of Template names.
-
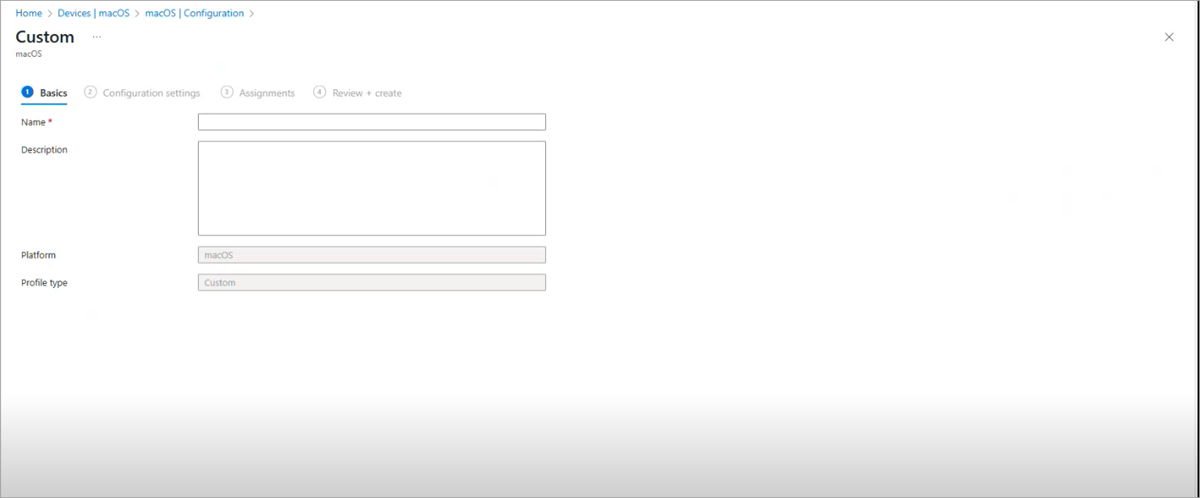
Custom Screen displays.
-
In the Basics area, provide a name and an optional description. Click Next.
-
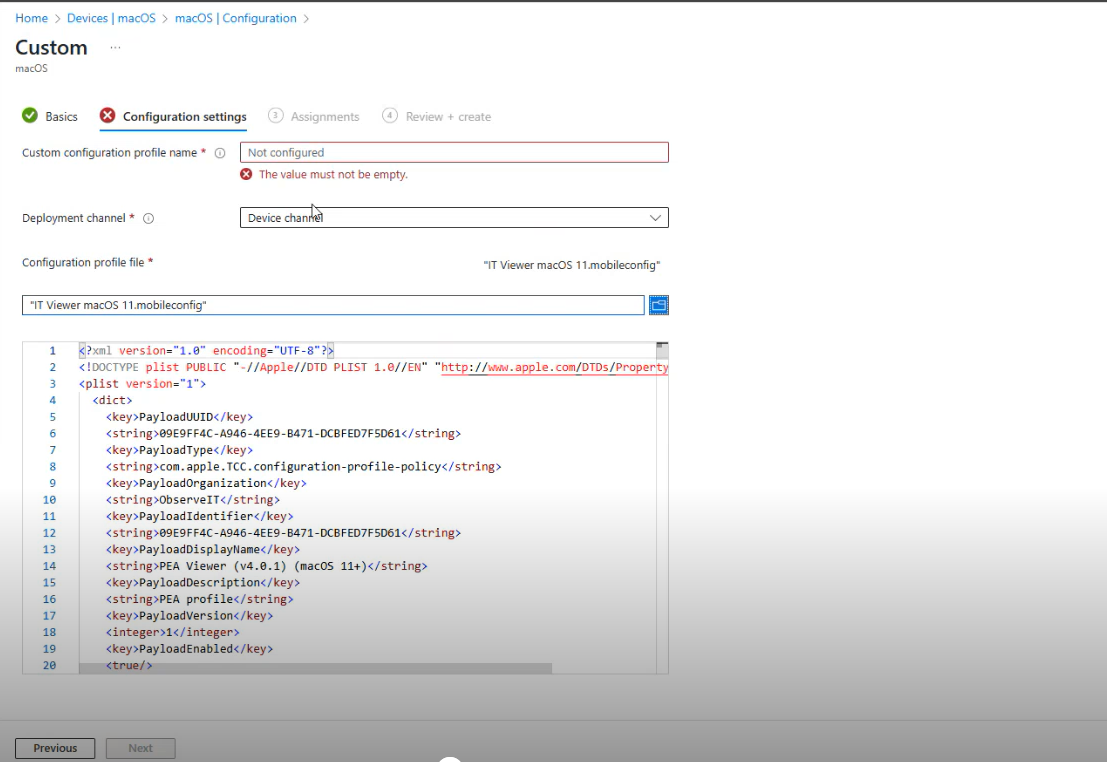
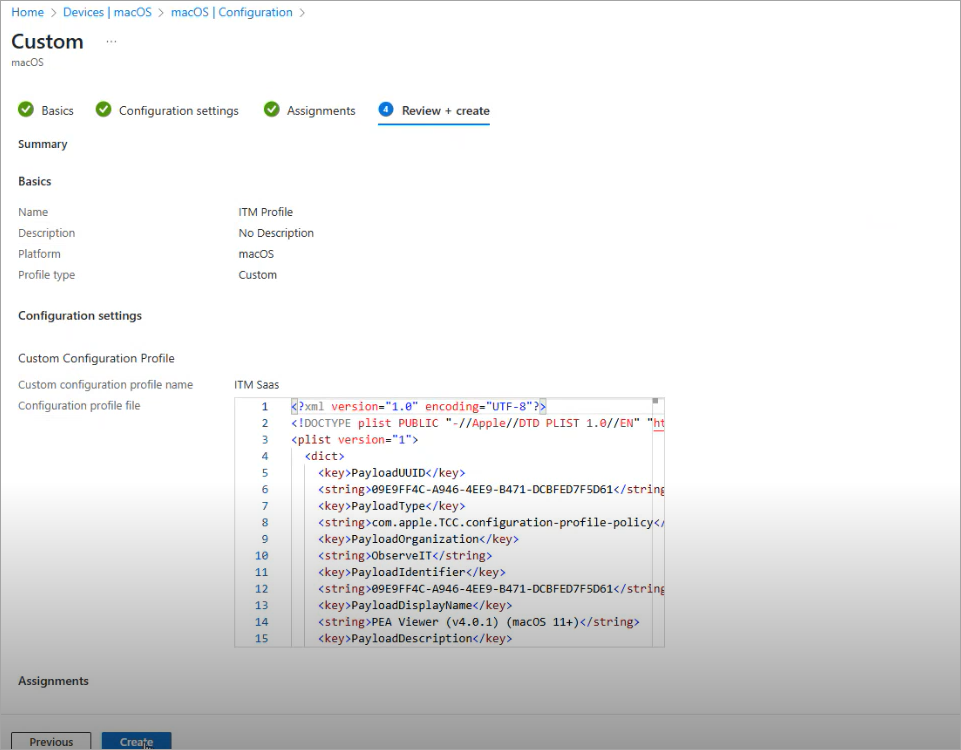
In the Configuration settings, provide a name in the Custom configuration profile name area.
-
Browse to the Configuration Profile you downloaded. (IT Viewer macOS 11.mobileconfig) and upload it.
-
"logger" process is supported for macOS Agent 4.4.2 and before. "logger process is not supported for macOS Agent 4.4.3 and higher.
Optionally, if you want to provide a name for the process other than "logger", locate logger and replace with the name you want.
-
Click Next.
-
In Assignments, assign the groups to include. These are the groups you want to deploy to.
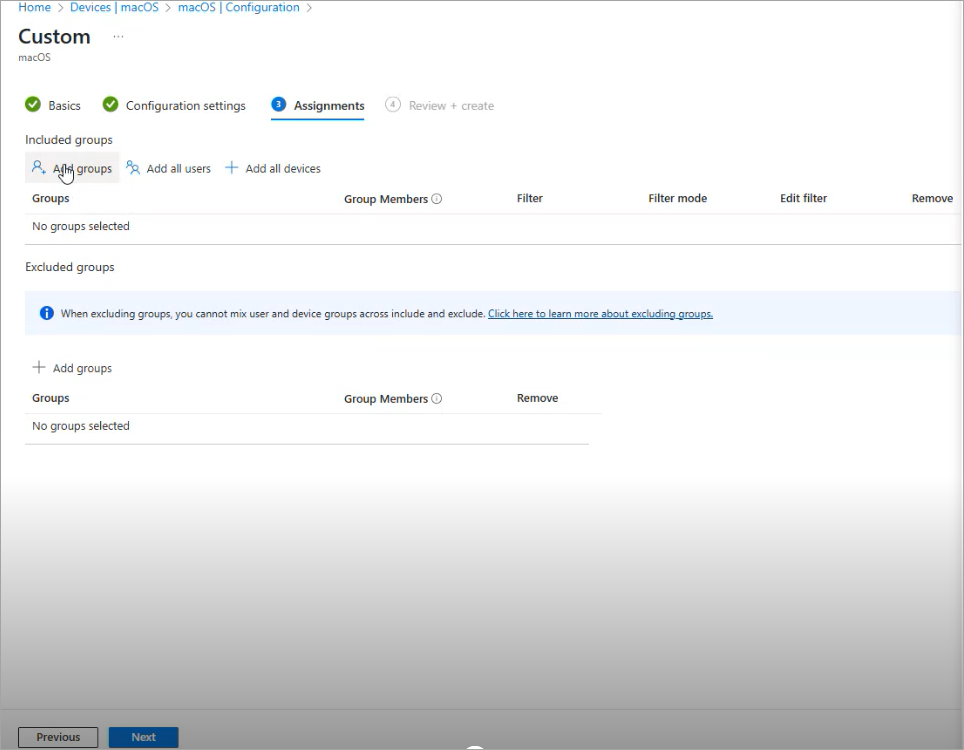
-
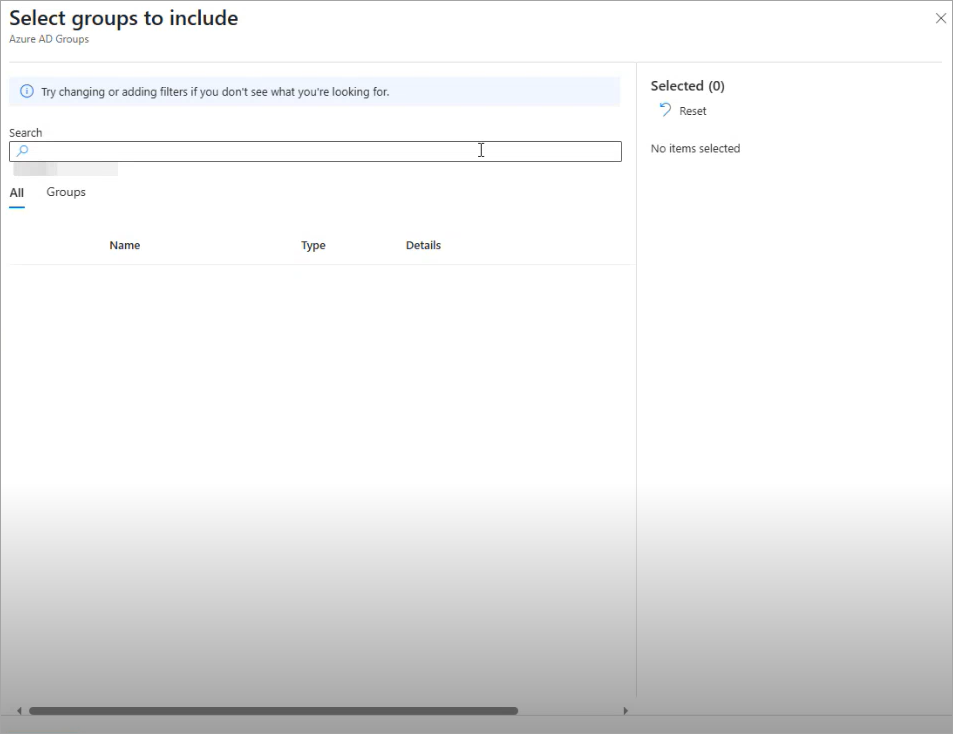
From Included groups, click Add groups. Select the groups you want to include.
-
In Review + create, click Create.
-
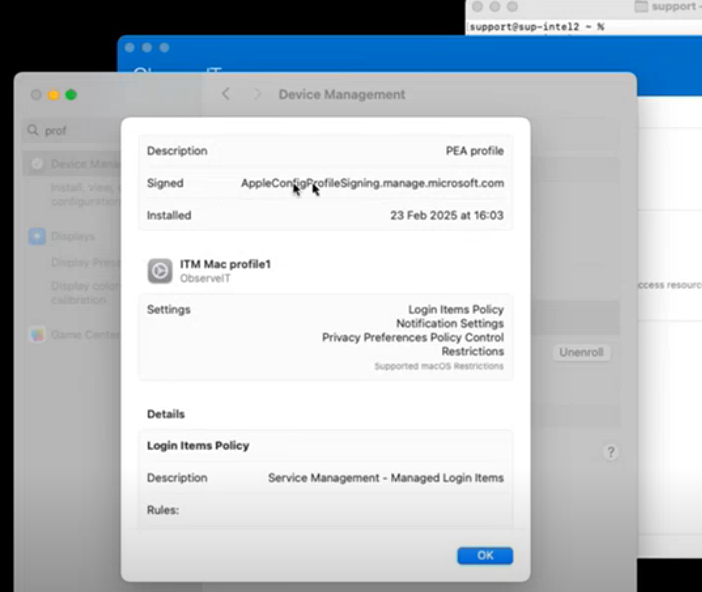
The Configuration Profile is now signed by Microsoft. (System Settings > Device Management)
Upload the Package
From macOS apps, select the pkg you want. (Home > Apps > macOS apps
- Agent Bundle: observeit-cloudagent-OSX- bundle-x.x.x.x.tar.gz
- Updater: observeit-autoupdater-OSX-x.x.x.x.tar.gz
Agent Bundle/ Updater Packages are uploaded from the App area.
-
The list of apps, in Home > Apps|macOS, shows the package Name and Type.
-
Click Create and Select app type panel opens.
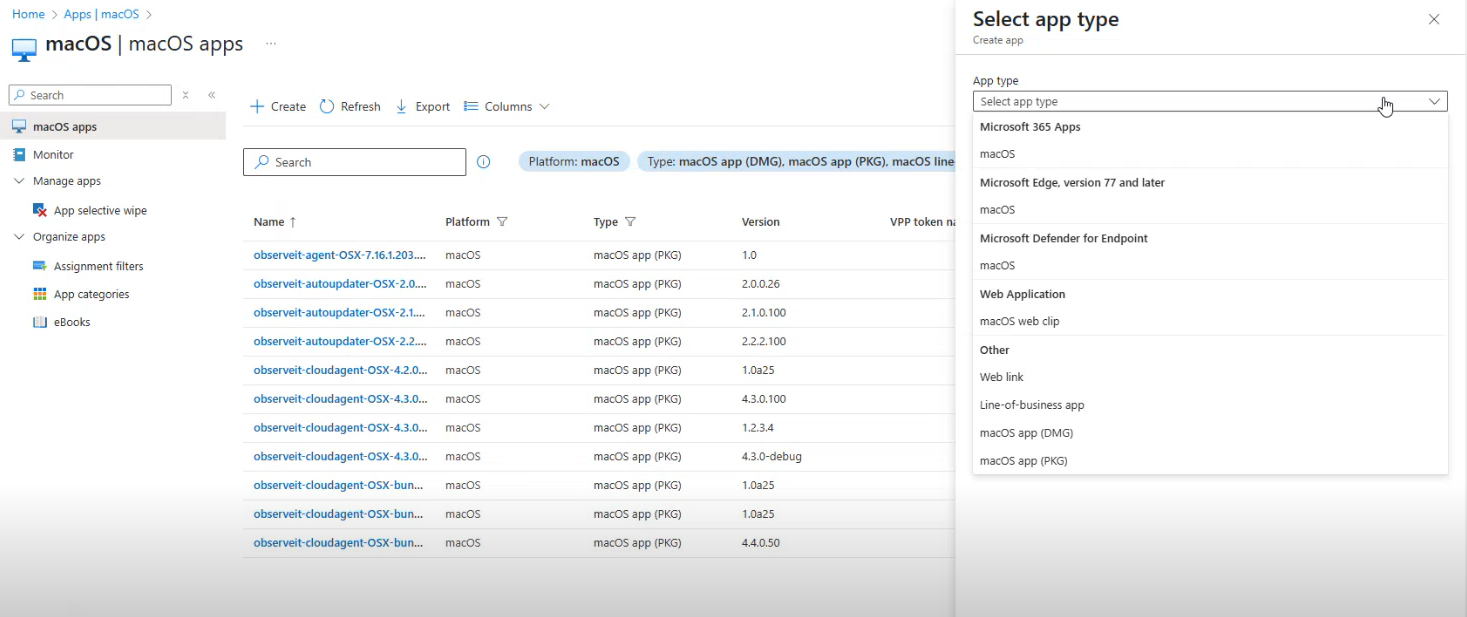
-
In Select app type, from App type dropdown, select the package (macOs app PKG) and click Select.
-
In Add App > App Information, select the package you want by browsing to it from the App package file area.
-
observeit-cloudagent-OSX-bundle-x.x.x.x.pkg or observeit-autoupdater-OSX.x.x.x.pkg
-
Click OK.
-
In App package file in Add App, select package and click OK.
-
In App information, complete the required fields.
Make sure you enter a name for Publisher.
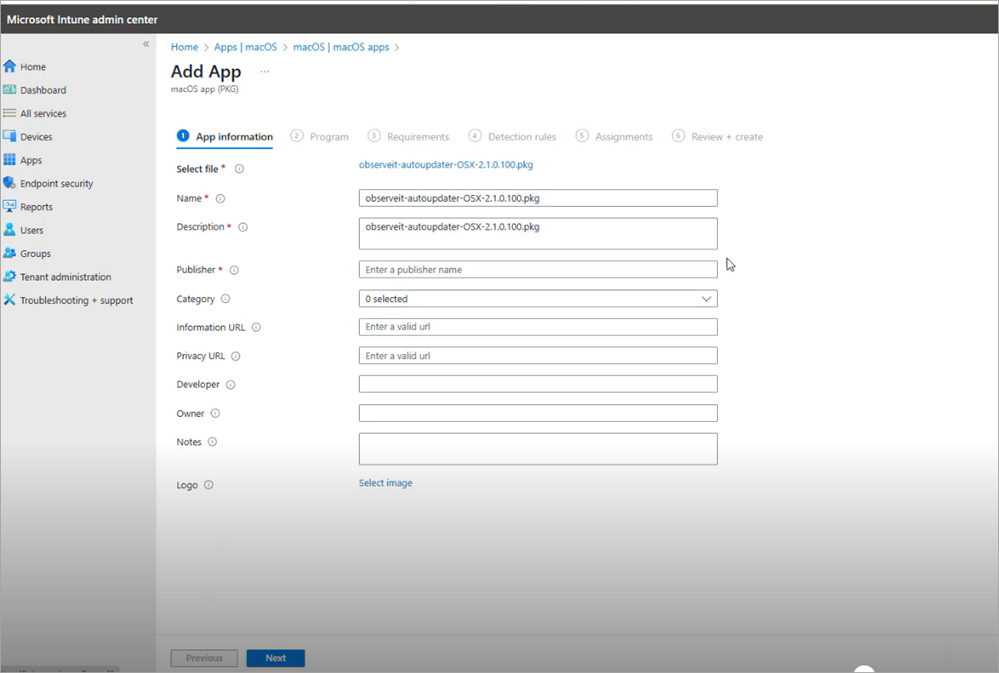
-
Click Next.
Upload the Preinstall Shell Script
The Preinstall Shell script is copied to Add App > Program.
-
Using Notepad or other editor, copy the Preinstall Shell Script.
-
Paste it to Pre-install script. area
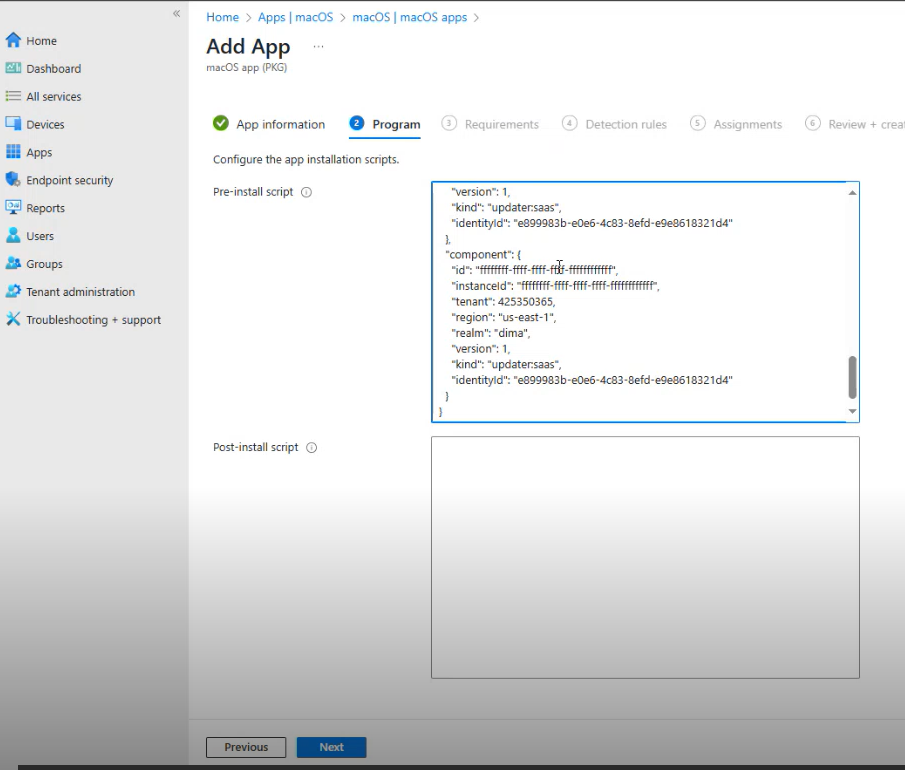
Paste as is - only change if you want to obfuscate the name, see the next optional step.
-
"logger" process is supported for macOS Agent 4.4.2 and before. "logger process is not supported for macOS Agent 4.4.3 and higher. This step is relevant for macOS Agent 4.4.2 and before.
Optionally, if you want to change the process name from "logger" for Agent deployment.
Locate the string:
#echo "LOGGER_NAME=logger">>/tmp/it_remote_install.cfgChange to:
"LOGGER_NAME=<new_name">>/tmp/it_remote_install.cfgYou must use the same name you used in the Configuration Profile.
-
Click Next
-
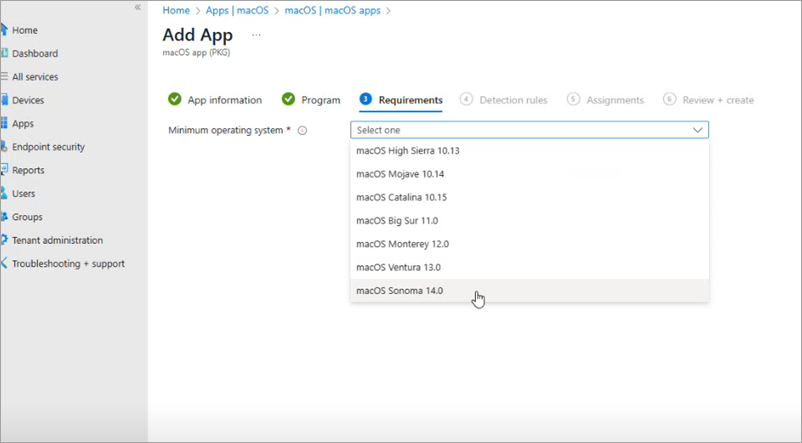
In Requirements, from Minimum operating system dropdown, select the macOS version.
-
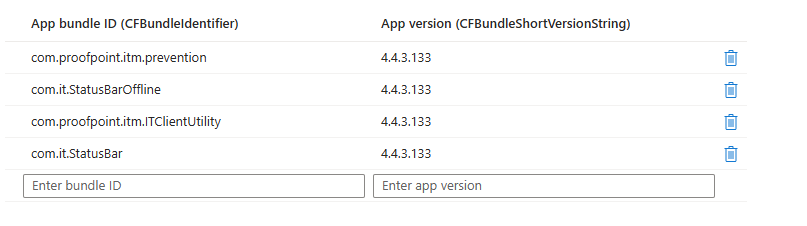
Detection rules are automatically updated.
In the App bundle ID list, keep only a single entry:
com.proofpoint.itm.prevention
For Agent versions 4.4.2 and before, in the App bundle ID list, keep only a single entry:
com.proofpoint.itm.prevention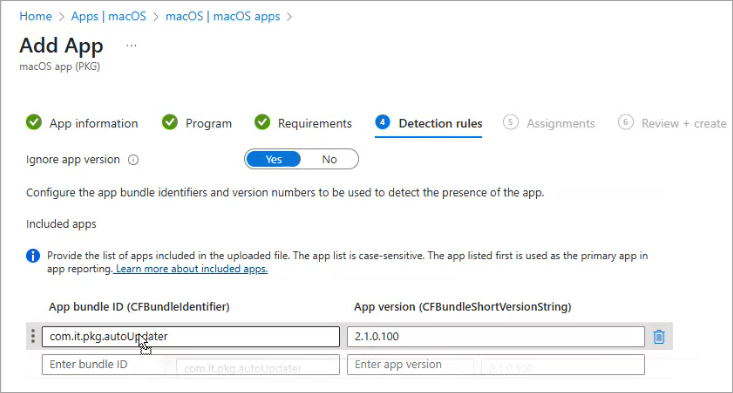
-
Click Next.
-
In Assignments, assign the groups to include. These are the groups you want to deploy to.
-
In Review + create, click Create.

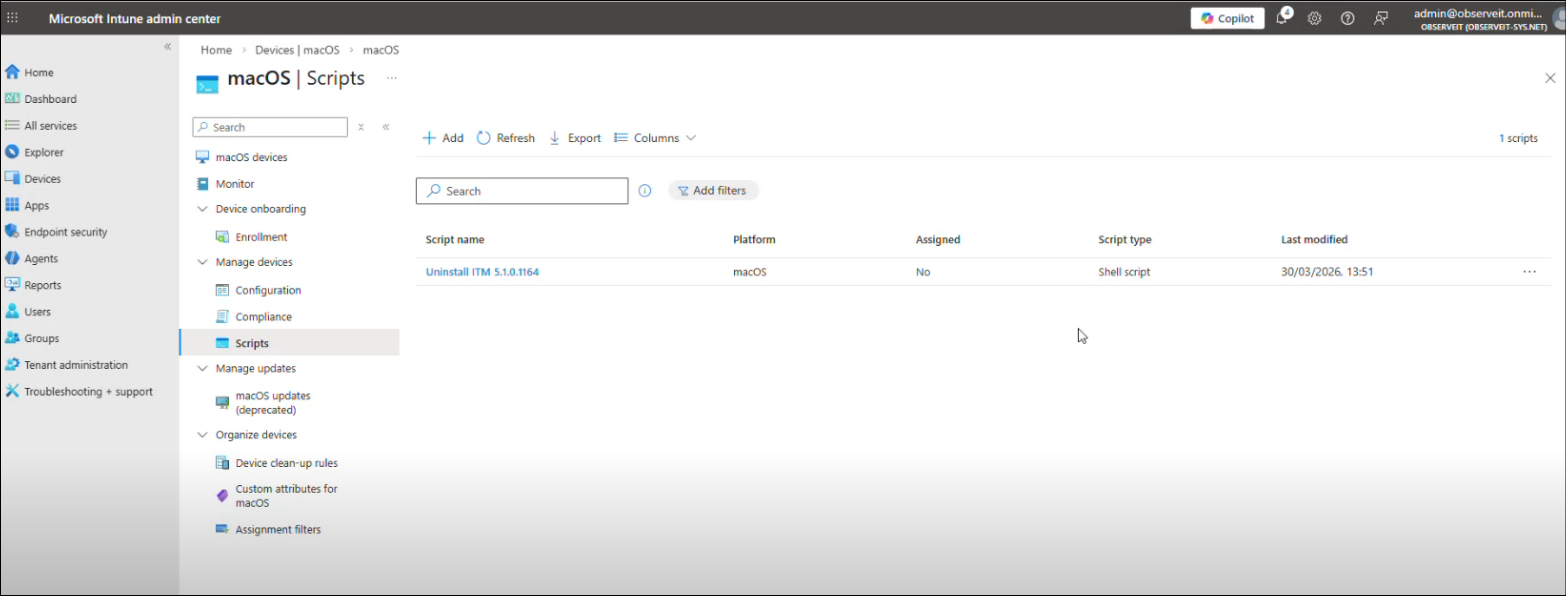
Uninstall Agent
This section describes how to uninstall the agent.
You will need to use the preuninstall script, observeit-cloudagent-OSX-bundle-x.x.x.x.pkg, included in the Agent download.
-
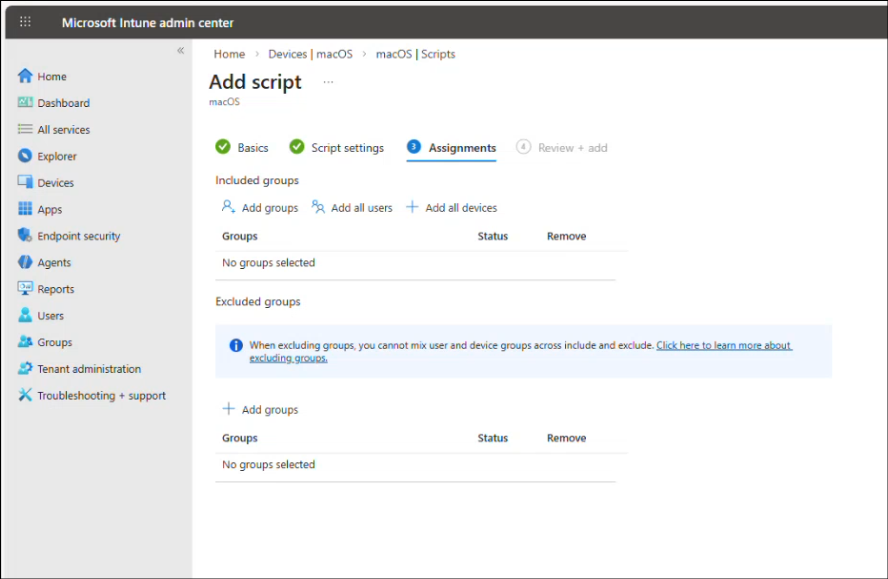
In Microsoft Intune admin center, go to Devices > macOS > Scripts.
-
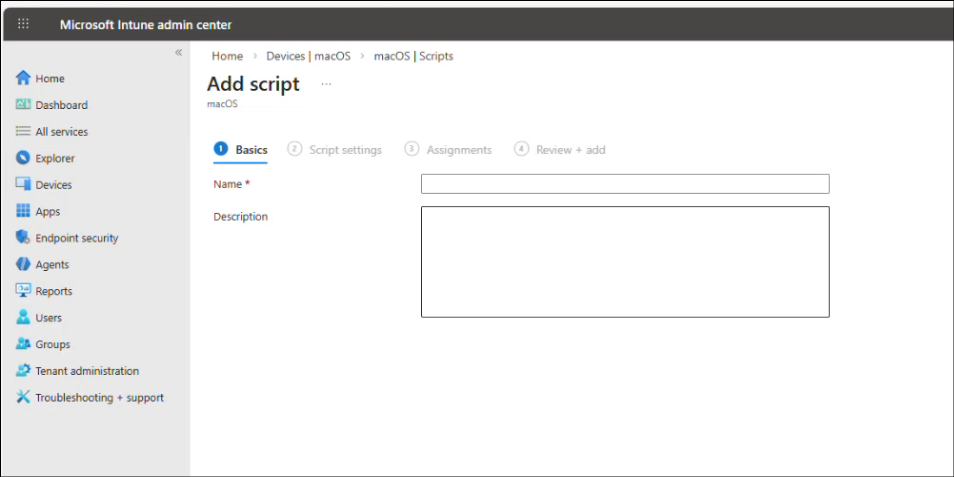
From macOS|Scripts view, click Add to open Add Script.
-
From Add Script, in Basics tab, provide a Name for the script and optionally a Description.
-
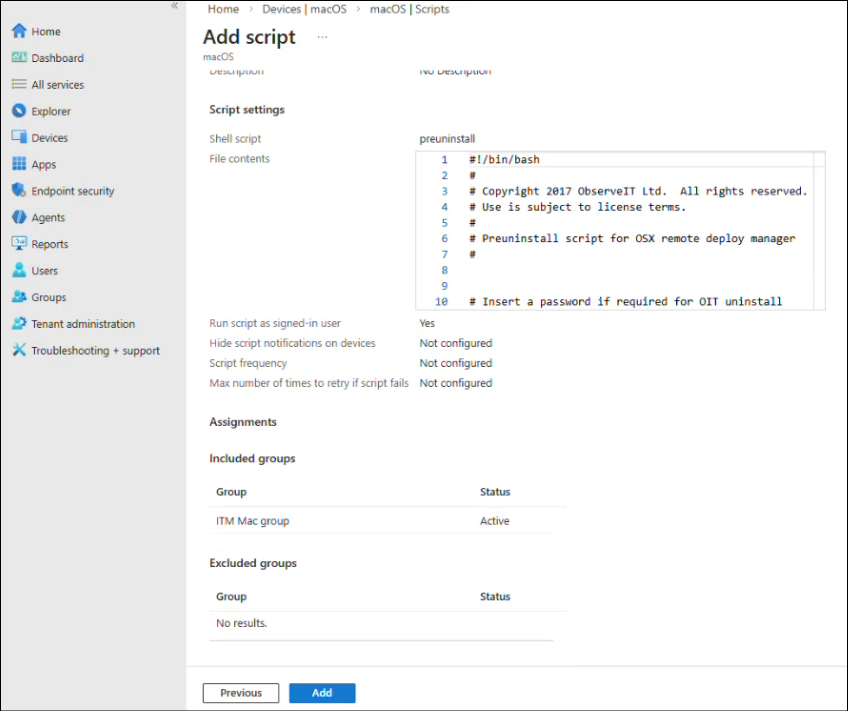
In Script settings tab, upload the preuninstall script.
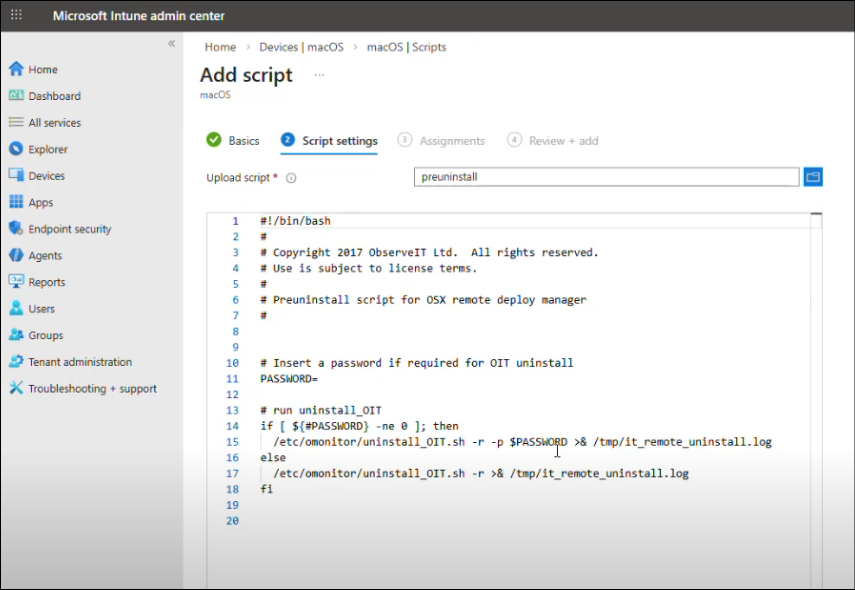
-
For options, use defaults.
-
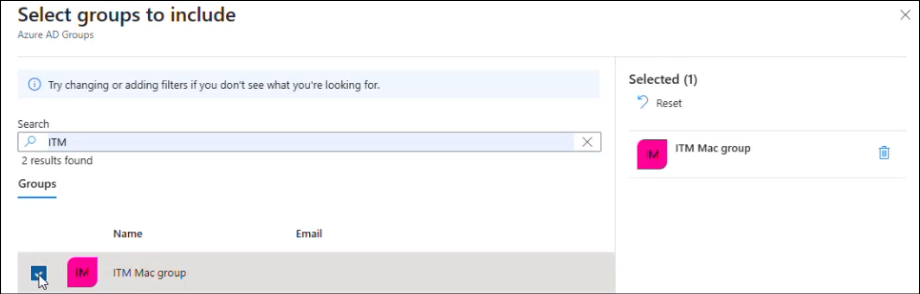
In the Assignments tab, click Add groups.
-
Select the relevant group
-
Click Next.
-
From Add Script tab, click Add.
-
Your results are displayed.