Conditions are criteria you apply to rules and explorations. A condition can be used as a rule or exploration or part of a rule or exploration. Conditions are useful because you can reuse them with multiple rules and/or explorations. Conditions allow you to pre-configure a filter set, and then apply it to either an Exploration or an alert rule.
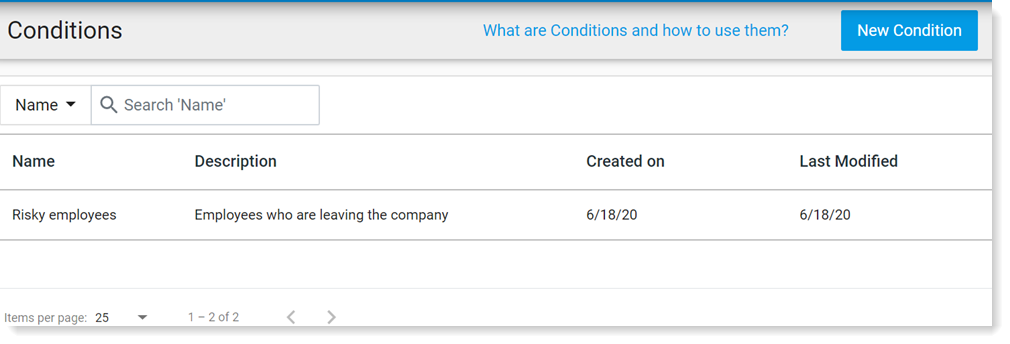
Conditions are accessed from Administration > Definitions > Conditions.
Conditions can be used to set up lists that you want to reuse, such as a list of all users who have recently given notice or a list of social media websites that users are prohibited from using. You can use these lists in rules and explorations.
In addition, Proofpoint provides conditions that you can use. Conditions can also use items from the Threat Library. (See Using the Threat Library.)
Some Proofpoint conditions are empty conditions, that you fill with the relevant values. The  icon next to a condition, indicates that it is an empty condition.
Proofpoint conditions cannot be edited.
Conditions Use Cases
Here some use case examples of conditions and possible rules that might be created using them. The table describes the condition, how to create the sample condition and possible examples for its use.
| Condition | Field | Operator | Value | Rules |
|---|---|---|---|---|
| List of risky users | User > Username | In | Users |
Detect when risky users rename a file Prevent risky users from exfiltrating files |
|
List of Social Media sites that should not be visited |
Website | In | URLs |
Detect users visiting sites your company has determined are not useful Detect files copied from social media sites |
| Rename a customer file (that always start with cust) | Activity > Primary Category | In | File Rename |
Detect if an admin user rename these files |
| File/Resources | Start with | File Names |
Features and Tips
When you set up a condition, you can use the following that are included in the Conditions editor.
This feature is available on request. Contact your Proofpoint representative.
-
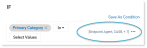
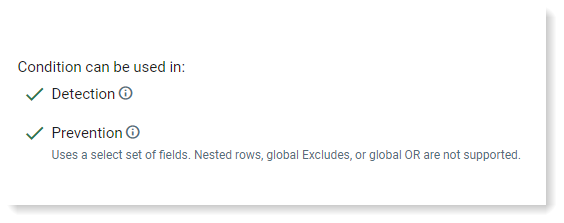
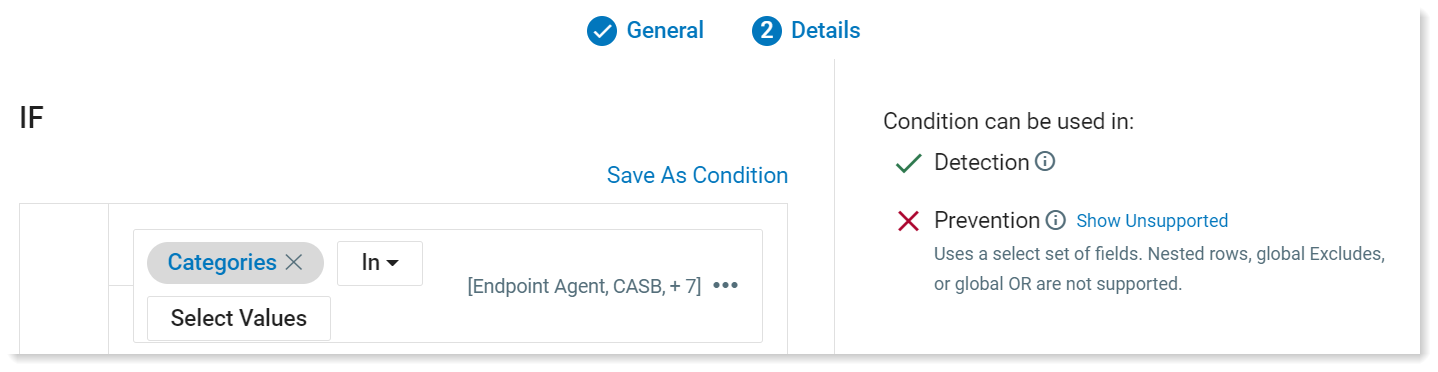
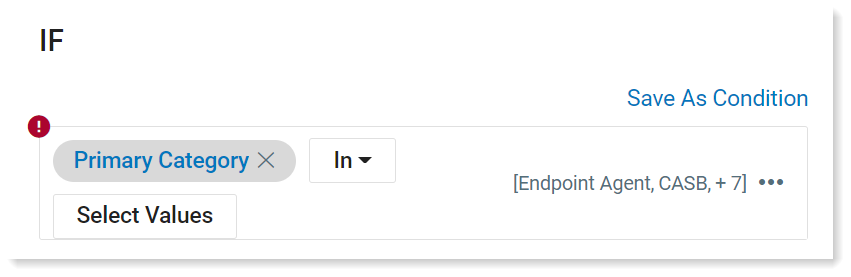
Condition can be used in: This shows whether the condition you are creating can be used in detection and/or prevention rules. This is displayed on the right-side of the page in the Settings tab. As soon as you start to create a condition and select a value, this feature displays.
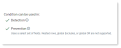
In the example here, the condition that was selected cannot be used with Prevention.
-
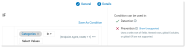
Show Unsupported: When this option is selected, unsupported fields will display with the
 as you create the condition. When Show Unsupported is turned on, you can easily determine which fields cannot be used in a prevention rule.
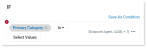
-
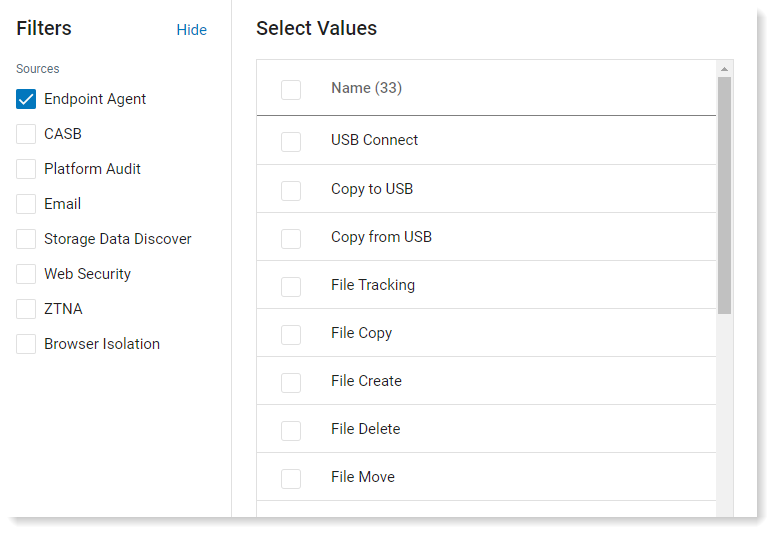
Channel display: When you create a condition, as you add values, you can select the channels that this condition will be applied to. Using this helps you narrow down the results when the condition is used.
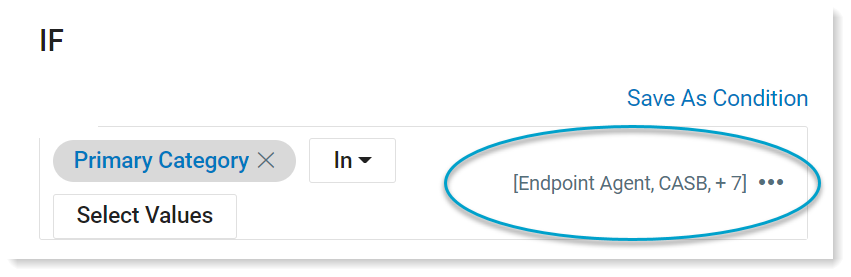
In the If condition, list of conditions possible for the selected field display. You can click to see the details.
When you select a field, the channel filter displays.


Creating a Condition
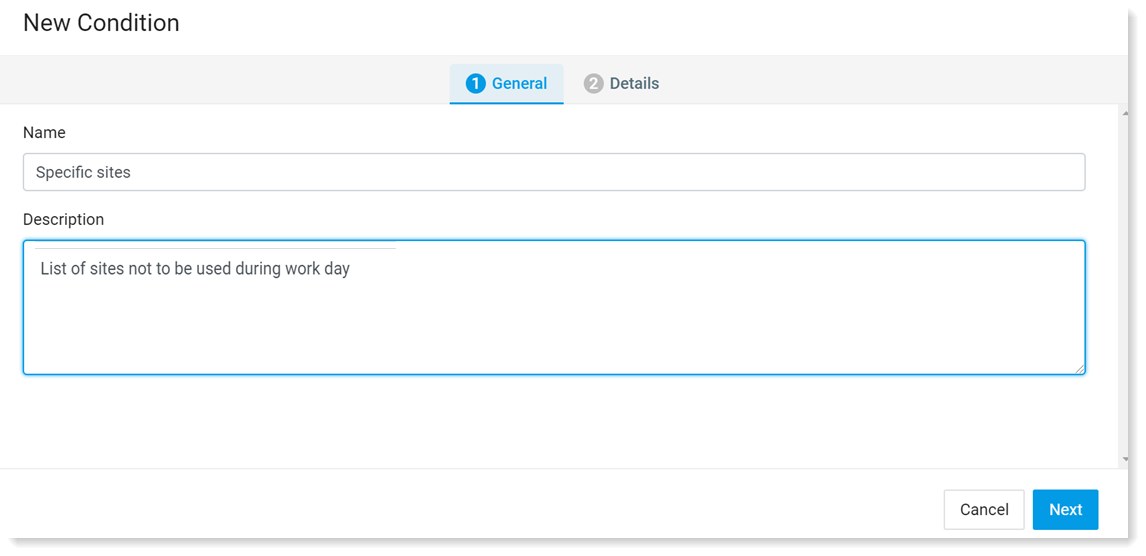
In the example, a condition is created for specific sites.
-
From Proofpoint Data Security & Posture, select the Administration app. Select Definitions > Conditions.
-
Click New Condition.
-
In General tab, complete the Name and Description (optional) fields. Click Next.

-
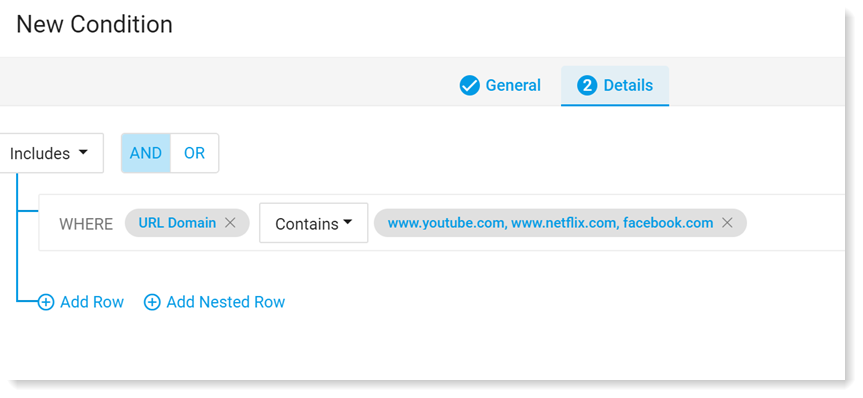
In the Details tab, define the new condition. You are prompted to list sites you do not want uses to access.
In this example, you want to define a condition that lists sites certain sites.
- Click Save.
Editing a Condition
-
From Proofpoint Data Security & Posture, select the Administration app. Select Definitions > Conditions. Select the condition you want to edit.
-
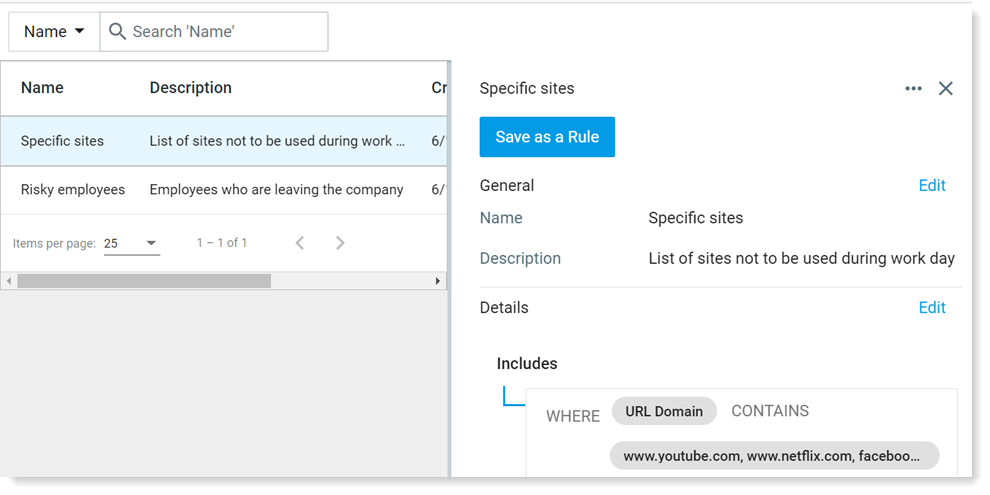
In the details area, click Edit by the section you want to edit.

If you want, you can change a condition to a rule by clicking Save as a Rule.
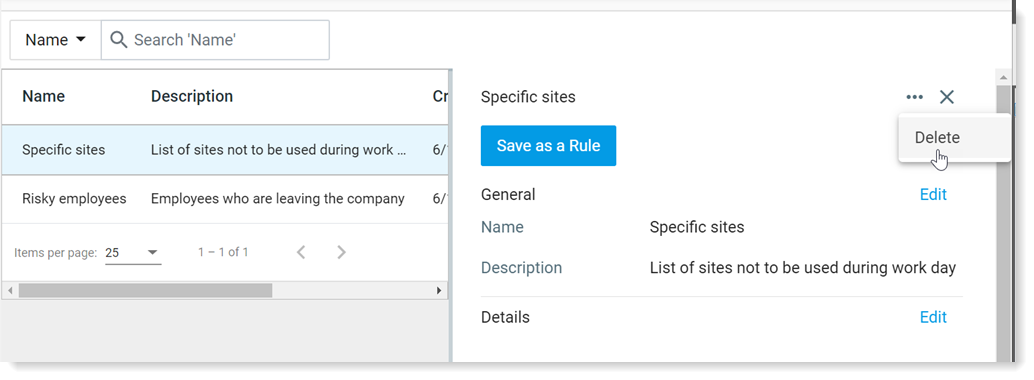
Deleting a Condition
-
Select the condition you want to delete.
-
In the details area, click ... and from the dropdown, select Delete.
Related Topics: