This topic describes how to deploy Mac agents using Workspace ONE.
Prerequisites omnissa (Workspace One)
-
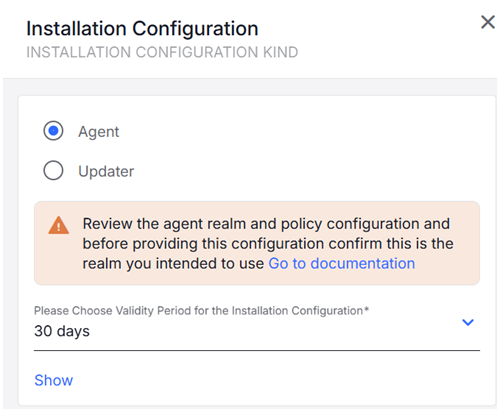
From Agent Realms, download the Shell Script for the Agent Realm. (Administration app > Endpoints >Agent Realms). Make sure you select Agent.
-
From Endpoints > Downloads, download latest Management Tools with the Configuration Profile (observeit-OSX-management tools-OSX-X.X.X.tar.gz).

See Management Tools.
-
From Endpoints > Downloads, download and open the latest macOS Agent release (observeit-cloudagent-OSX- bundle-x.x.x.x.tar.gz).
Deployment
Do the following:
-
Upload the Configuration Profile
-
Upload the Package
-
Upload the Preinstall Script
-
Create the Policy
-
Configure the Policy Scope
Workspace One uses the signed configuration profile.
Upload Configuration Profile
Configuration Profiles
For Mac Agent:
-
IT Viewer macOS 11.signed.mobileconfig: Configuration Profile signed by Proofpoint
-
IT Viewer macOS 11.mobileconfig: Unsigned Configuration Profile, to be signed by customer
For MDM configuration profile settings see MDM Configuration Profile Settings List.
For information about how to sign an unsigned configuration profile, Signing Configuration Profiles.
-
Log into omnissa (Workspace One).
-
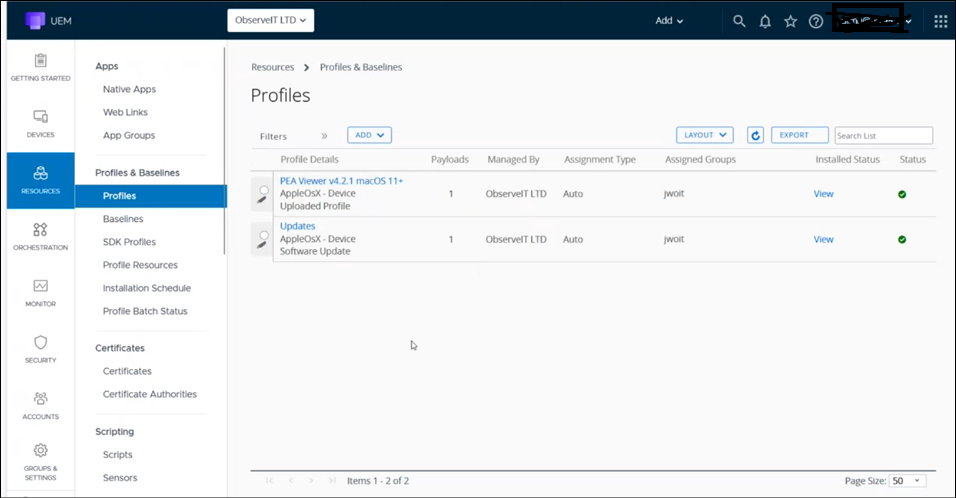
To upload your profile, access the Profiles page by selecting Resources > Profiles.
-
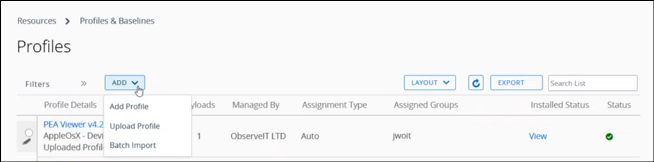
From Add, select Upload Profile from the dropdown options.
-
From Upload File, select macOS file to upload.
-
From Select Context, select Device Profile.
-
From Upload File, click Upload and from Add, click Browse to navigate to the Profile file you want. This is the signed profile (IT Viewer macOS 11.signed.mobileconfig: Configuration Profile signed by ) you previously downloaded.
-
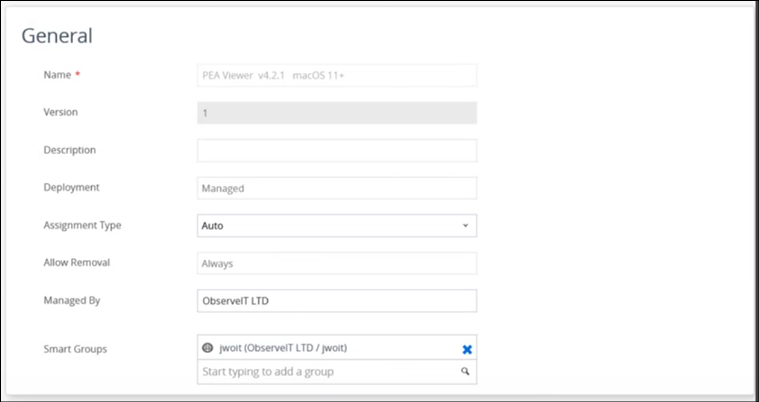
Click Continue to open the General page of the Profile Details.
-
Optionally, from Resources > Profile Details, you can edit the file. Click Edit and the General page displays. From here you identify which groups you want to publish to.
-
From the Smart Groups field, select group(s) you want. Click Save and Publish.
Upload the Package
Before you begin, modify the relevant fields in the Shell script. For information on how to modify the fields, see Shell Script for Mac Agent and Auto Updater.
-
Select Resources > Native Apps.
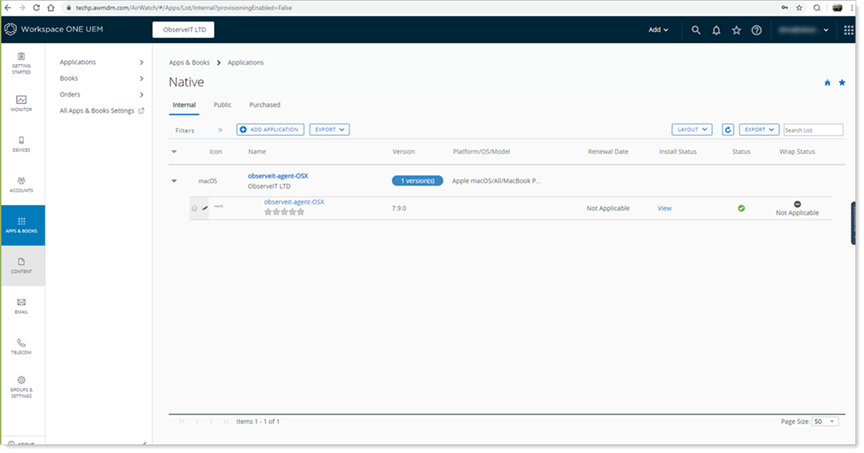
-
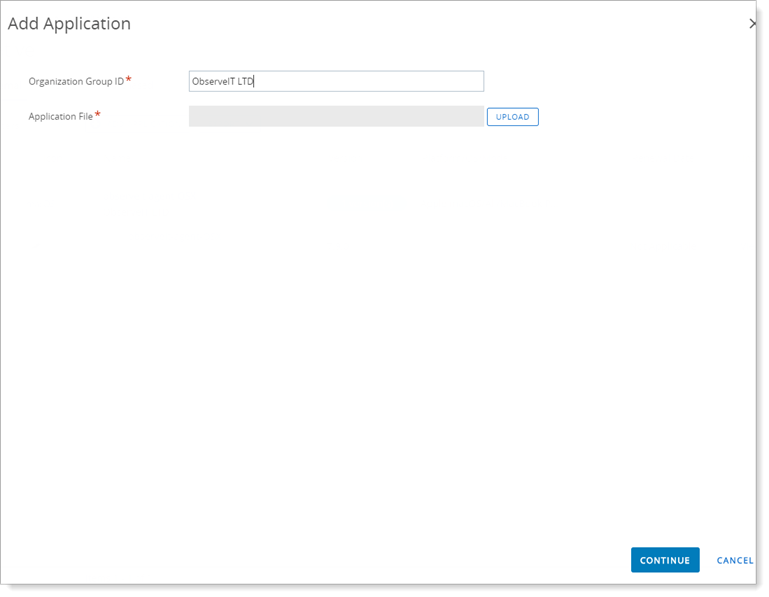
Click Add Application.
The Add Application area displays. Click Continue.
-
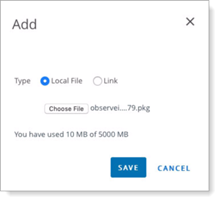
The Add dialog box displays. Browse to the file you want to upload and click Save.
- Agent Bundle: observeit-cloudagent-OSX- bundle-x.x.x.x.tar.gz
- Updater: observeit-autoupdater-OSX-x.x.x.x.tar.gz
-
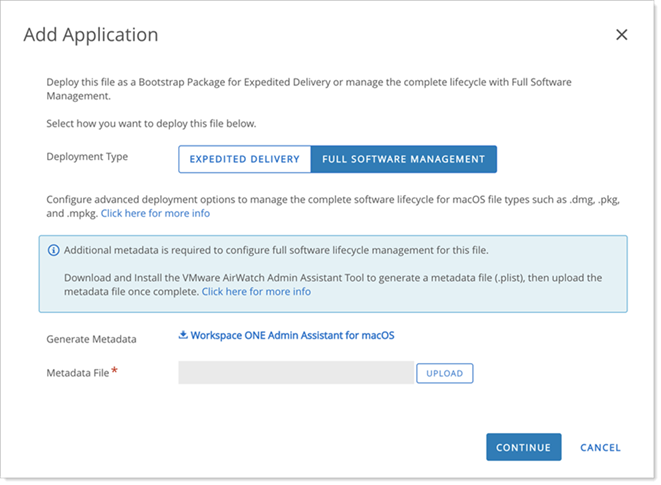
In the Add Application area, click Continue to go to Workspace One Admin Assistant where you will export the Metadata File.
If this is the first time you are doing this, you must download and install the Workspace One Admin Assistant before you can proceed.
If you do not have the relevant file, you will have to upload the installer file to Workspace One Admin Assistant.
-
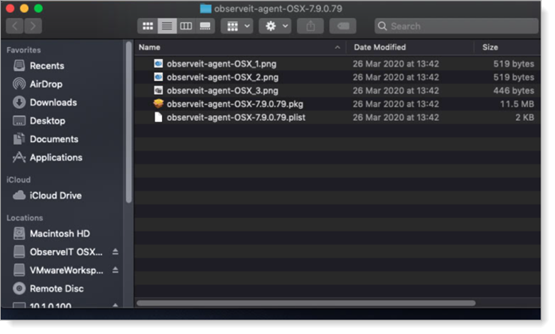
In the Administrative Assistant, select the file .(pkg) and click Open and the file parsing begins.
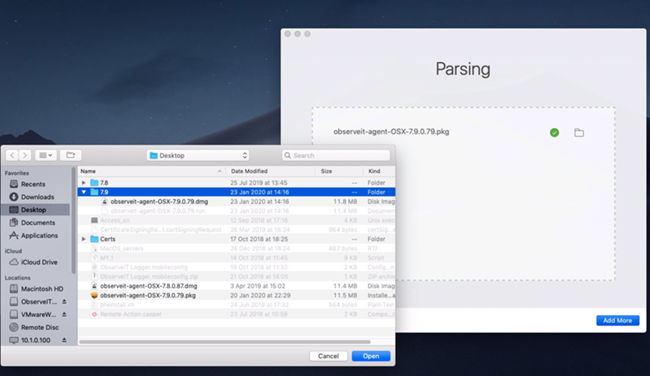
-
When the parsing is complete, click Reveal in Finder.

-
The Finder opens. Locate the plist file that was created.
-
You are returned to the Add Application area. Browse to the .plist file and from the Metadata file area, click Upload and upload the plist file.
-
Click Continue.
(See Mac ITM/ Endpoint DLP Agent - Bundle Installation.)
Upload Preinstall Script
-
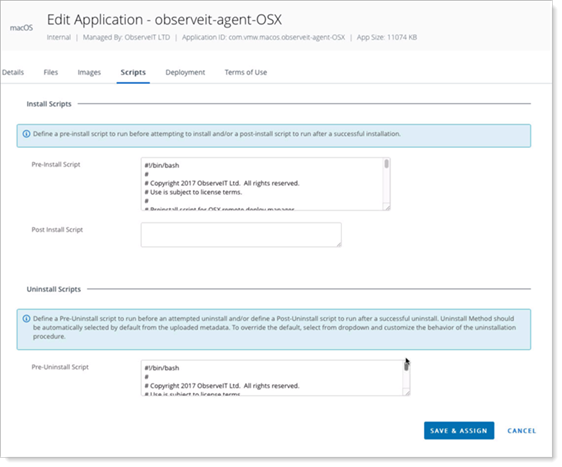
In the Add Application area, select the Scripts tab.
In the Pre-Install Script area, copy/paste the contents from the Shell Script for Mac Agent and Auto Updater
In the Pre-Uninstall area, copy/paste the contents of the preuninstall script.
-
Click Save & Assign.
-
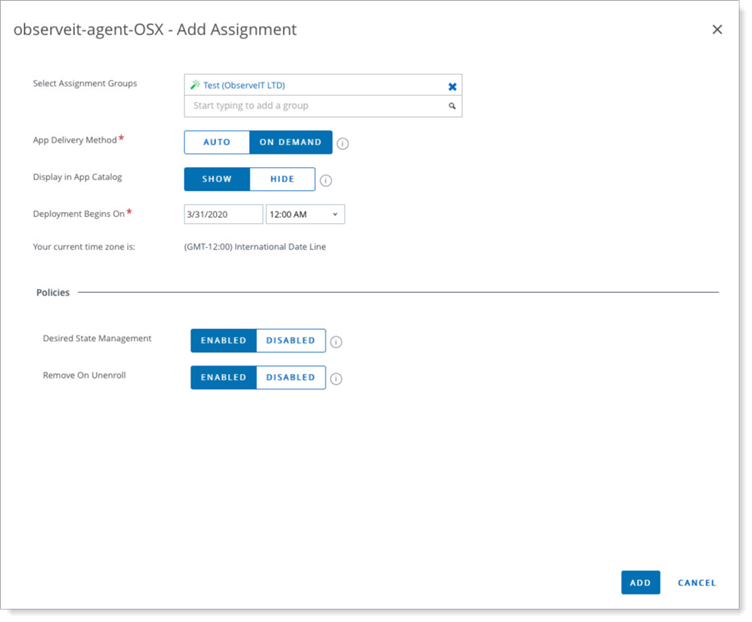
In the Select Assignment Groups field, select the groups where the agent will be installed. Click Add.
-
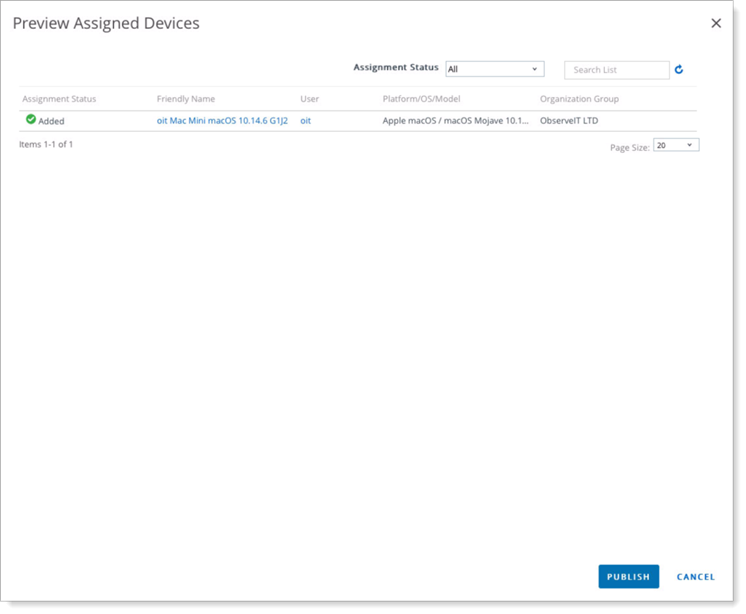
Preview Assigned Devices and click Publish.
-
In the Workspace ONE Mobileconfig Importer, Click Select a File button and browse to chose the Configuration Profile that you downloaded previously from the platform. The relevant fields in the Importer are automatically completed.
-
On the right-side, Enter the VMware Workspace ONE Managed OG. You must complete this field.
-
Click Create Profile.
Once the Workspace ONE Profile is created, you can deploy it to the endpoints from Workspace ONE Management Console.
Related Topics:
Mac ITM/ Endpoint DLP Agent - Bundle Installation
MDM Deployment to Install/Uninstall the Mac Agent/Bundle (JAMF)