MDM Deployment for the Mac Agent/Bundle and Mac Updater (Intune)
This topic describes MDM deployment via Microsoft Intune for Proofpoint Mac Agent and Mac Updater.
Prerequisites
-
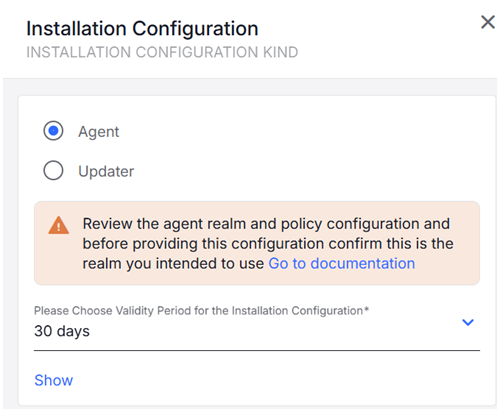
Preinstall Shell Script: From Agent Realms, download the Shell Script for the Agent Realm. (Administration app > Endpoints >Agent Realms). Select Agent or Updater.

-
Configuration Profile: From Endpoints > Downloads, download latest Management Tools with the Configuration Profile (observeit-OSX-management tools-OSX-X.X.X.tar.gz).

See Management Tools.
-
Bundle Package: From Endpoints > Downloads, download and open the latest macOS Agent release (observeit-cloudagent-OSX- bundle-x.x.x.x.tar.gz).
-
Updater Package: From Endpoints > Downloads, download and open the latest macOS Agent release (observeit-autoupdater-OSX-x.x.x.x.tar.gz).

Intune Deployment
Do the following:
-
Upload the Configuration Profile
-
Upload the Package
-
Upload the Preinstall Script
-
Create the Policy
-
Configure the Policy Scope
Upload the Configuration Profile
Intune requires using the unsigned configuration profile. When the configuration profile is uploaded, Intune signs it.
IT Viewer macOS 11.mobileconfig: Unsigned Configuration Profile, to be signed by customer
-
Login to the Intune Admin Center.
-
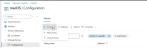
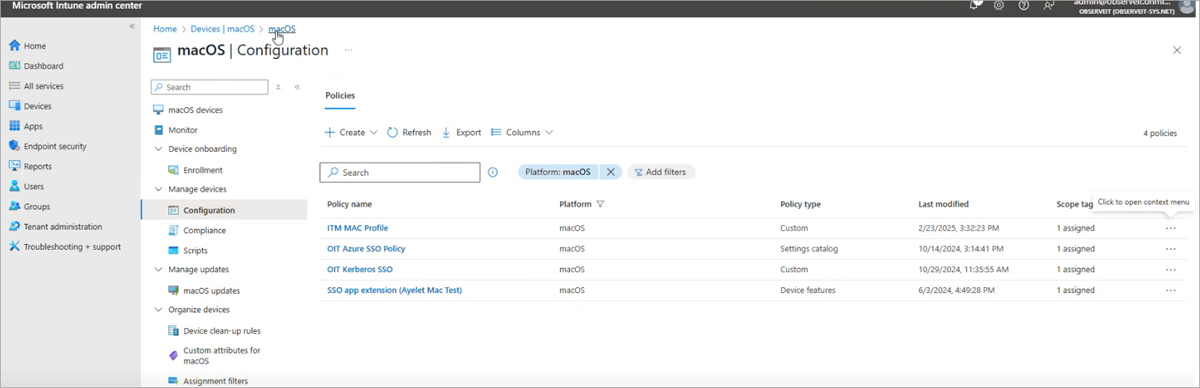
Access the Configuration page, from Intune Admin Center Home > Devices. Select MacOS.
-
From Device onboarding > Manage devices > Configurations.
-
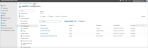
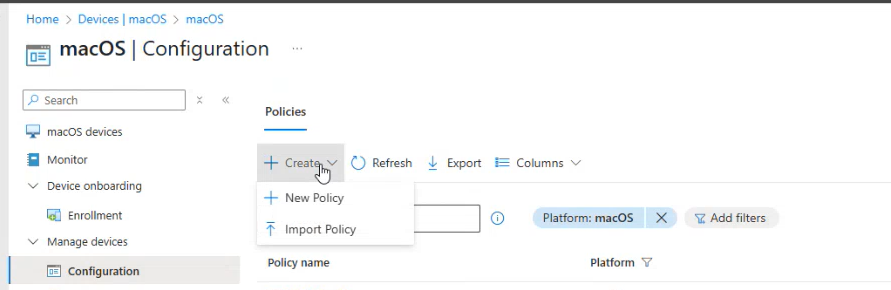
From the options at the top of the macOS | Configuration page, select Create > New Policy.
-
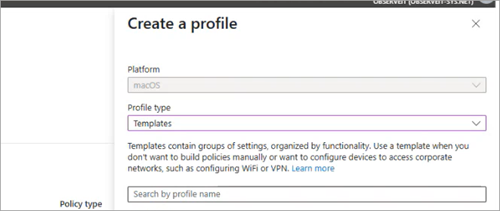
In Create a profile area, Platform is macOS and Profile type is Templates.
-
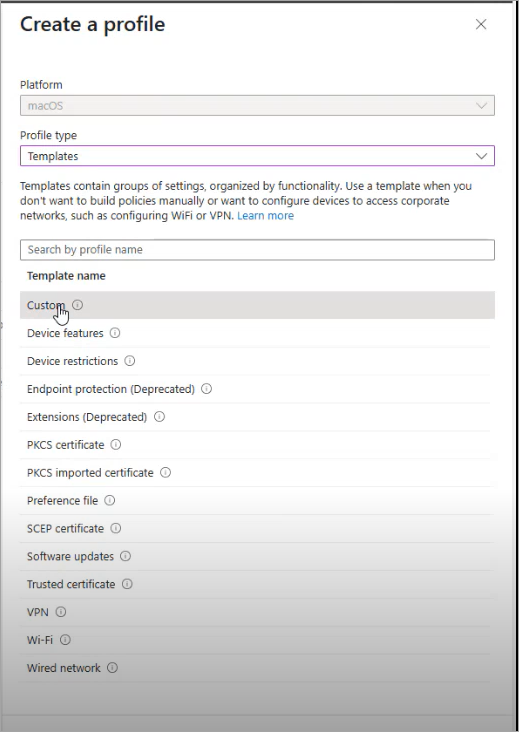
From Search by profile name, select Custom from list of Template names.

-
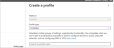
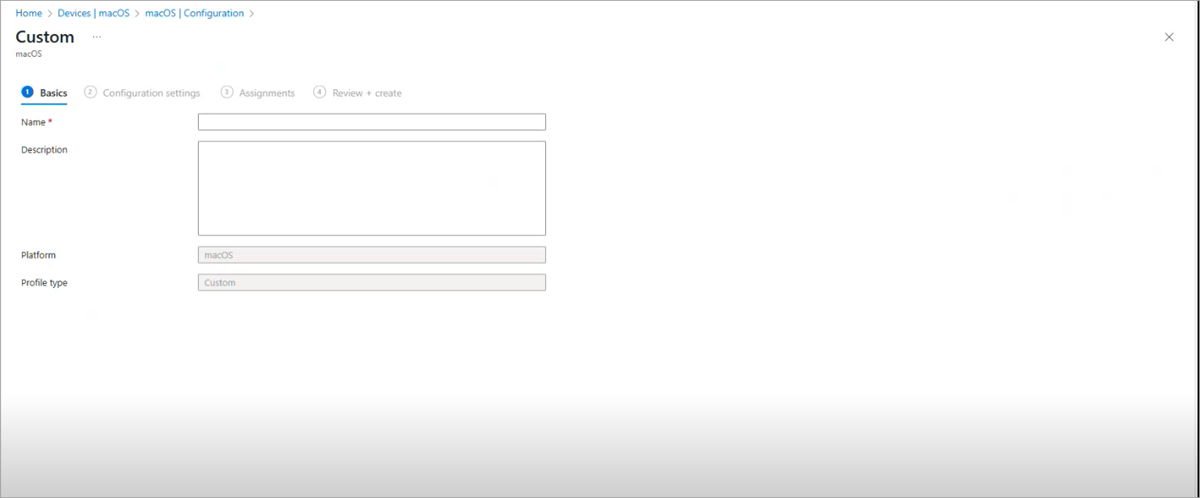
Custom Screen displays.
-
In the Basics area, provide a name and an optional description. Click Next.
-
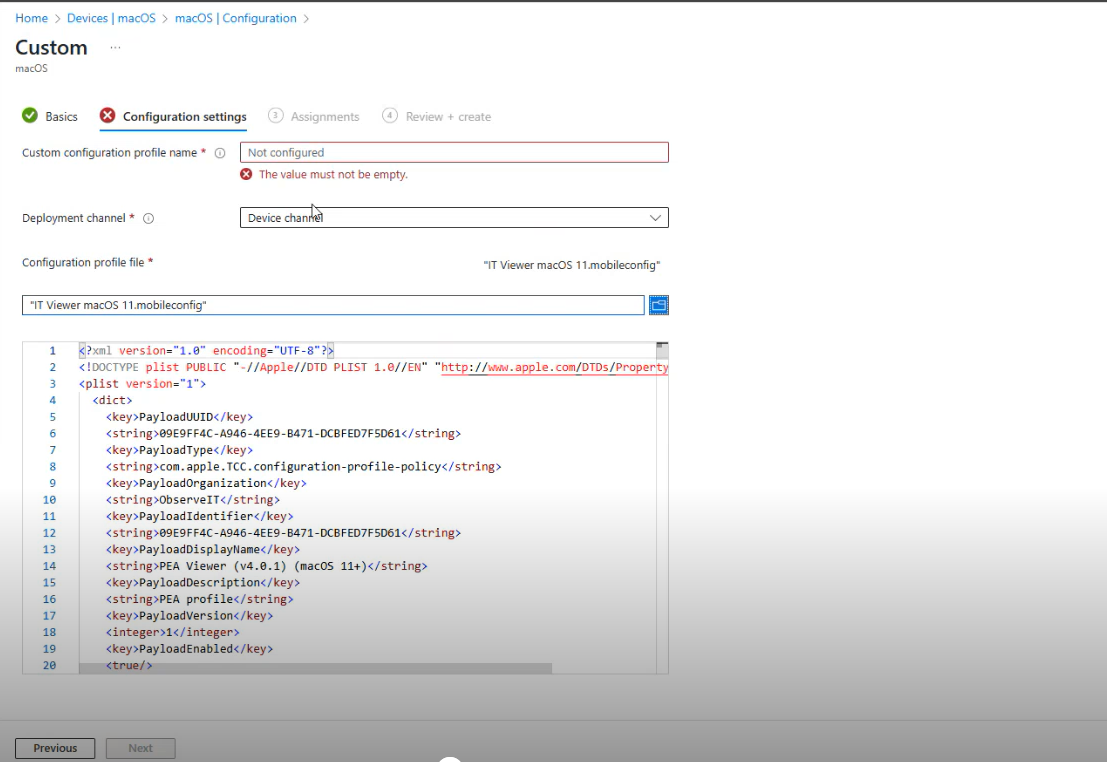
In the Configuration settings, provide a name in the Custom configuration profile name area.
-
Browse to the Configuration Profile you downloaded. (IT Viewer macOS 11.mobileconfig) and upload it.

-
Optionally, if you want to provide a name for the process other than "logger", locate logger and replace with the name you want.
-
Click Next.
-
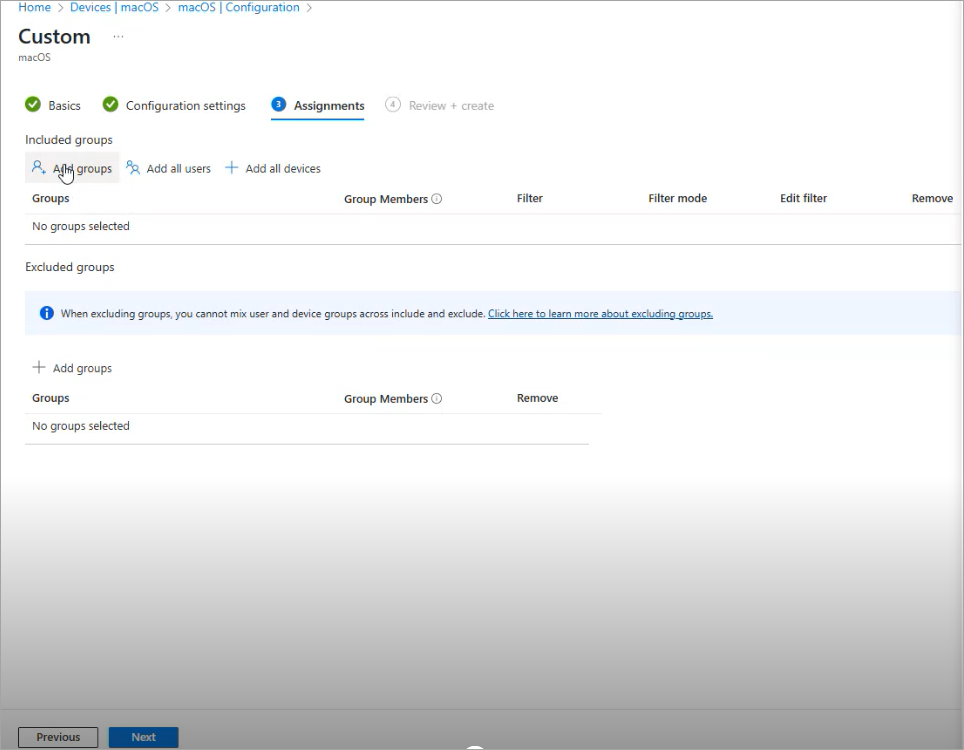
In Assignments, assign the groups to include. These are the groups you want to deploy to.

-
From Included groups, click Add groups. Select the groups you want to include.

-
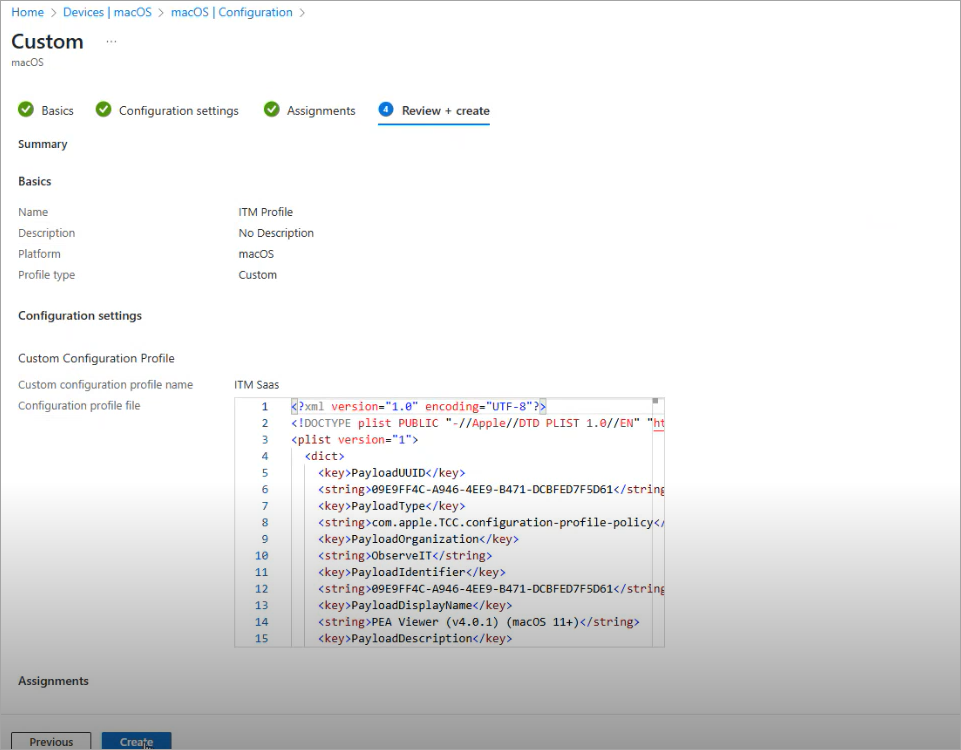
In Review + create, click Create.

-
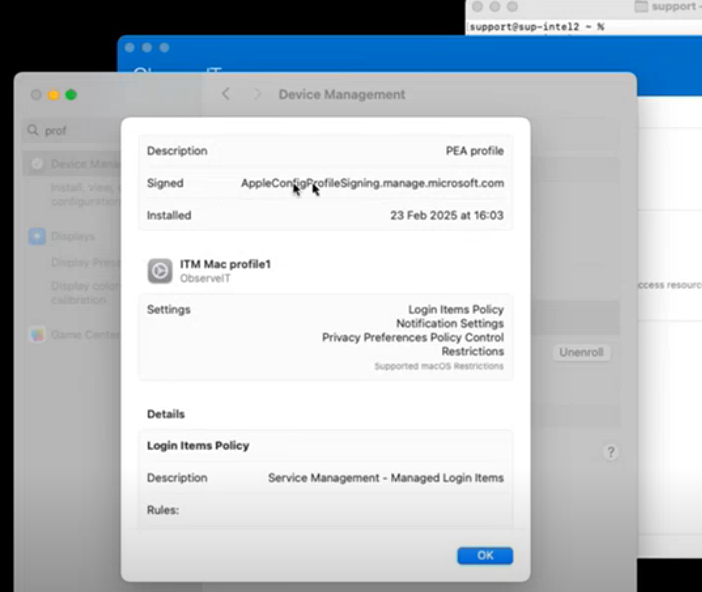
The Configuration Profile is now signed by Microsoft. (System Settings > Device Management)


Upload the Package
From macOS apps, select the pkg you want. (Home > Apps > macOS apps
- Agent Bundle: observeit-cloudagent-OSX- bundle-x.x.x.x.tar.gz
- Updater: observeit-autoupdater-OSX-x.x.x.x.tar.gz
Agent Bundle/ Updater Packages are uploaded from the App area.
-
The list of apps, in Home > Apps|macOS, shows the package Name and Type.
-
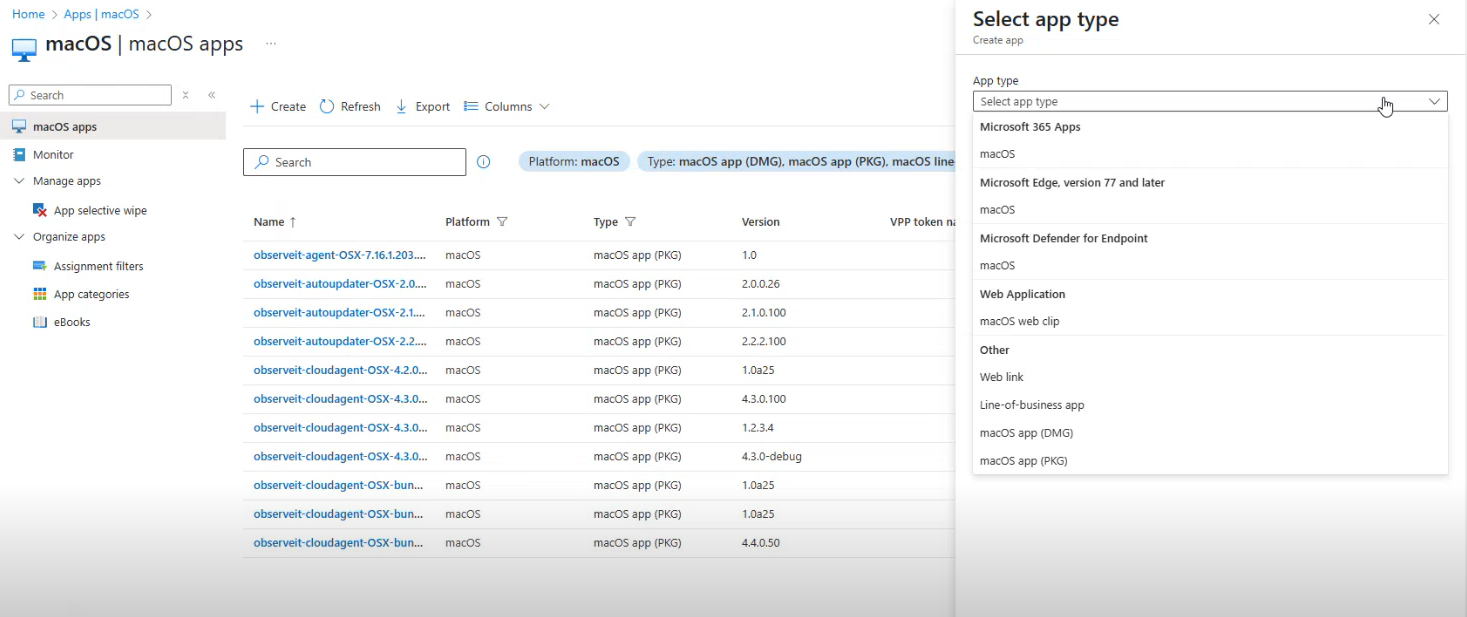
Click Create and Select app type panel opens.
-
In Select app type, from App type dropdown, select the package (macOs app PKG) and click Select.
-
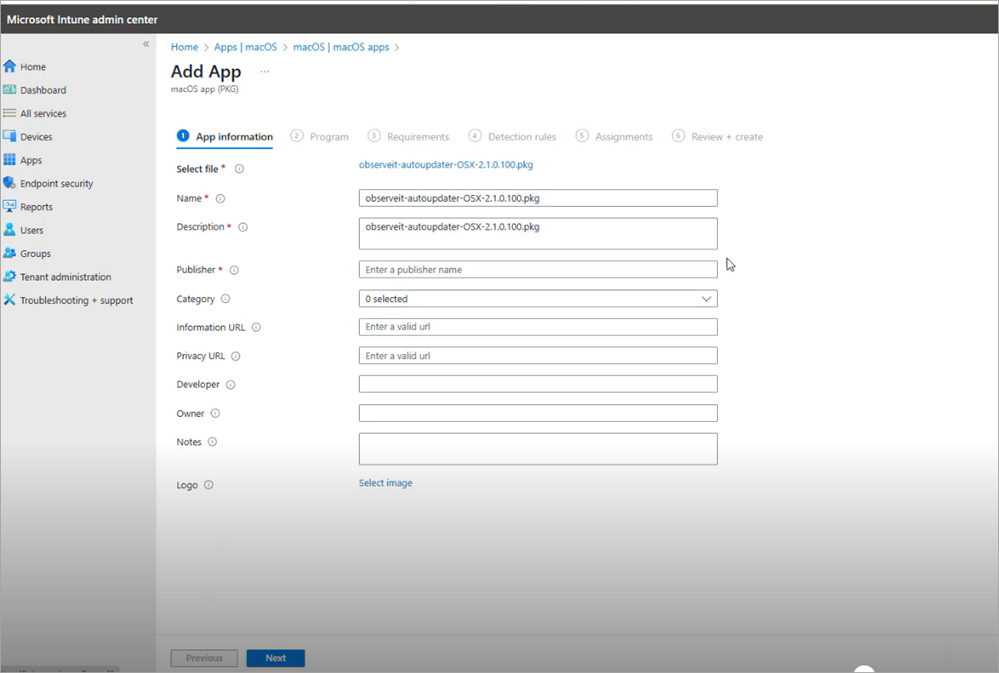
In Add App > App Information, select the package you want by browsing to it from the App package file area.
-
observeit-cloudagent-OSX-bundle-x.x.x.x.pkg or observeit-autoupdater-OSX.x.x.x.pkg
-
Click OK.
-
In App package file in Add App, select package and click OK.
-
In App information, complete the required fields.
Make sure you enter a name for Publisher.

-
Click Next.
Upload the Preinstall Shell Script
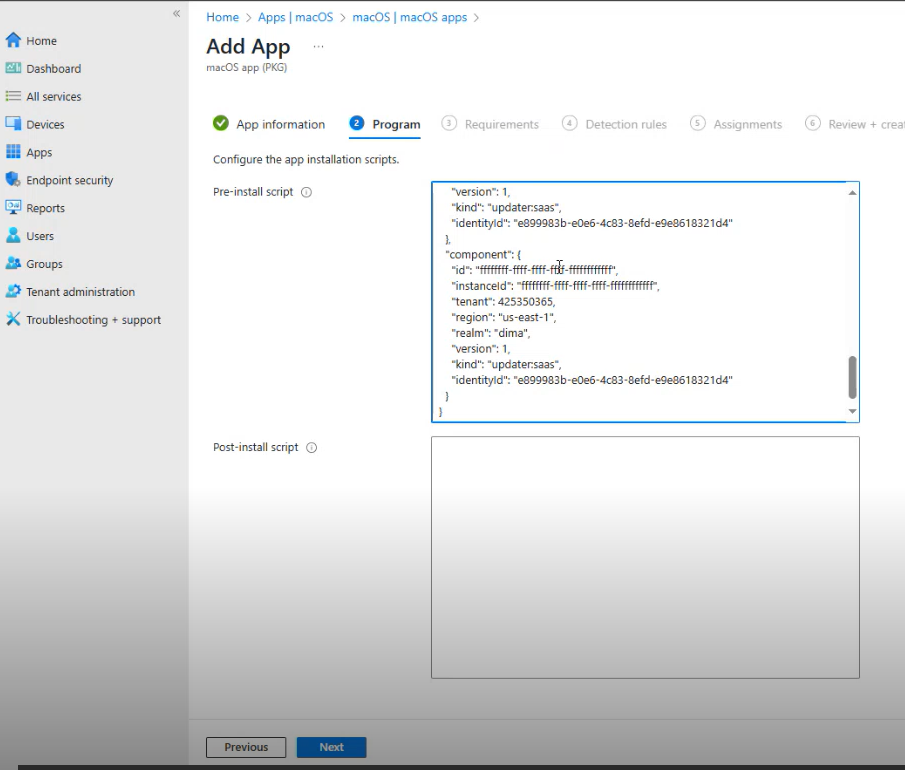
The Preinstall Shell script is copied to Add App > Program.
-
Using Notepad or other editor, copy the Preinstall Shell Script.
-
Paste it to Pre-install script. area

Paste as is - only change if you want to obfuscate the name, see the next optional step.
-
Optionally, if you want to change the process name from "logger" for Agent deployment.
Locate the string:
#echo "LOGGER_NAME=logger">>/tmp/it_remote_install.cfgChange to:
"LOGGER_NAME=<new_name">>/tmp/it_remote_install.cfgYou must use the same name you used in the Configuration Profile.
-
Click Next
-
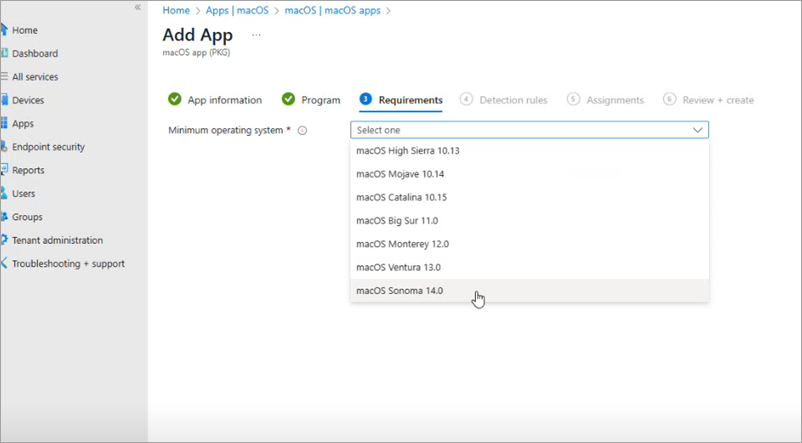
In Requirements, from Minimum operating system dropdown, select the macOS version.

-
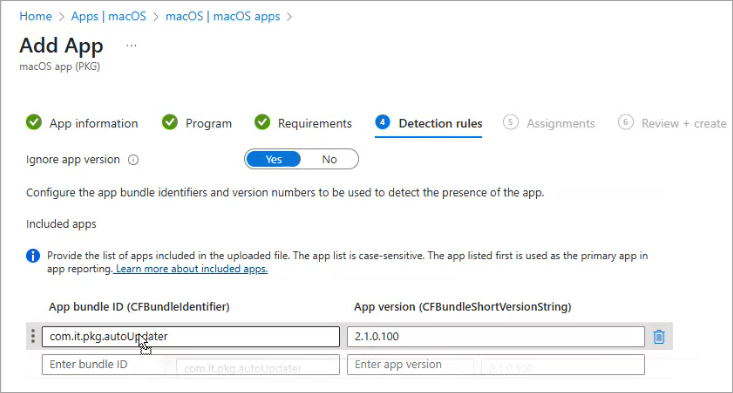
Detection rules are automatically updated.

-
Click Next.
-
In Assignments, assign the groups to include. These are the groups you want to deploy to.
-
In Review + create, click Create.