This describes how to install the Mac Bundle on a single endpoint. This is useful for a small or test installation.
From version 3.6.x, permissions provided manually in Mac Agent deployment are no longer supported. Only remote deployment using an MDM tool, such as JAMF, with the relevant Configuration Profile is supported.
Prerequisites
These files are required for the installation.
- Mac Bundle installation file: observeit-cloudagent-OSX-bundle-<version>.tar,gz( Administration app, select Endpoints > Downloa d)
-
Installation Configuration File: The Installation Configuration file is for your Realm. It is a .json file. You will need to download this file for the Realm and know its location to complete the installation. (See Installation Configuration File.)
Manual Installation
Getting the Installation Configuration File
-
From the Proofpoint Information and Cloud Security Platform, select the Administration app. Select Endpoints > Realms.
-
In the Agent Realms area, click the relevant Realm. The details area displays to the right.
-
Select the Installation Configuration tab. The Installation Configuration dialog box appears.
-
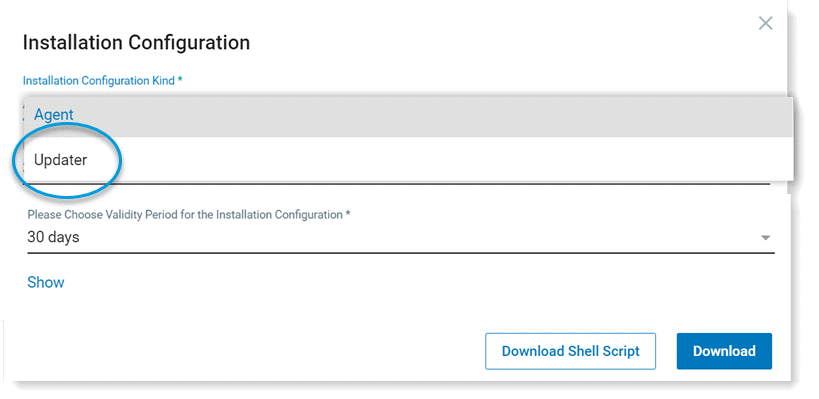
From the Installation Configuration Kind dropdown, select Agent.

-
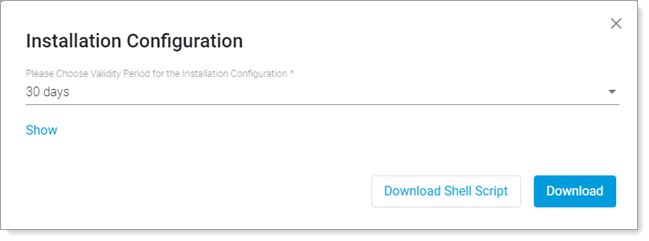
From the dropdown list, choose a validity period for the installation configuration and click Download. This is the period of time that this configuration file is valid
.
Options are 1 day, 7 days, 30 days, 6 months, 1 year and 2 years
The JSON configuration file is downloaded. Save it locally.
Downloading and Extracting the Mac Bundle
-
From the Proofpoint Information and Cloud Security Platform, select the Administration app. Select Downloads
-
In the macOS area, from the Agent Bundle section, select the latest-stable version and click Download to download the observeit-cloudagent<version>.tar.gz file.
-
Extract observeit-cloudagent-OSX-bundle-<version>.pkg package file.
Installing the Mac Bundle
-
Run observeit-cloudagent-OSX-bundle-<version>.pkg package file.
The Installer opens.

Click Continue.
-
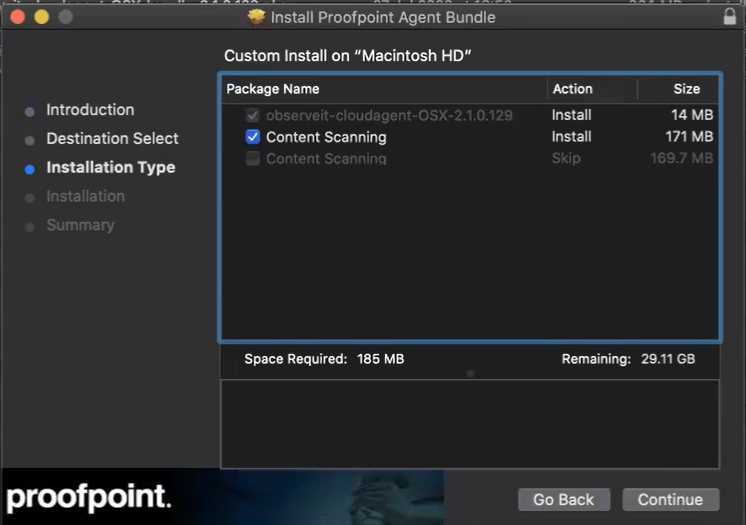
Select the Installation Type. If you want to include content scanning, select Content scanning. To download the Agent without content scanning, do not check.

Click Continue.
-
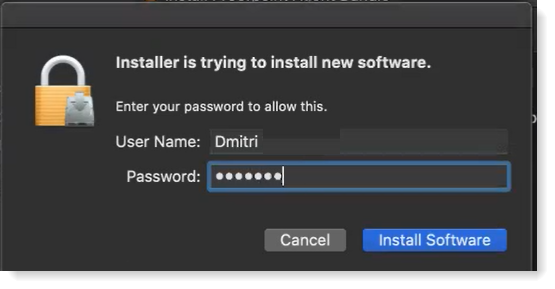
The Installer asks you for the Password. Enter your password and click Install Software.

-
The Installer asks you for the preconfig file. Enter the full path location of the installation configuration file.
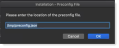
Click OK.
-
The Installer runs.


Configuring System Preference
You must make sure the following System Preferences are configured. You can set this up from the Security & Privacy. For more details about this, see Mac Agent System Preferences - Security & Privacy Settings.
| App | Accessibility | Full Disk Access | Screen Recording |
|---|---|---|---|
| logger | X | X | X |
| service | X | ||
| ITProtector | X | ||
| Content Scanning (java) | X |
Related Topics: