To view the new Risk pages, click your profile icon. In the New UI section, turn on the Risks toggle.
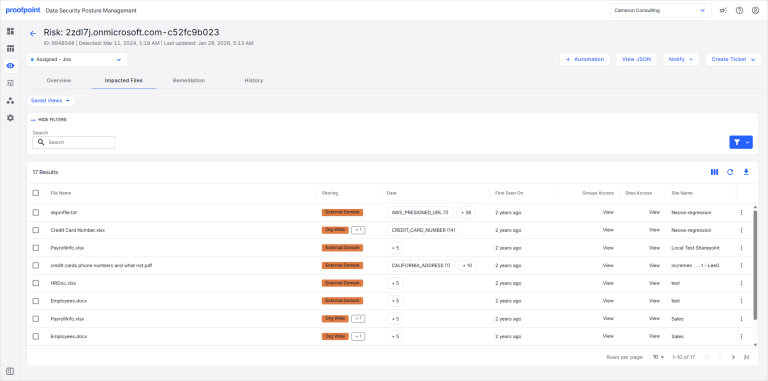
The Impacted Files tab provides details for the files affected by the risk. This tab is primarily relevant for unstructured data stores (e.g., cloud storage buckets, SharePoint sites, network shares) where data is stored in individual files.
To view the Impacted Files tab:
- Select Investigate > Risks.
- Select the Open Risks or Closed Risks tab.
- Select a risk description. Select the Impacted Files tab.
Impacted files can have one of the following statuses:
- Unaccepted (Discovered): The risk has been discovered and is an active risk for this file. This is the default status.
- Accepted: The risk has been acknowledged and has been ignored for this file.
- Assigned: The risk has been assigned to be fixed. The risk could be assigned to a ticket (such as a Jira ticket) or a team member.
Ignore a Risk
You may choose to ignore a risk if you know the risk is not serious, or if you want to hide the risk temporarily and resolve it later.
To ignore a risk for specific files:
- Select the checkbox beside one or more files.
- In the list near the top of the page, select Accepted to ignore the risk.
The file status is changed from Unaccepted (Discovered) to Accepted.
Reactivate an Ignored Risk
You can reactivate a risk that is currently marked as Accepted.
To reactive a risk for specific files:
- Select the checkbox beside one or more files.
- In the list near the top of the page, select Unaccepted (Discovered) to reactivate the risk.
The file status is changed from Accepted to Unaccepted (Discovered).