DSPM supports the use of Entra ID for SSO authentication. Use the following steps to configure SSO with Entra ID.
Entra ID was previously called Azure Active Directory.
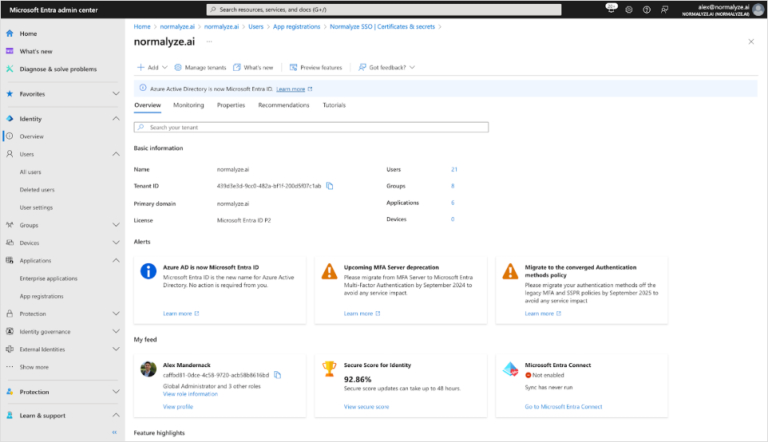
Step 1. Copy the Entra ID Domain
In the Microsoft Entra admin center, copy the Entra ID Domain and save it in a file. For details on viewing the domain, see https://entra.microsoft.com/#view/Microsoft_AAD_IAM/TenantOverview.ReactView.
You will need this value in the final step.
Step 2. App Registration
Go to App registrations and select New registration.
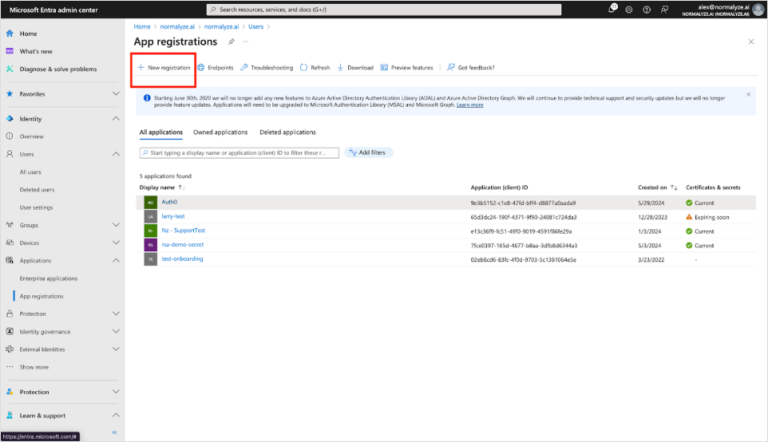
Enter the application information:
- Enter a name that describes the App registration purpose, such as “Proofpoint DSPM SSO”.
- Select an appropriate supported account type, such as “Accounts in any organizational directory (Any Microsoft Entra ID tenant - Multitenant)”.
- In Redirect URI, enter
https://login.normalyze.io/login/callback

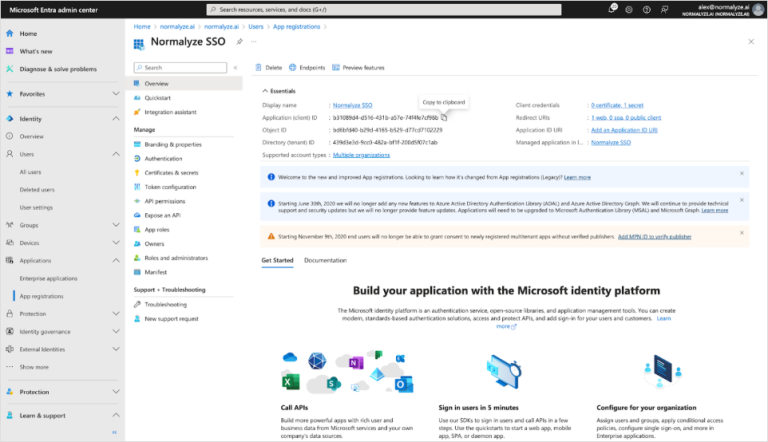
Go to the Overview page of the App Registration you just created. Copy the Application (client) ID and save it in a file.
You will need this value in the final step.
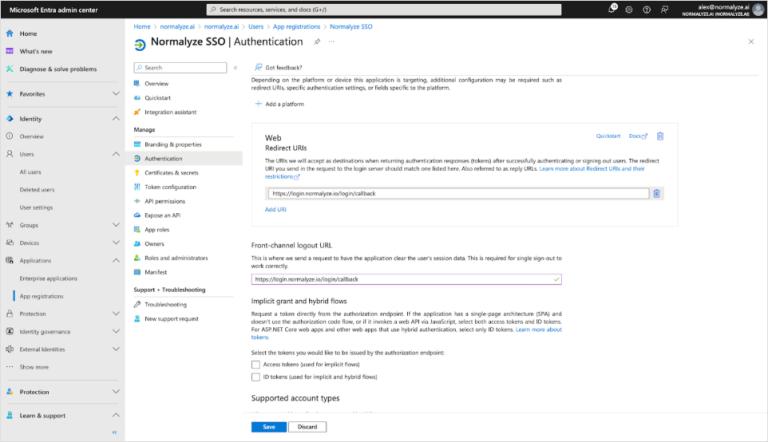
Step 3. Authentication
Go to the Authentication tab. In Front-channel logout URL, enter https://login.normalyze.io/login/callback
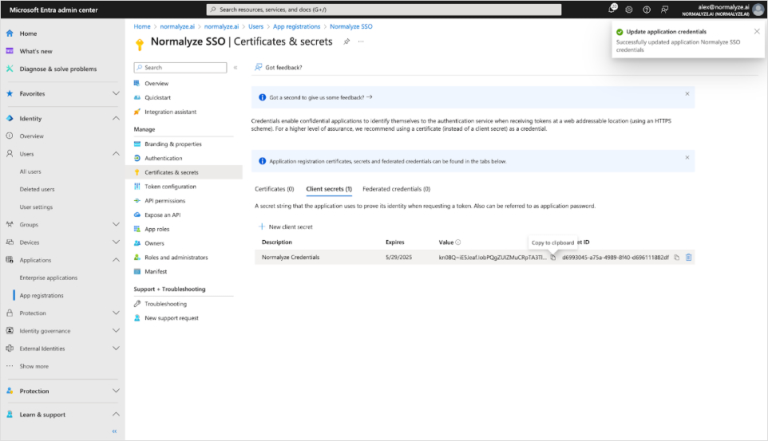
Step 4. Client Secret
Go to the Certificates & secrets tab, select Client Secrets, and create a client secret. Give the secret an appropriate description and enter expiration criteria that matches your business policies.

Copy the secret Value.
You will need this value in the final step.
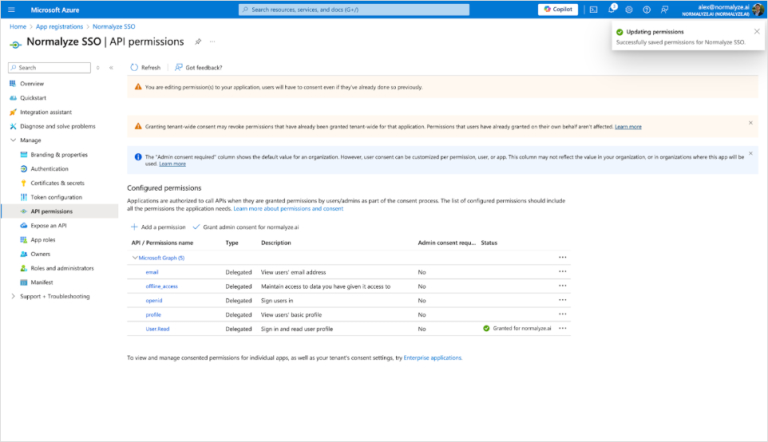
Step 5. API Permissions
Go to the API permissions tab. Add the following permissions:
emailoffline_accessopenidprofile
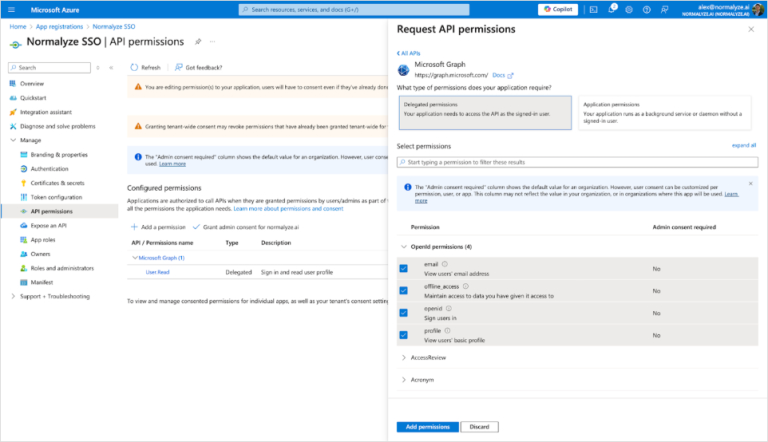
Note that Admin consent may be required for these permissions.
Step 6. Complete the SSO Integration
Open a Support Case
Once you’ve completed all of the previous steps, open a support case at Proofpoint Community to finish the integration. You’ll be able to sign in using SSO once the case is resolved.
Use a subject such as “DSPM SSO Integration” for the support case. In the support case, please state that you have completed the SSO setup steps and have sent the required configuration information via secure file share.
Transfer Configuration Details via Secure File Share
Transfer the following information using secure file share. Do not include this information in the support case.
- Entra ID Domain
- Application (Client) ID
- Secret Value