Proofpoint ZenWeb Extension Windows Installation and Deployment
Deploying Proofpoint ZenWeb on Multiple Endpoints
This topic describes how to install the Proofpoint ZenWeb on multiple targets. You will need to create a policy using Group Policy Management and apply this policy to a group of endpoints.
For more information and links to other options, see Proofpoint ZenWeb Deployment and Installation.
-
Install the Agent 3.6 or higher
-
Download the Google Administrative Templates from: https://dl.google.com/dl/edgedl/chrome/policy/policy_templates.zip
-
Open Group Policy Management on your Domain Controller.
-
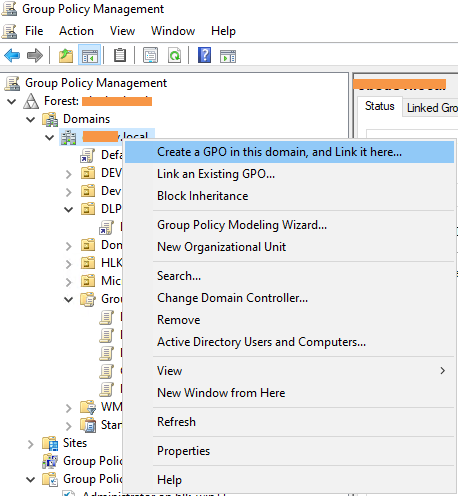
Create a new GPO for the policy (or add to an existing policy). (Group Policy Management > Domains > Create a GPO in this domain, and Link it here...)

-
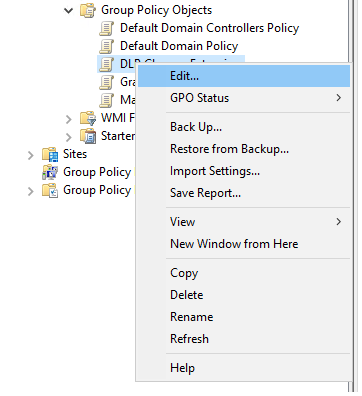
From Group Policy Objects, right-click on your Group Policy Object and select Edit.

The Group Policy Management Editor displays.
-
Expand the Computer/User Configuration tree on the left. RIght-click Administrative Templates and select Add/Remove Templates. and click Add.
-
Browse to the windows.adm template from the templates you downloaded in policy_templates.zip. Select the template that is relevant to your operating system and language and upload chrome.adm.
-
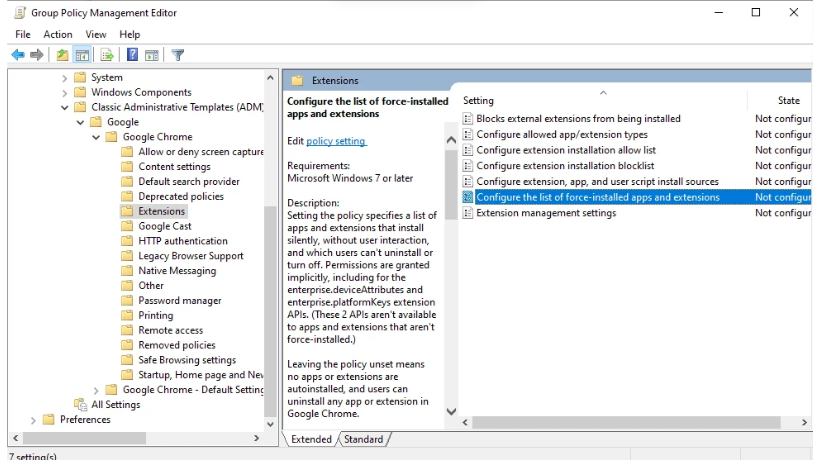
Expand the path on the left of the Group Policy Management Editor: Computer/User Configuration > Policies > Administrative Templates > Classic Administrative Templates > Google > Google Chrome > Extensions.
-
From the right-side, select Configure the list of force-installed extensions.

-
Right-click and select Edit.
-
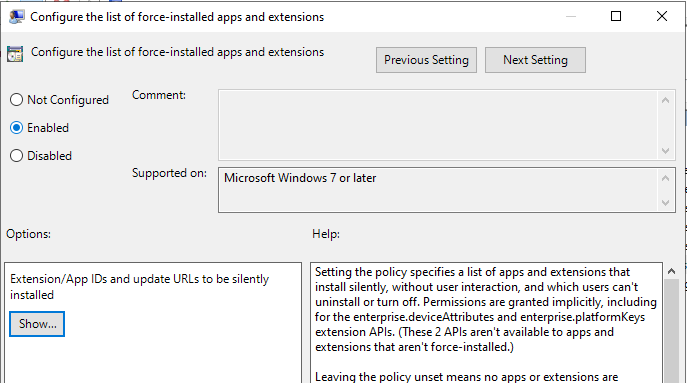
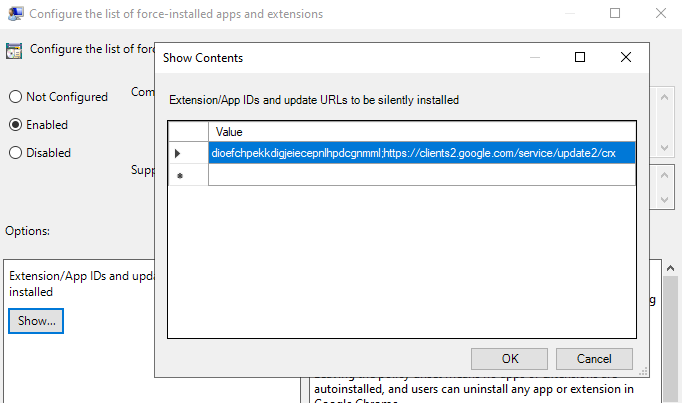
In Configure the list of force-installed apps and extensions, select Enabled and click Show.

-
In the Value column, specify the value: dioefchpekkdigjeiecepnlhpdcgnmml;https://clients2.google.com/service/update2/crx

-
Click OK, then click OK again.
-
Policy is created.
-
Apply the policy to the group of endpoints you want.