Proofpoint Proofpoint ZenWeb for Mac - MDM Installation
This topic describes how to install the Proofpoint ZenWeb for Mac using Mobile Device Management (MDM) software, such as JAMF.
Supported Browsers are Chrome, Edge and Firefox.
Installing the Proofpoint ZenWeb
To install the Proofpoint ZenWeb, do the following:
-
Download the Proofpoint Browser Extension configuration profile from the Management Tool
-
Choose to install Proofpoint ZenWeb for Mac using:
-
Signed Proofpoint ZenWeb Configuration Profile: Use this option when this is the only Browser extension
-
Unsigned Proofpoint ZebWeb Configuration Profile: Use this option when you have multiple Browser extensions
-
Enabling Proofpoint ZenWeb
You must enable the Proofpoint ZenWeb at the Agent Realm level.
-
To enable, from the Administration application, select Endpoints > Agent Realms. In the Advanced Settings of the Agent Realm, in the Browser Extension area, turn on Enable Interaction with Agent.
Downloading the Proofpoint ZenWeb File
Modifying the process (logger) name in the Installation Configuration Script for the Agent.
-
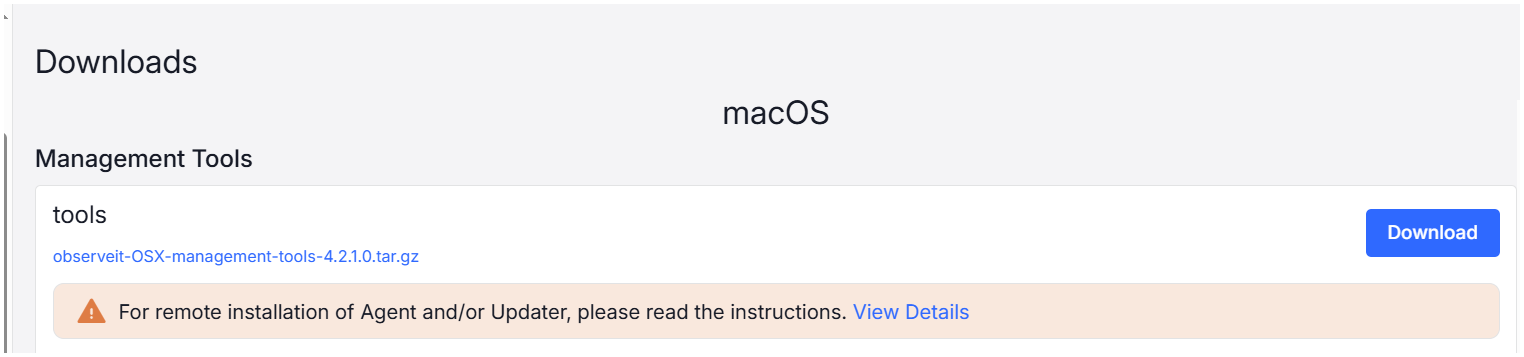
Navigate to the Management Tools in Administration app > Download > Endpoints > Downloads > Download the Management Tool.
observeit-OSX-management-tools-x.x.x.x.tar.gz is downloaded and contains the two Proofpoint ZenWeb files (signed and unsigned).
-
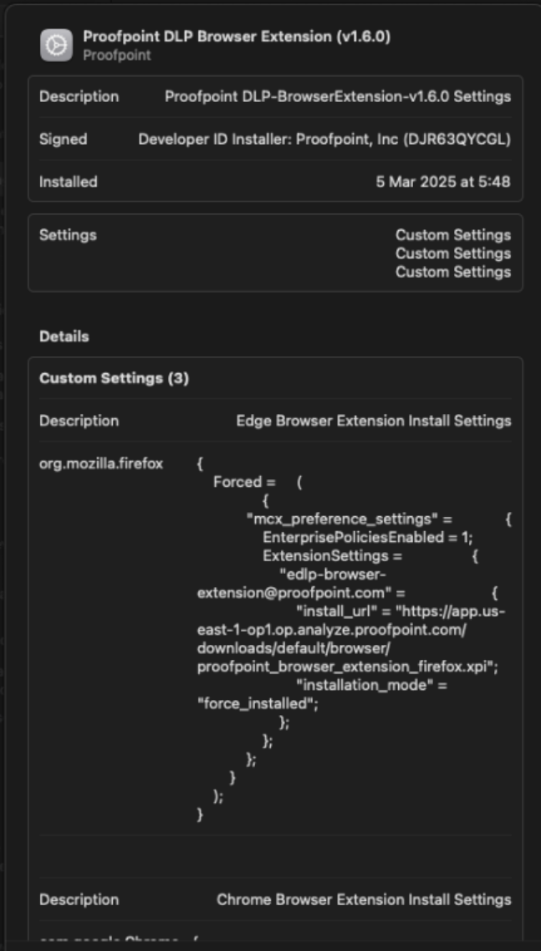
Proofpoint DLP Browser Extension Sample Profile.signed.mobileconfig (Configuration Profile signed by Proofpoint) It is recommended that you use the signed Profile.
-
Proofpoint DLP Browser Extension Sample Profile.mobileconfig (Unsigned Configuration Profile, to be signed by customer)
-
Deploying DLP Browser Extension with the Signed Profile
Use this option, when you are using only the Proofpoint Browser Extension.
- From the JAMF Web console dashboard, click the Computer button and select Configuration Profiles from the menu on the left-side. The Configuration Profiles screen displays.
-
Click the Upload button.
-
Select the signed Configuration Profile you want and click Upload.
-
Proofpoint DLP Browser Extension Sample Profile.signed.mobileconfig
The file is uploaded, and the Configuration Profiles with the list of Configuration Profiles displays.
-
-
Select the Options tab and do the following:
-
Set the Distribution Method to Install Automatically.
-
Set the Level to Computer Level.
-
-
Select the Scope tab and in the Add Deployment Targets area, add the relevant computer.
-
Click Save.


Deploying DLP Browser Extension with the Unsigned Profile (Multiple Browser Extensions)
Use this option when you have multiple Browser extensions.
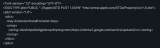
Before you begin, using a text editor, open Proofpoint DLP Browser Extension Sample Profile.mobileconfig, so you will be able to copy paste the unsigned configuration profile.
- From the JAMF Web console dashboard, click the Computer button and select Configuration Profiles from the menu on the left-side. The Configuration Profiles screen displays.
-
Edit the Configuration Profile that you have for your other Browser Extensions and add the relevant information for Proofpoint ZenWeb.
-
Select the profile you are already using to deploy other browser extensions, and select Edit.
-
From Application & Custom Settings, select Upload > Add.
-
-
In the Preference Domain field, do one of the following:
-
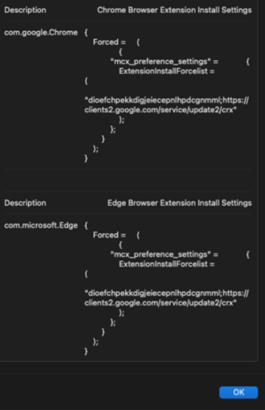
For Chrome: type com.google.Chrome
-
For Edge: type com.microsoft.Edge
-
For Firefox: type org.mozilla.firefox
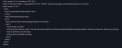
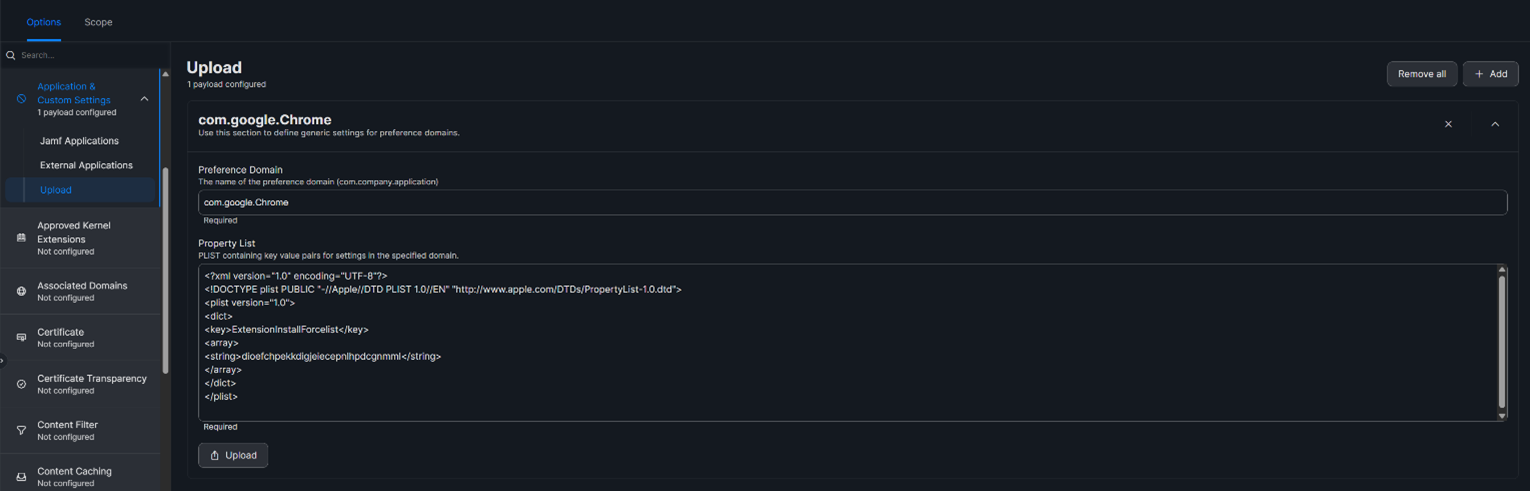
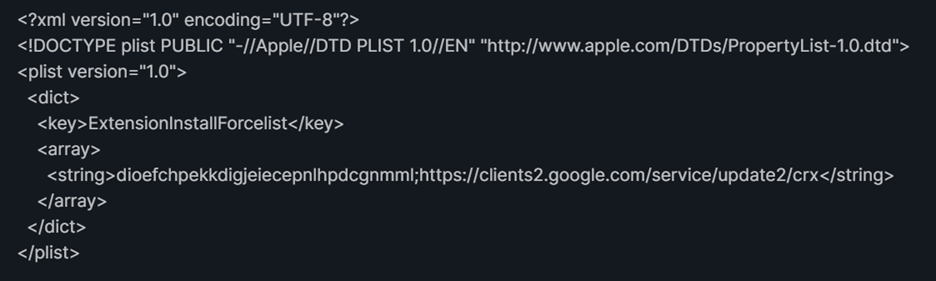
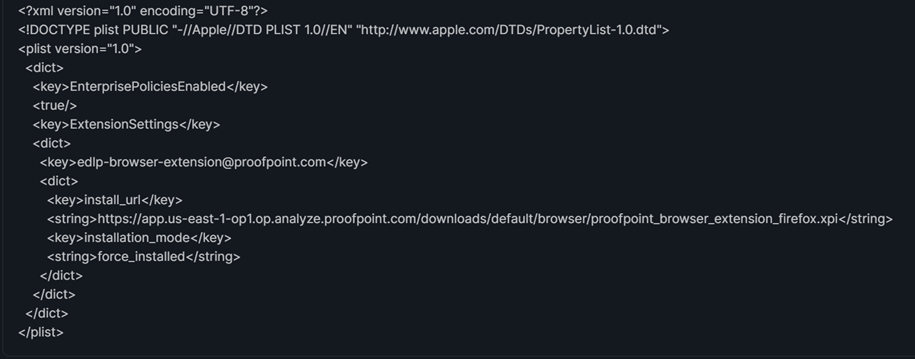
In the Upload Files field, Copy and paste the content from Proofpoint DLP Browser Extension Sample Profile.signed.mobileconfig.
Verifying that the Proofpoint ZenWeb is Deployed
-
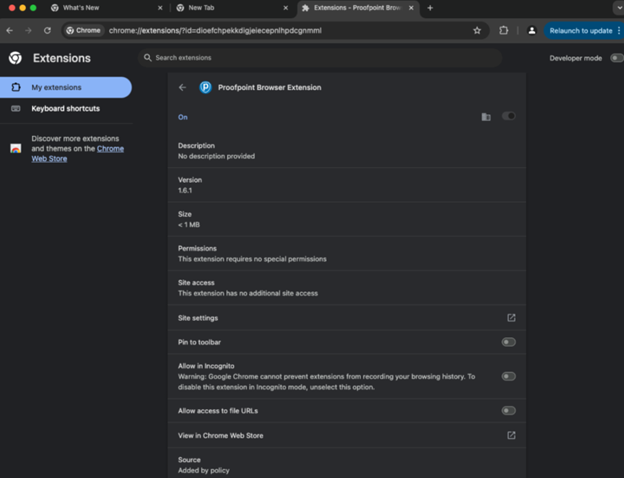
For Chrome:
Open the Chrome browser, click the Extensions
 icon and verify that the Proofpoint ZenWeb was deployed.
-
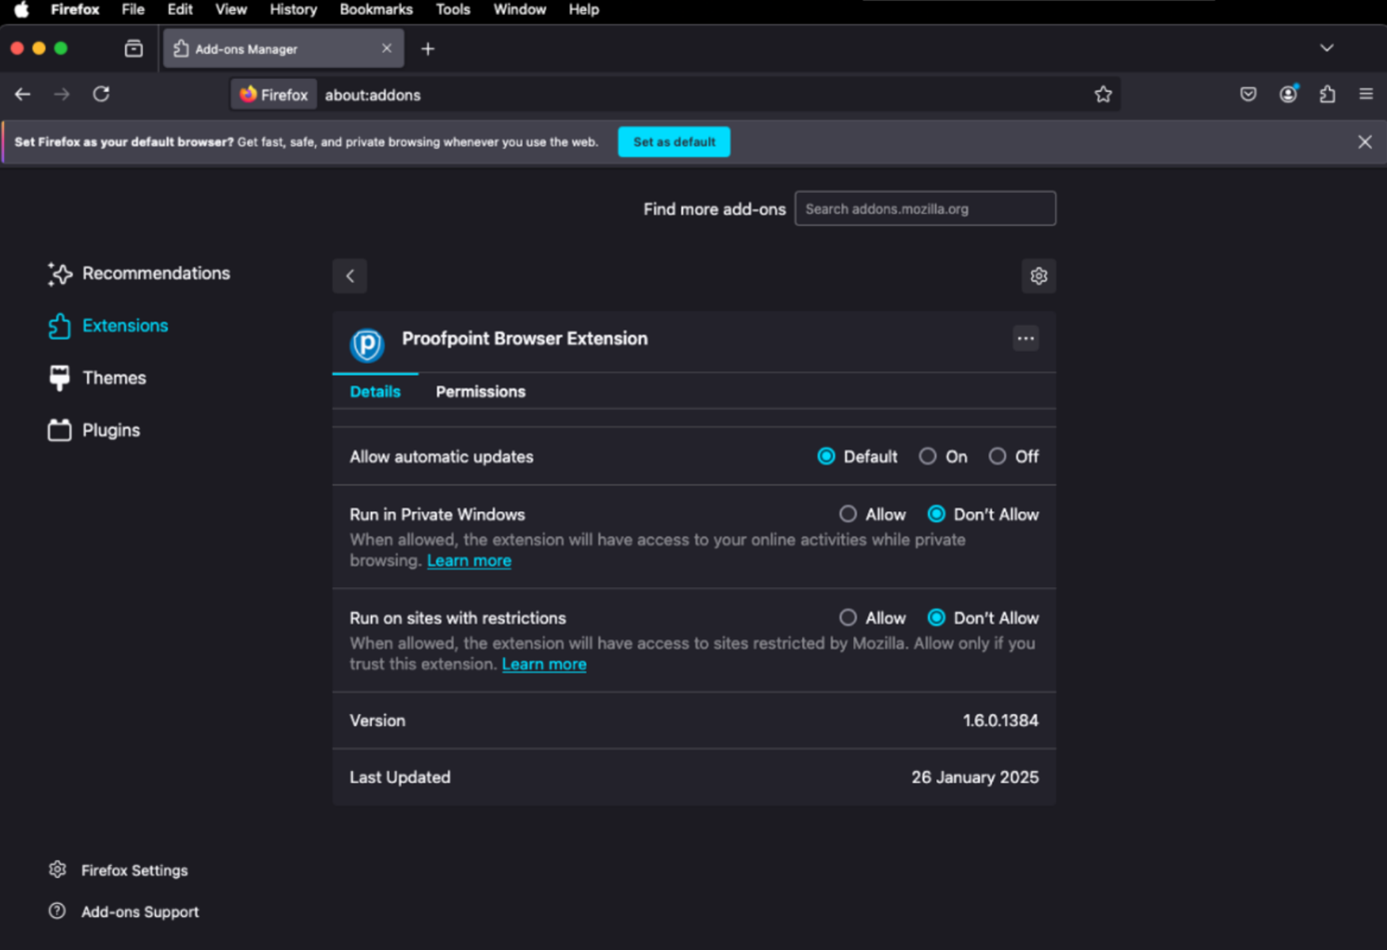
For Firefox

-
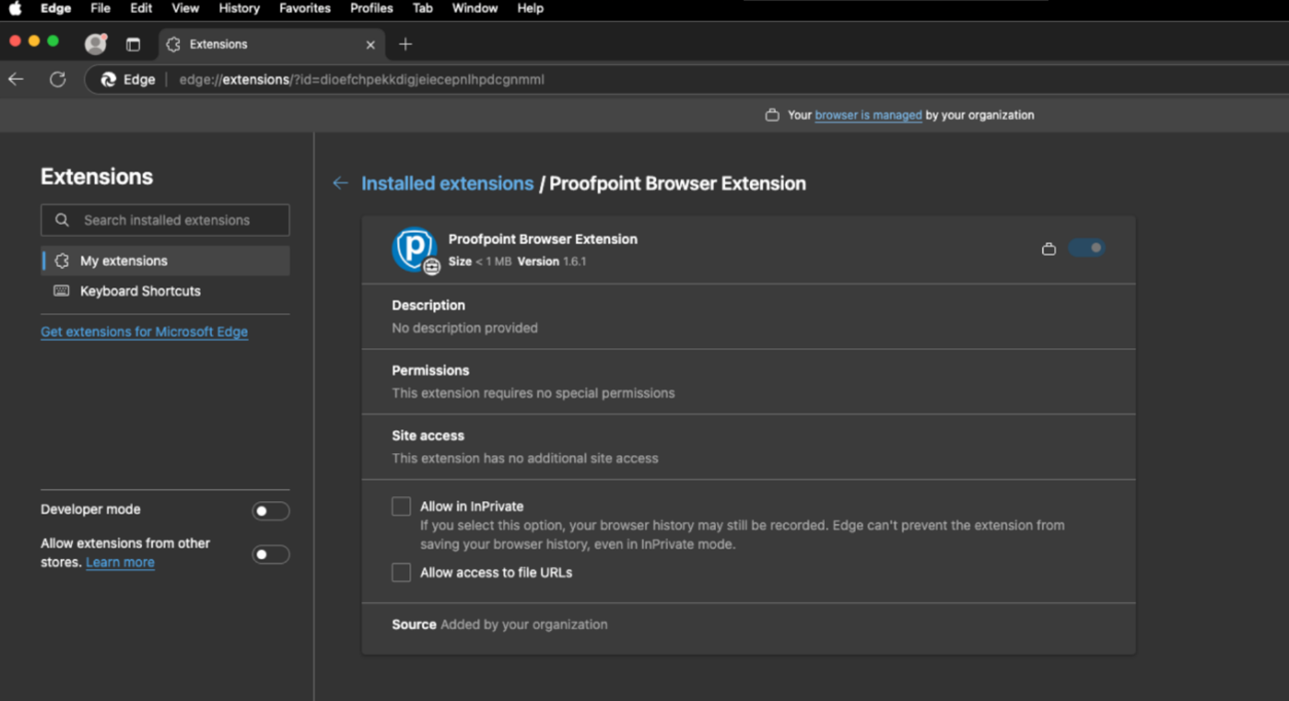
For Edge