Detecting Web Uploads
One of the top use cases requested by Proofpoint customers is detecting file uploads to non-work websites. While always relevant, this use case often introduces many false positives and is difficult for security teams to triage.
Detection of file exfiltration to USB is supported for exfiltration via Windows/File Explorer only. File exfiltration from other applications, such as Outlook is not supported.
Using Drag & Drop of files to Web Browser may be falsely detected by the Agent as a Web File Upload activity.
This topic describes how to configure web uploads detection and includes how to filter out false positives.
Get Started
Set up the Exploration to detect Web File Upload activity.
-
Open a new Exploration. From Proofpoint Data Security, select the Data Security Workbench app.
-
From the left-side-menu, select Activity > Explorations. Click New Exploration button.
-
Your new exploration opens and you see the source node with the default region, time and source. By default, a new Exploration shows all events captured for the past 24 hours, without any filtering applied.

-
Hover over this first filter and click the pencil button to edit the filter.
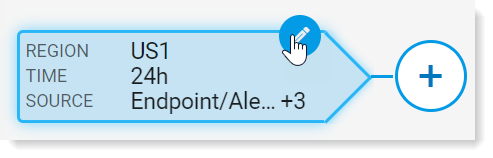
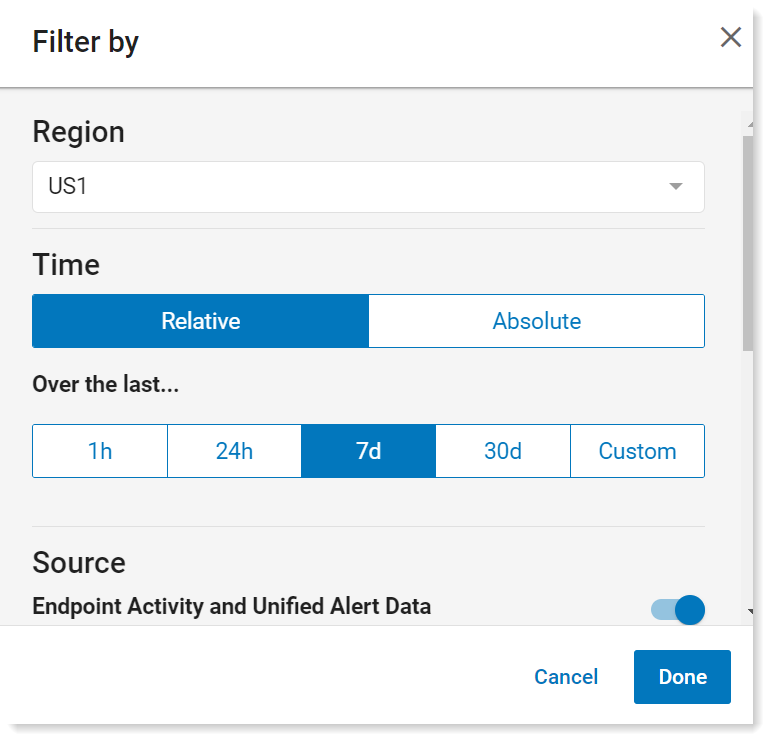
A pane on the right opens.
-
In the Filter by > Time area, in Over the last, select 7d. All the data over the past 7 days will display. Click Done.
-
Now, explore Web file upload activity. Click + (add filter button) to add a new filter. A pane opens on the right.
-
Select Primary Category > Web File Upload.
Type Primary Category in Search Fields to locate this field.
If Web File Upload is not available, then uploads have been captured by the Proofpoint ITM Agent in your environment. Wait for more data to be collected by the Agent or generate some events on your own.
-
Take a look at the activities. You can see all uploads to the Web through supported browsers captured by Proofpoint ITM Agent.

Filter Out False Positives
Now start filtering out false positives. Filter the relevant websites and file types.
Since you are interested in non-work related activity, the next step is to filter out work-related uploads to focus on potentially suspicious activity. To do this you will look at the list of websites that users uploaded to in the past 7 days.
-
Click + (add filter button) to add a new filter. Select Website > URL Domain and click Done.
Type URL Domain in Search Fields to locate this field.
The filter pane lists all websites users uploaded files to in the past 7 days.
The contents of this list depends on your current data set – if your Exploration currently shows 24 hours of data the list of values in this filter will be smaller.
-
At the top of the panel, change Includes to Excludes.

Review the list of websites and identify work-related websites. You'll want to exclude these, so check the checkbox next to each.
-
Click Done. Now your Exploration displays only non-work uploads.
-
Next focus on files that you want to look at. These are files that may be suspicious. Click + (add filter button) to add a new filter.
-
Select Files/Resources > Extension.
Type the file extension in Search Fields to locate these fields.
-
Select file extensions that need protecting most. Usually these are Microsoft Office documents (docx, xlsx), PDF files, archives (zip, 7zip), and text data files (csv).
-
Click Done to save the filter.
Review and Save the Exploration
Now you can take a look at the results of your Exploration. You define which columns should display to make this easier to review. You want to see the URL Domain. Currently, you are not interested in the users.
-
In the Activity Summary pane click Edit Columns.
-
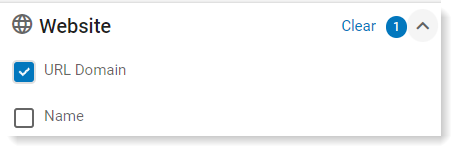
In the Group By Columns panel, Click the Clear next to User.
-
Expand the Website section and click URL Domain. Click Done.
-
Click the Activity column to sort the data in Activity Summary by number of uploads. The websites that see most uploads will appear at the top and are most likely to be work-related. This is one of the easiest way to identify new websites users uploaded data to.
-
Name your Exploration by replacing the Untitled name at the top of the page.
-
Click the Save New button to save your Exploration.