Enabling Content Scanning
Content scanning must be enabled at the Realm level.
-
From Proofpoint Data Security & Posture, select the Administration app. Select Endpoints > Agent Realms.
-
Go to the Advanced Settings area
-
In the Interaction area, turn on Enable Content Scanning.
The Content Scanning options display.

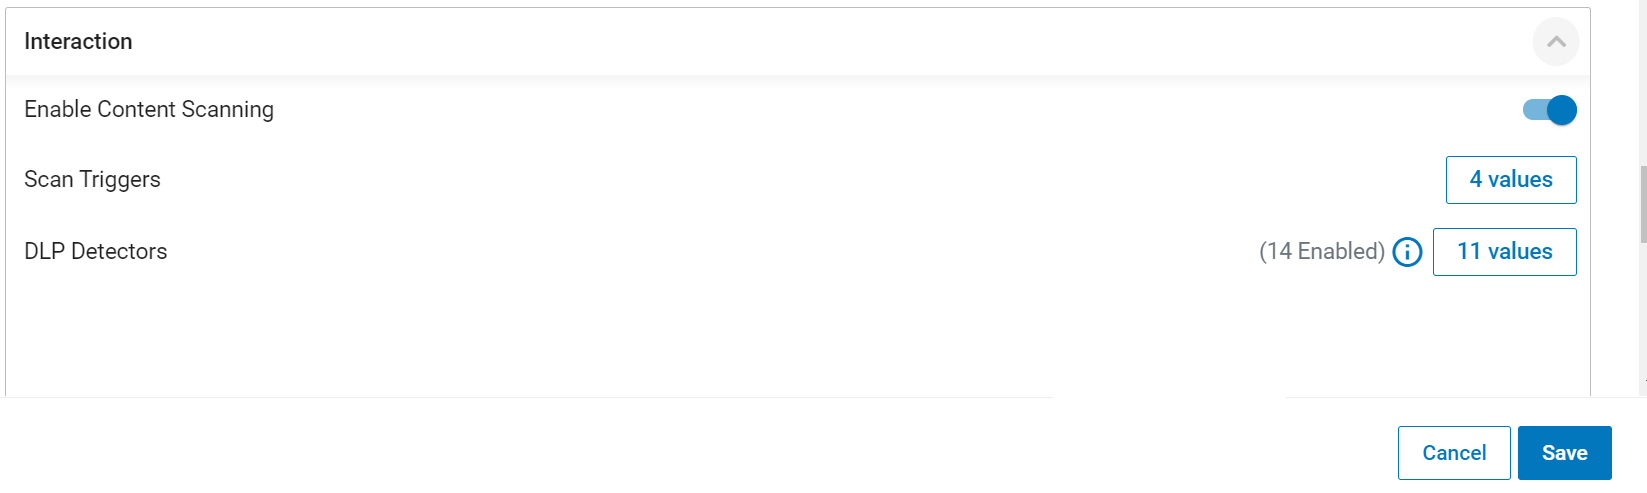
Enabling Content Scanning for Detection
To use content scanning to detect user activity, you must enable the scan triggers you want.
-
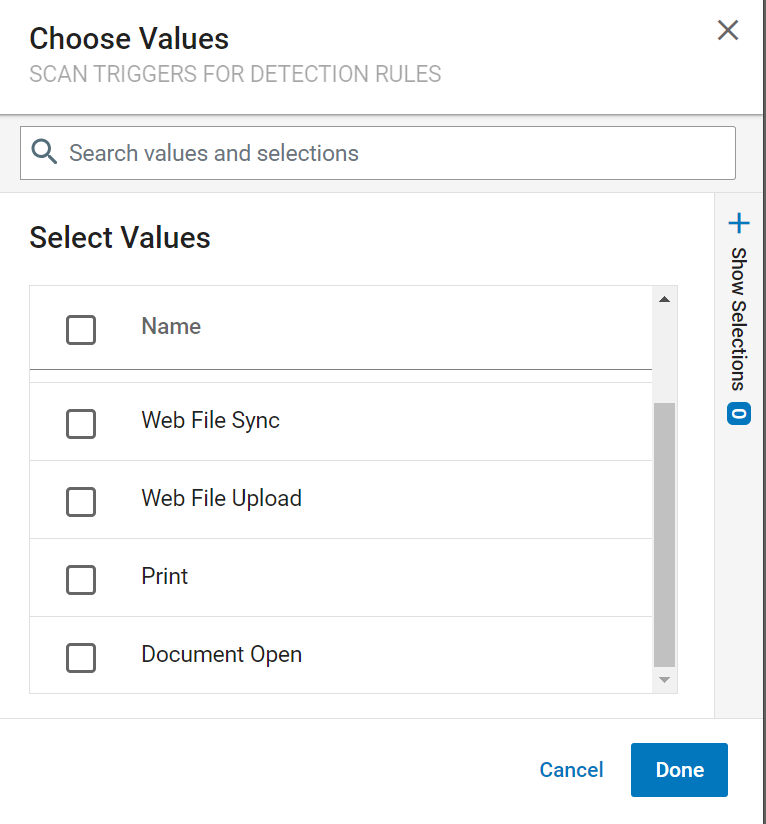
When Content Scanning is enabled, select Choose Values from Scan Triggers for Detection Rules.
-
From the Select Values list, select the triggers.

-
Select Done.
To enable content scanning you need to configure:
-
Agent Realm: Enable content scanning and select Scan Triggers and DLP Detectors you want to scan
-
Agent Policy: Assign the Agent Policy to the Agent Realm.
-
For prevention, you must add a prevention rule to the Agent Policy.
-
Rule: Add a rule that defines the scan.
-
Detection Rule: Use to detect content so that you are aware of it. You can see what was detected in the Explorations.
-
Prevention Rule: Use to block file exfiltration when content is detected.
-
Enabling Options for Content Scanning
The following describes the options to define for content scanning (detection and prevention.) These include Detector Sets, Snippets and Thresholds.
-
Select Detector Sets. Select what you want to scan from the list of Detector Sets. You add and manage Detectors and Detector Sets in the
Click the Choose Values and select the values you want, and click Done.
The number of Detectors you select impacts the endpoint memory and CPU during the scan. It is suggested that you enable only the Detectors you'll need.
-
Turn on Enable Snippets if you want to include 20 additional characters before and after with matched content.
-
Optionally, you can set these advanced settings:
Advanced settings may be change as more features are added.
These options are currently available on request. Contact your Proofpoint representative.-
File Size Limit: You can limit the size of a file scanned. If the file size exceeds the limit, the scan will fail and the copy/move of the file will be blocked.
-
Number of files in Bulk: You can limit the number of files scanned in a bulk copy/move. This option is available with content scanning prevention rules only.
-
Time Extraction Limit: You can set the amount of time allowed for the file text to be extracted from a file.
-
Text Analysis Time Limit: You can set the amount of time allowed for the text to be analyzed.
This table describes the values. It is recommended to use the default values.
Option Default Min Max File Size Limit 30MB 1MB 1GB Number of Files in Bulk 100 1 5000 Time Extraction Limit (in minutes) 3 1 10 Text Analysis Time Limit (in minutes) 3 1 10
-
-
Click Save.